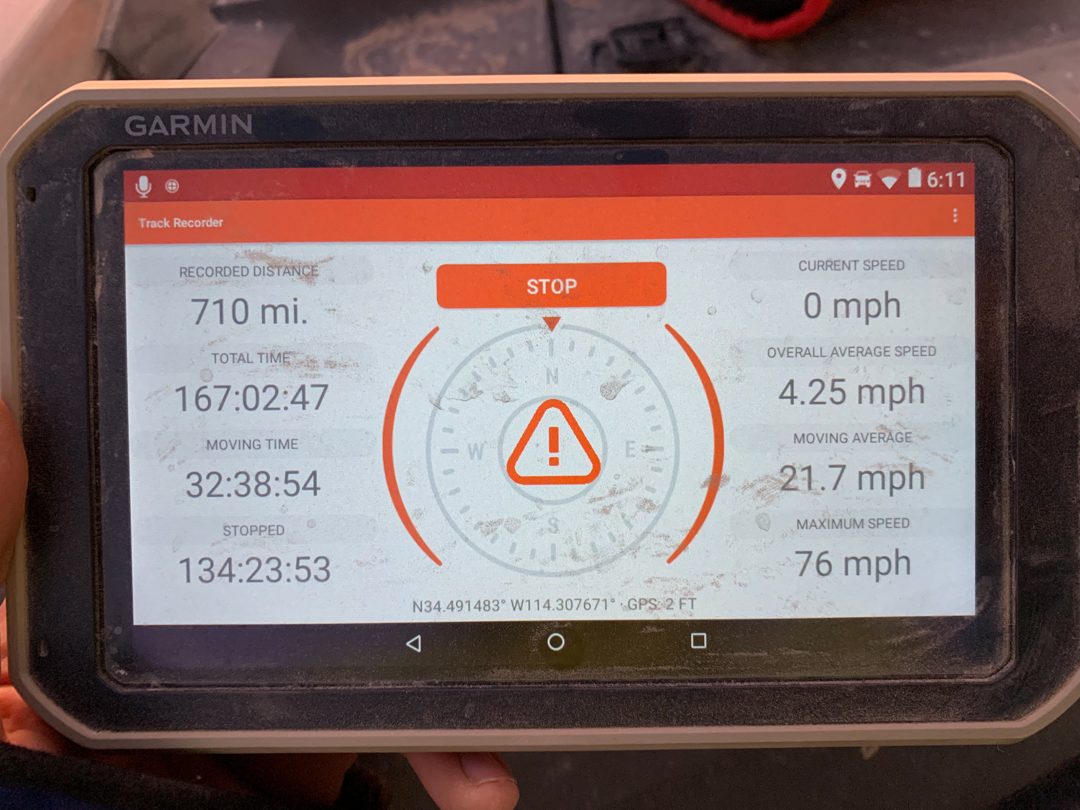
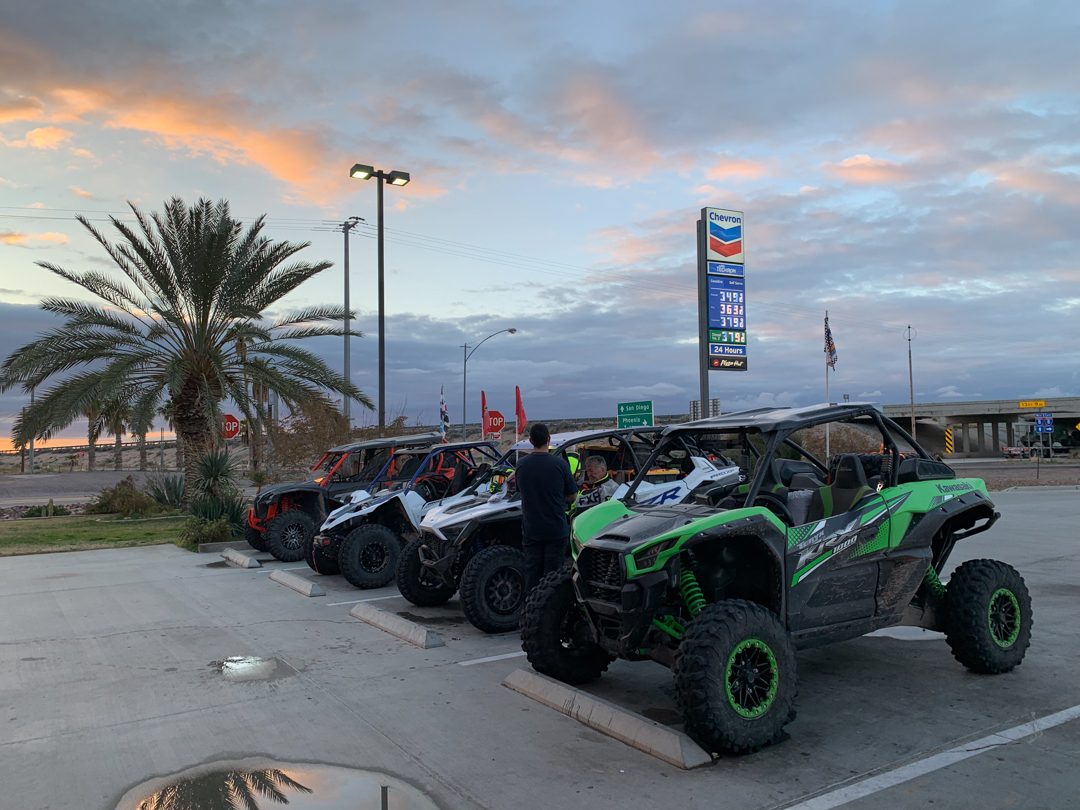
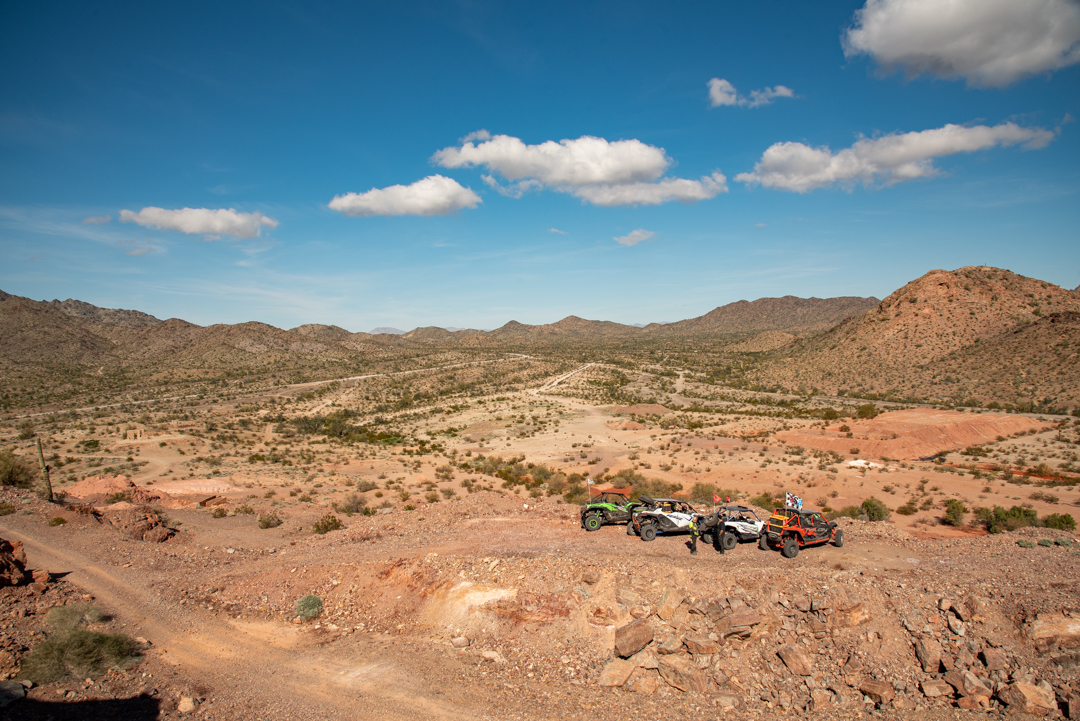
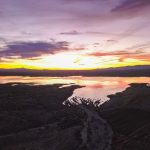
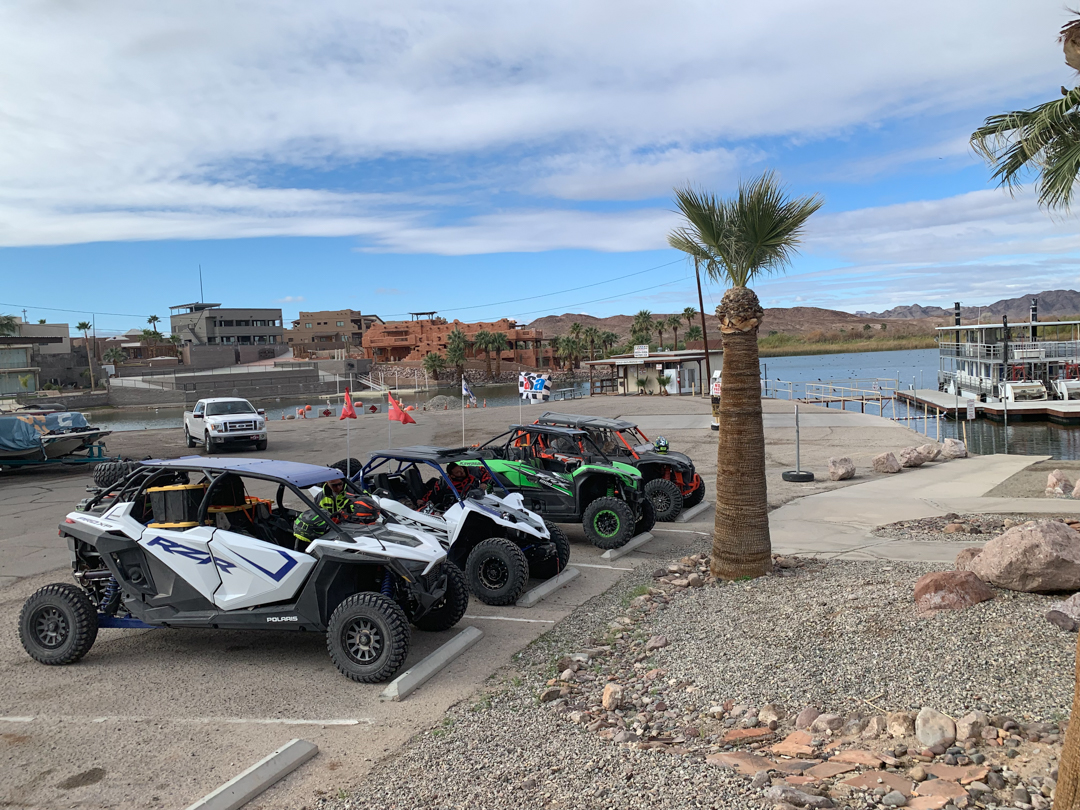
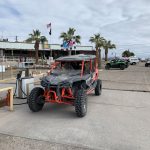
Who’s ready for a 7-day, 710 mile UTV adventure?!
Story & Photos: Casey Cordeiro
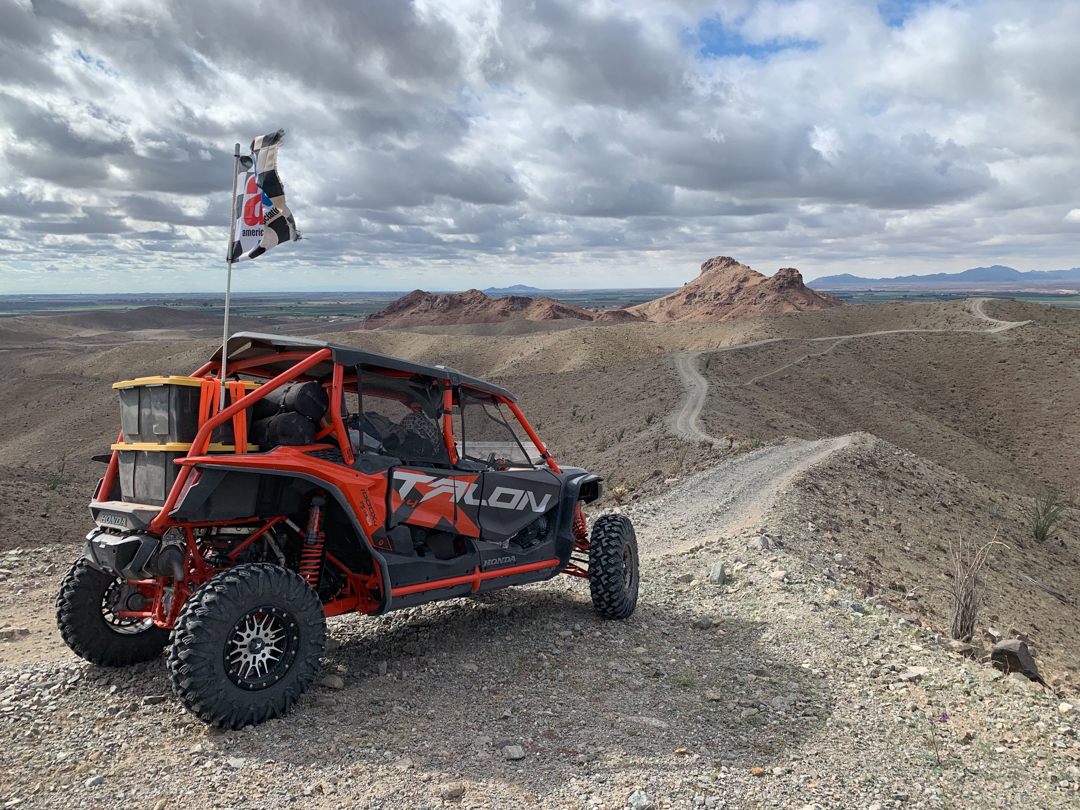
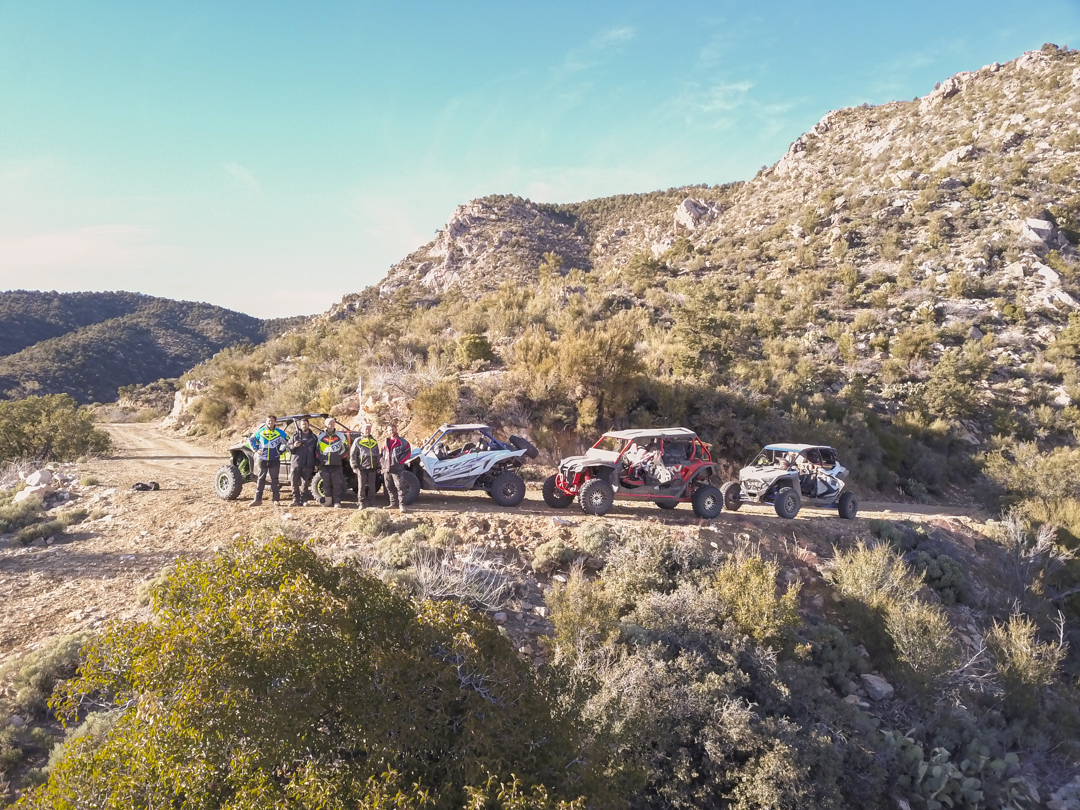
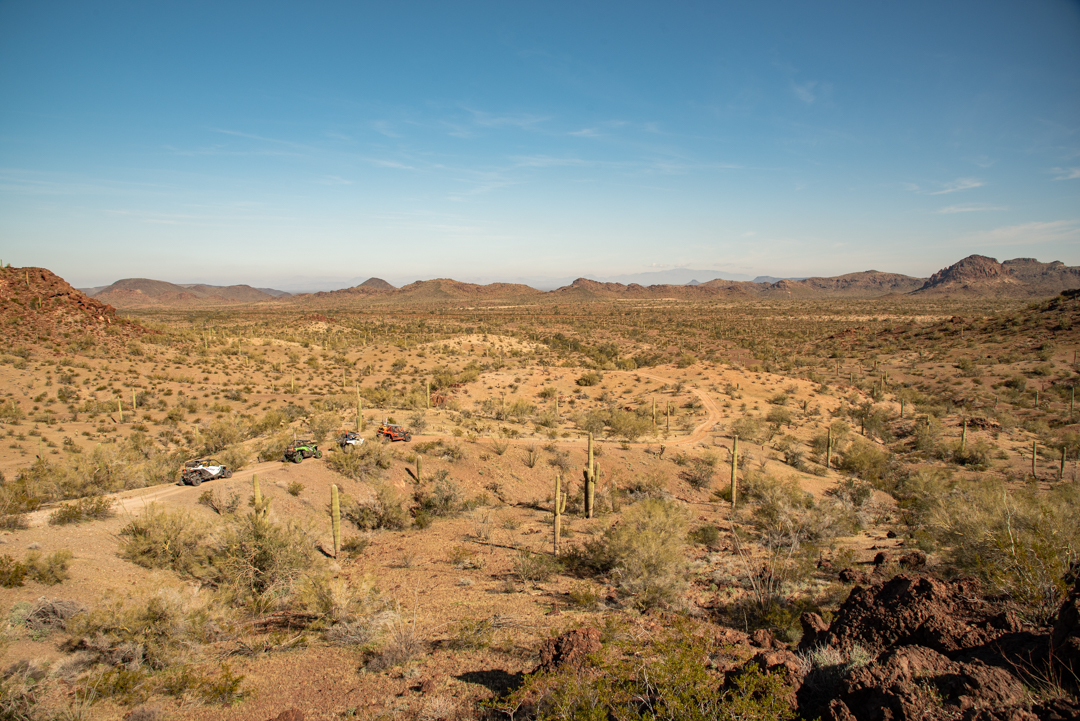
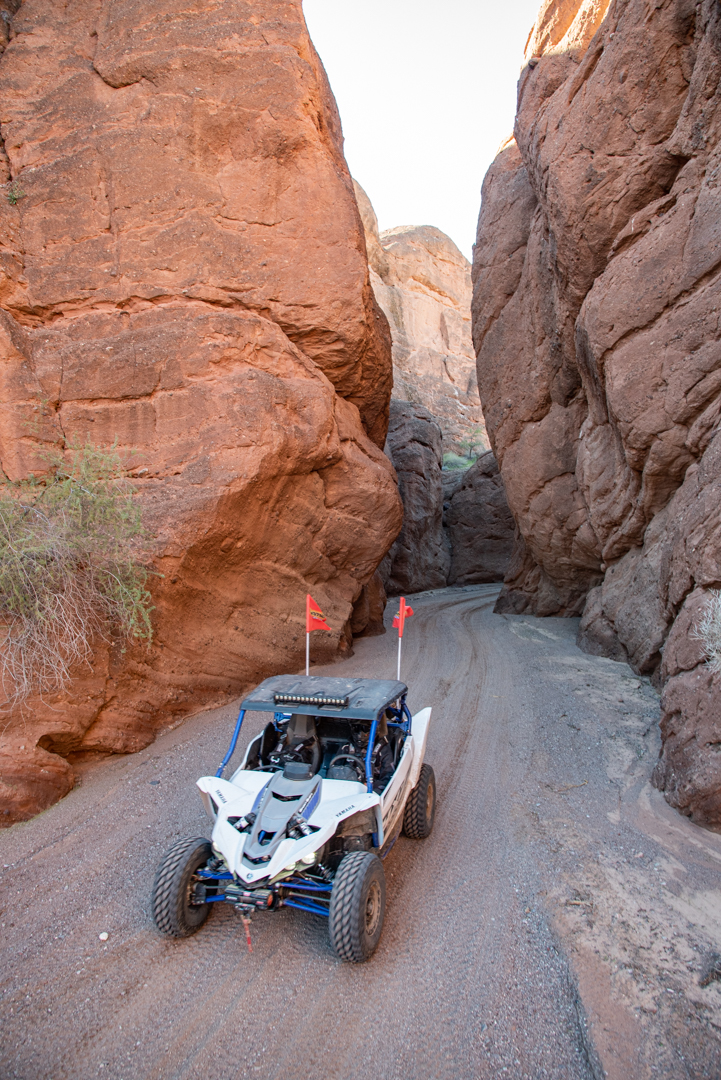
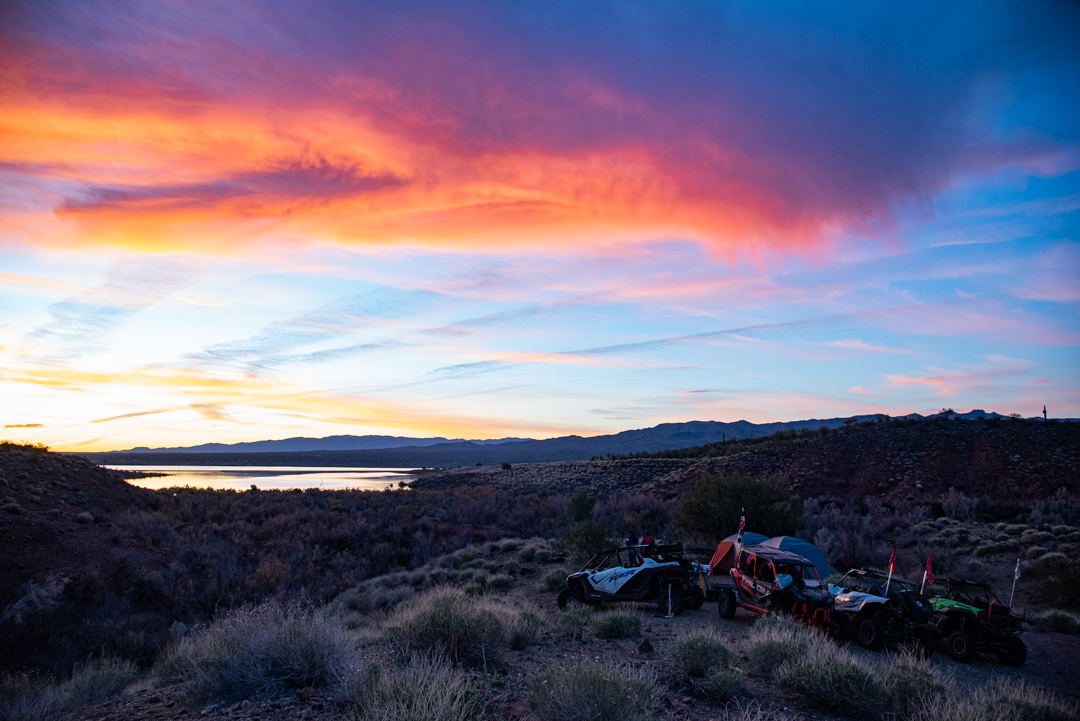
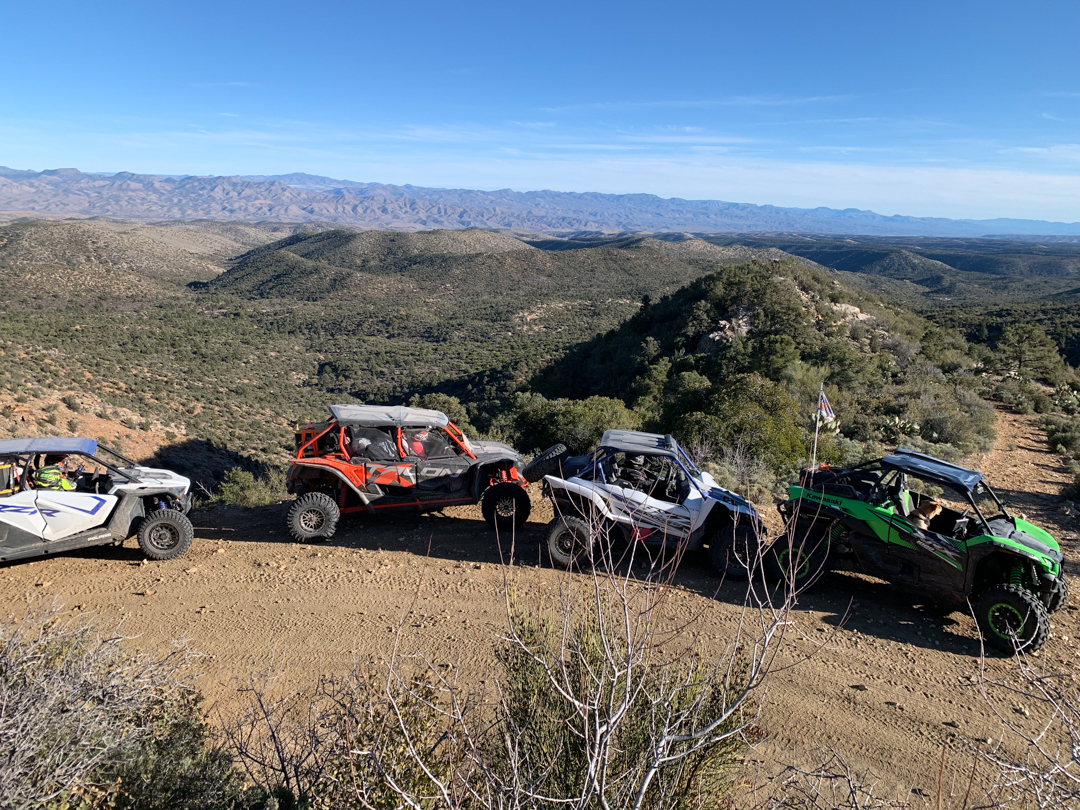
If you’re looking for an epic, multi-day UTV ride that takes you through some of the best off-road scenery in the USA, look no further than the Arizona Peace Trail (APT). We recently the completed the entire Peace Trail route south of the I-40. 7 days, 6 nights, 5 nights of camping off-the-grid, 5 guys, 4 UTVs, and 710 miles of total awesomeness. “Epic” doesn’t even begin to describe the journey that the AZ Peace Trail provides! Let’s relive the journey…
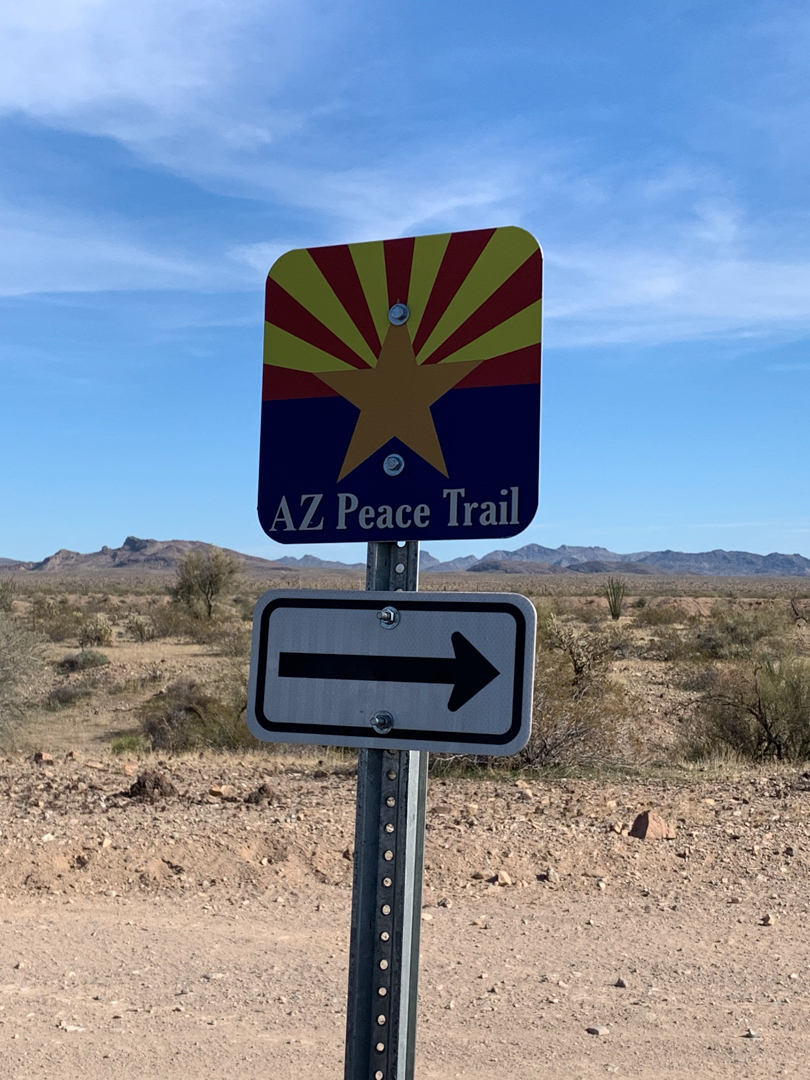
What is the AZ Peace Trail?
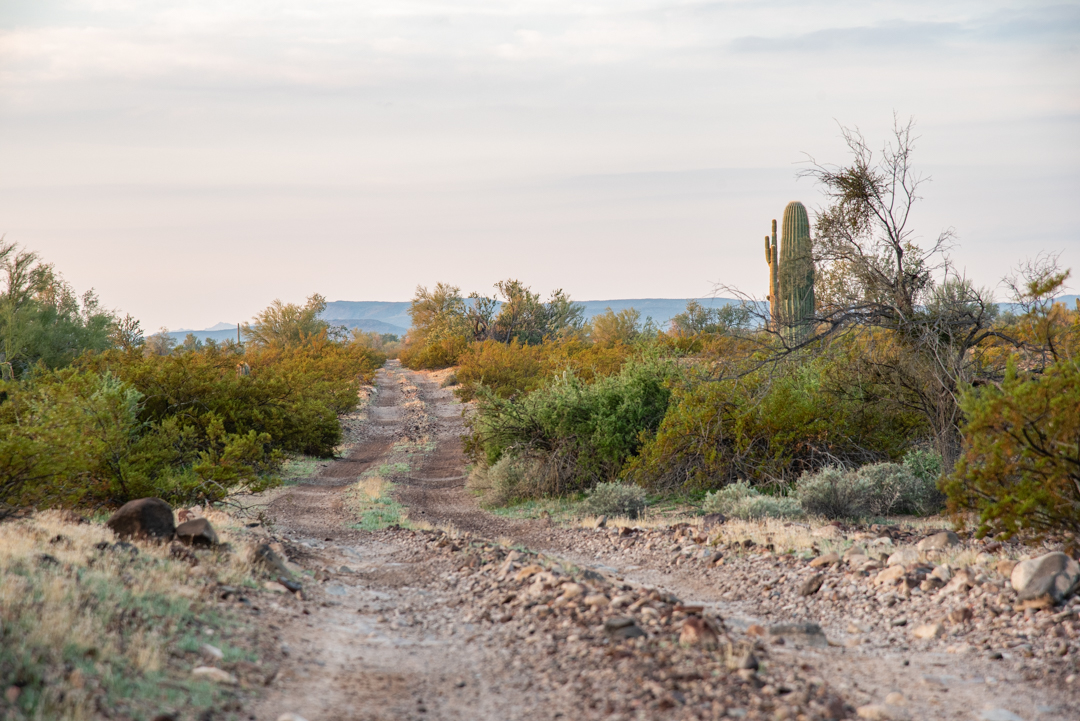
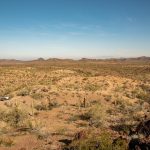
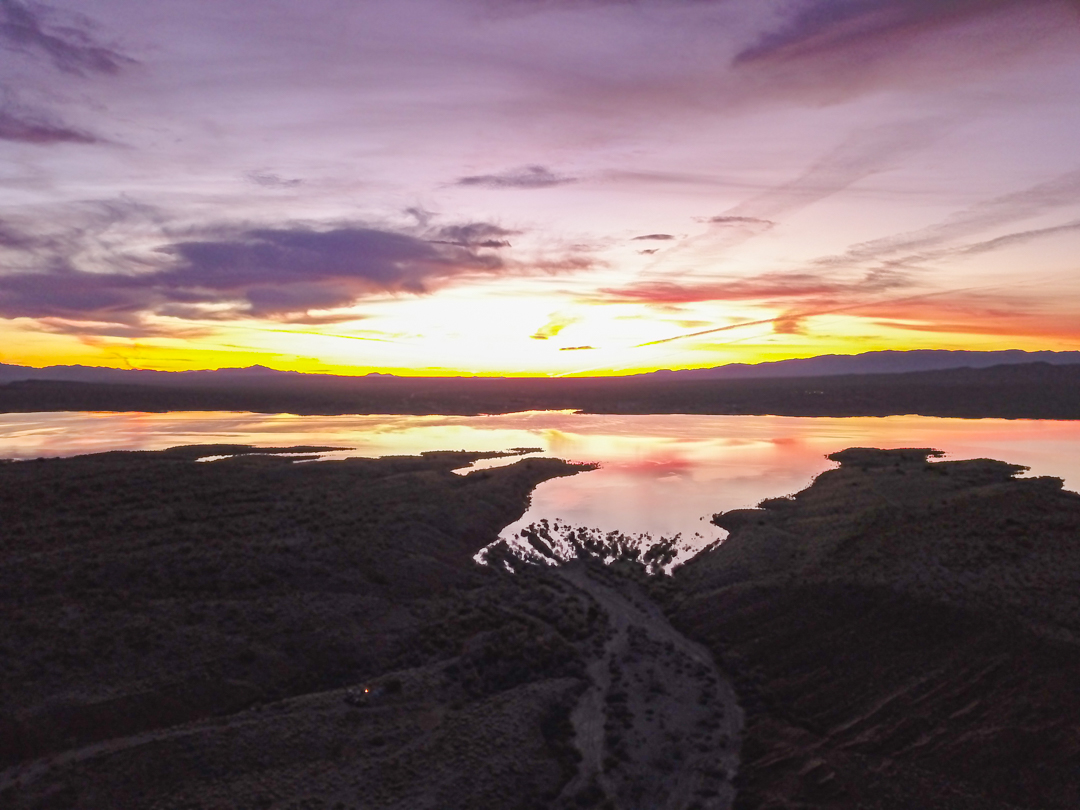
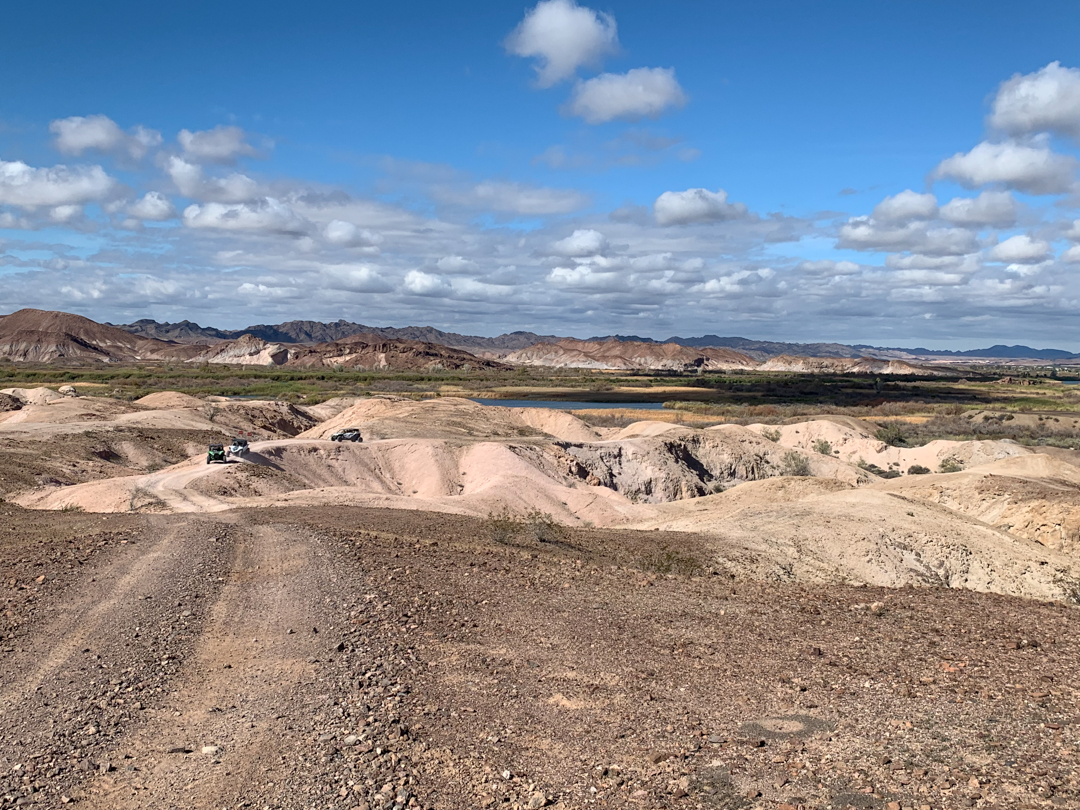
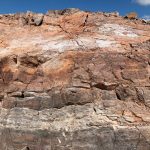
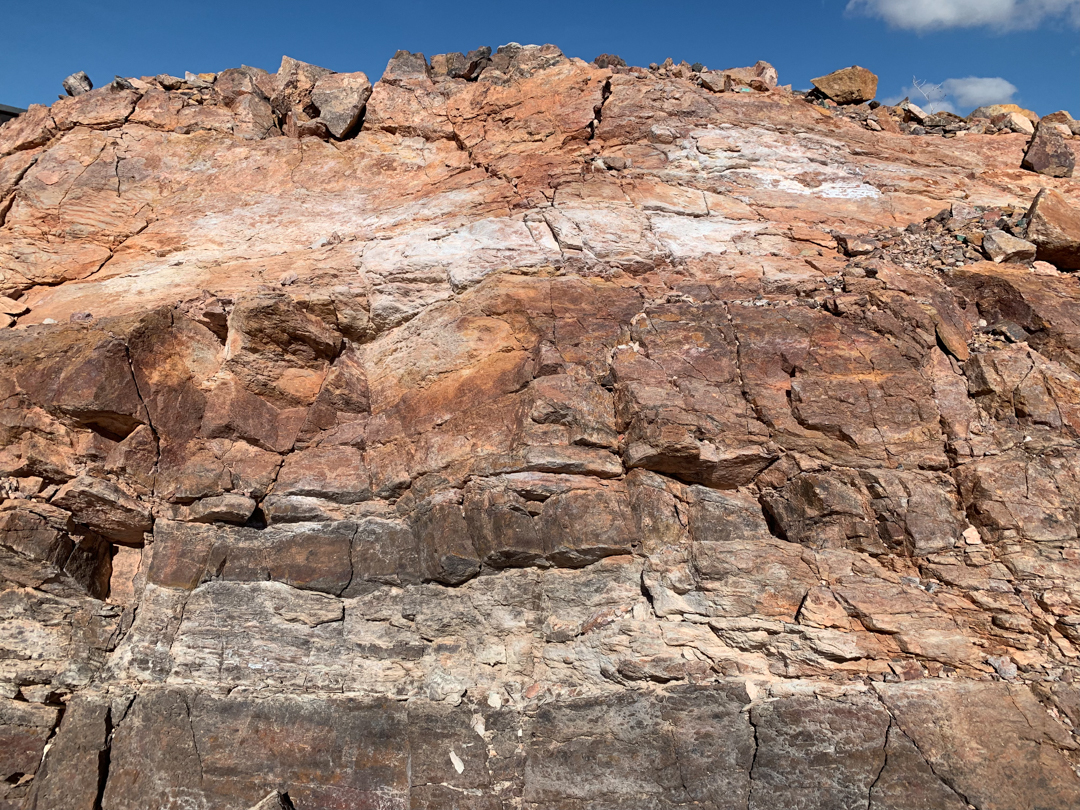
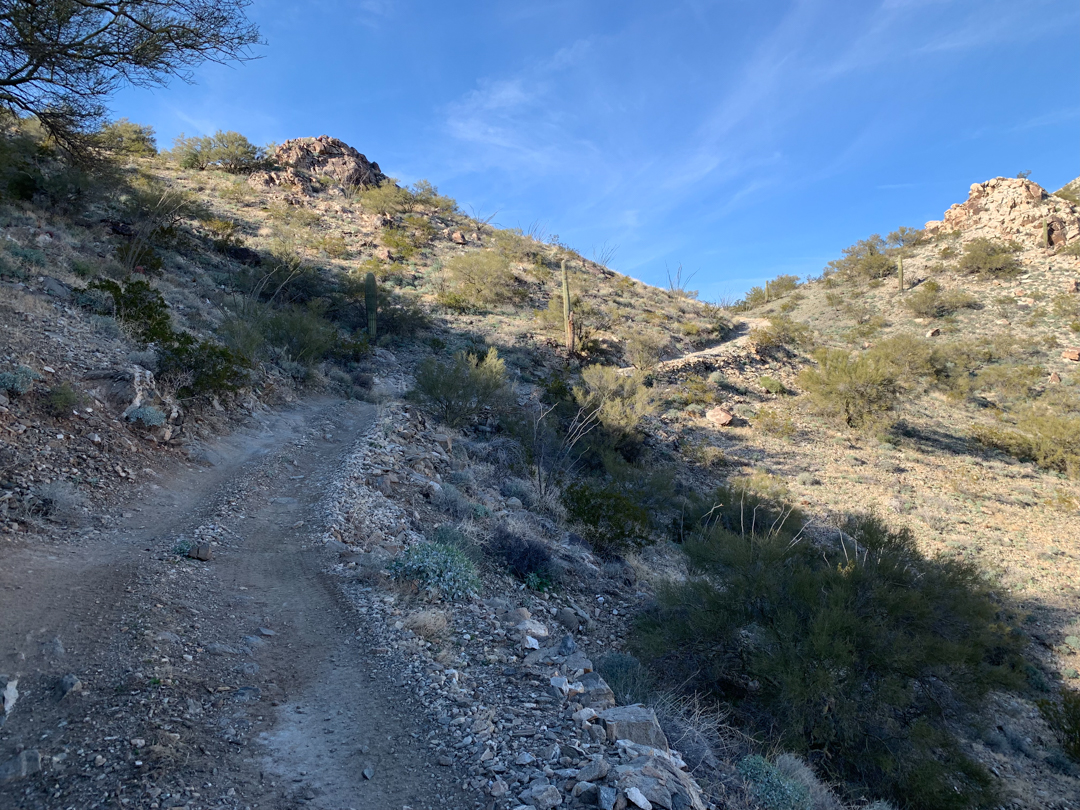
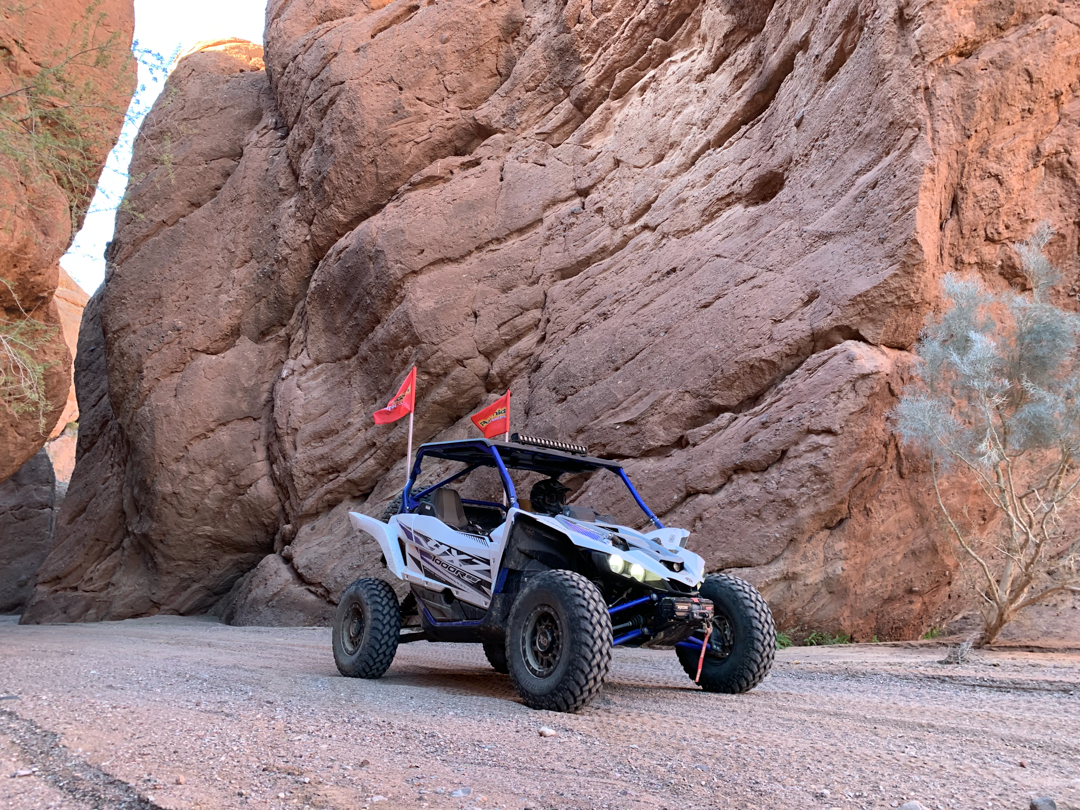
If you haven’t heard of it before, the Arizona Peace Trail is touted as a 675+ mile off-road adventure on the west side of Arizona. This area in western Arizona is known for its varying desert landscape and vast mountainous terrain. While the majority of the APT is in the low lying desert regions of Arizona, there is a great section of the trail that meanders its way up to the gorgeous Hualapai Mountains. At almost 7000 feet, you need to be ready for just about anything when you take the journey up to these mountains, including the possibility of seeing snow up here. The snow we encountered was less than a foot deep, but it was still awesome to go from mountain peaks all the way to the valley floor of the Colorado River in just a matter of a couple hours.
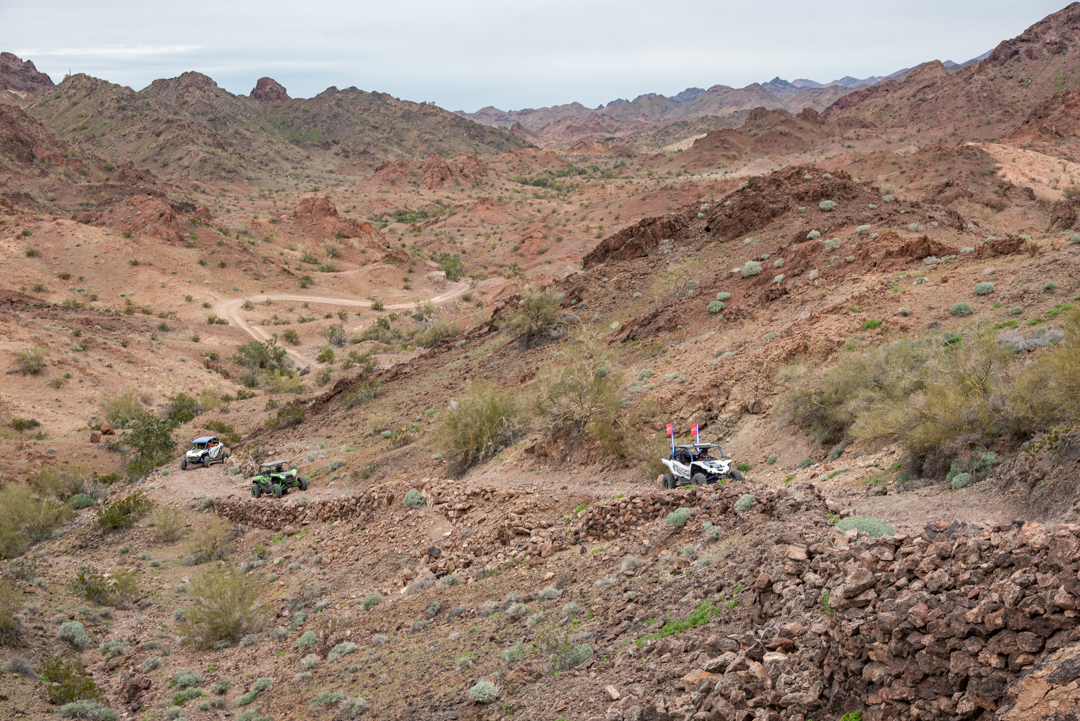
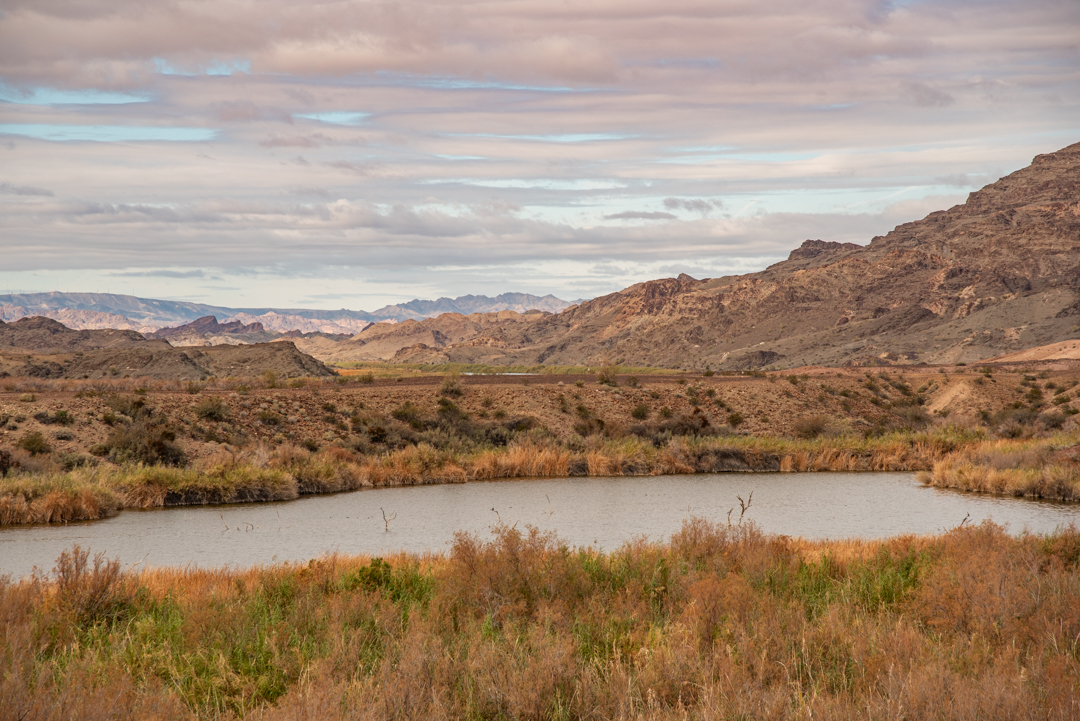
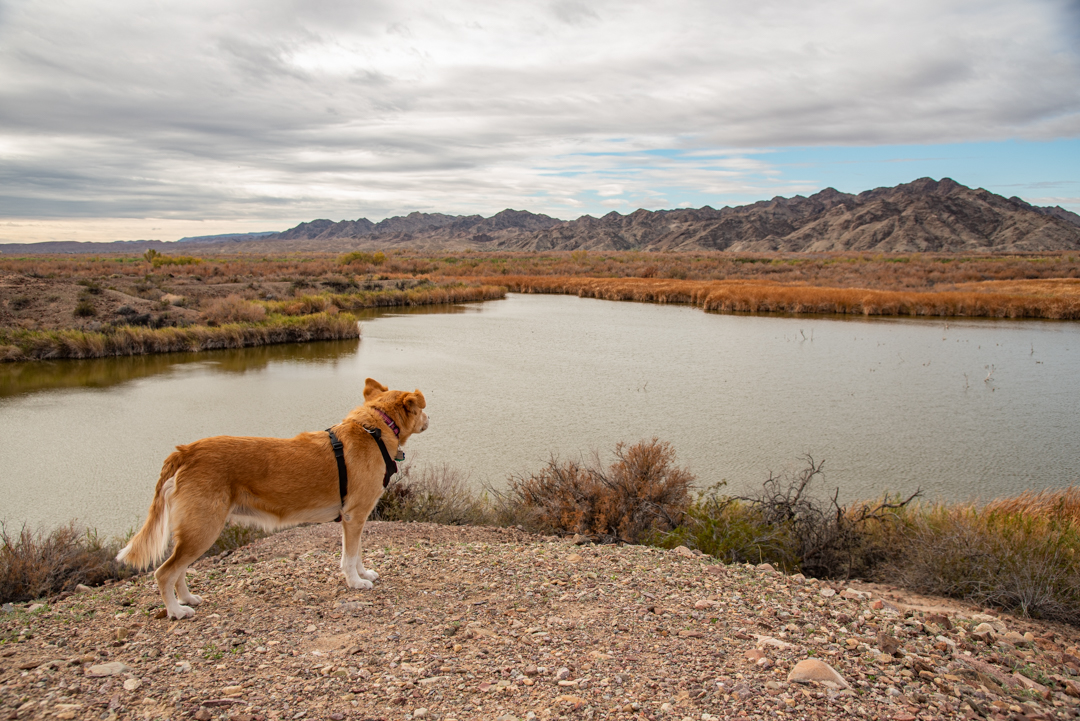
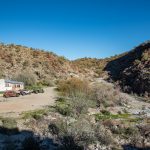
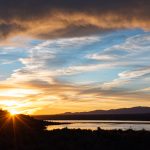
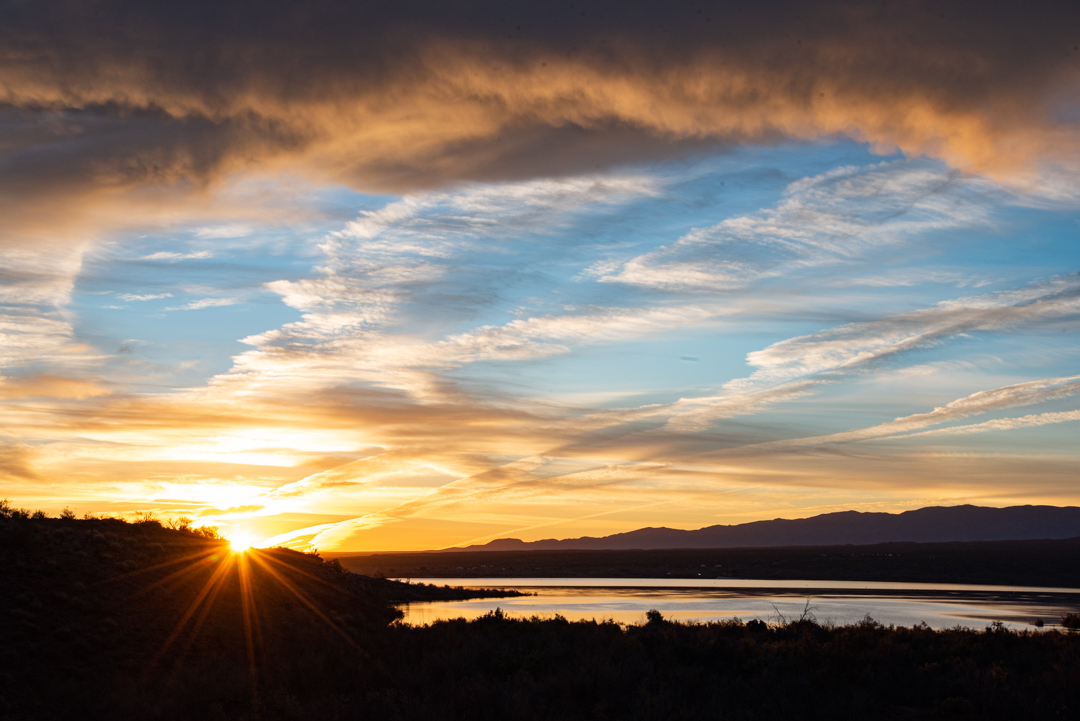
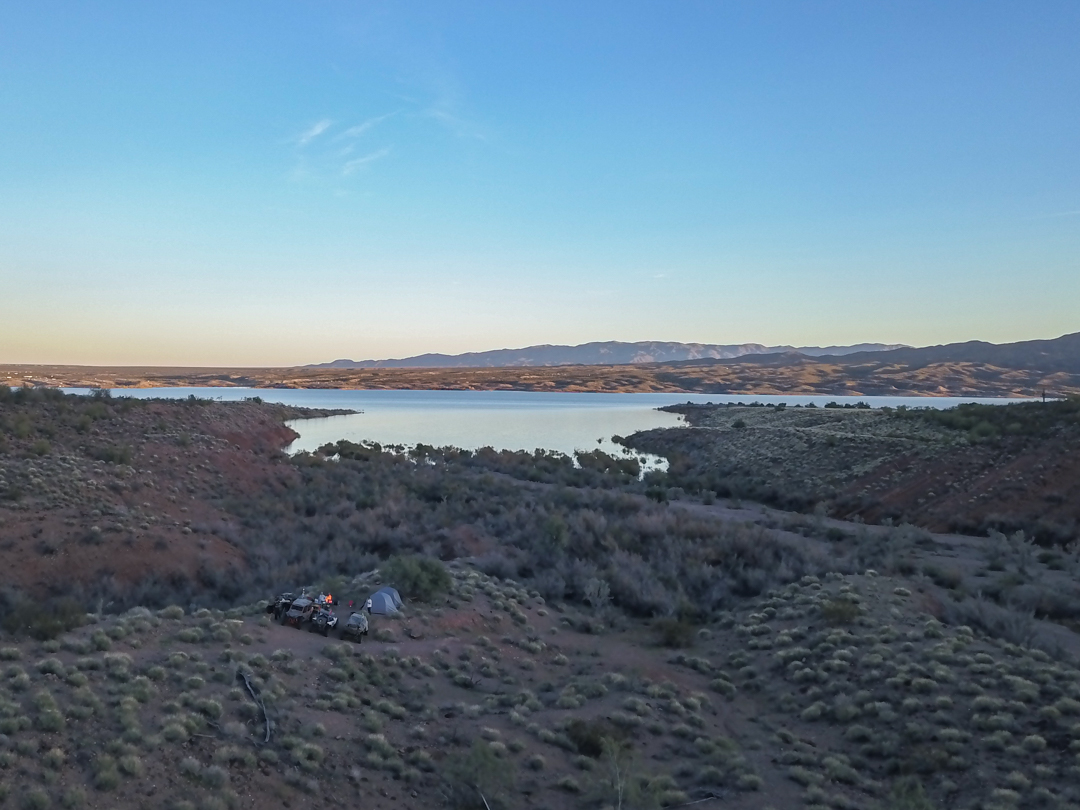
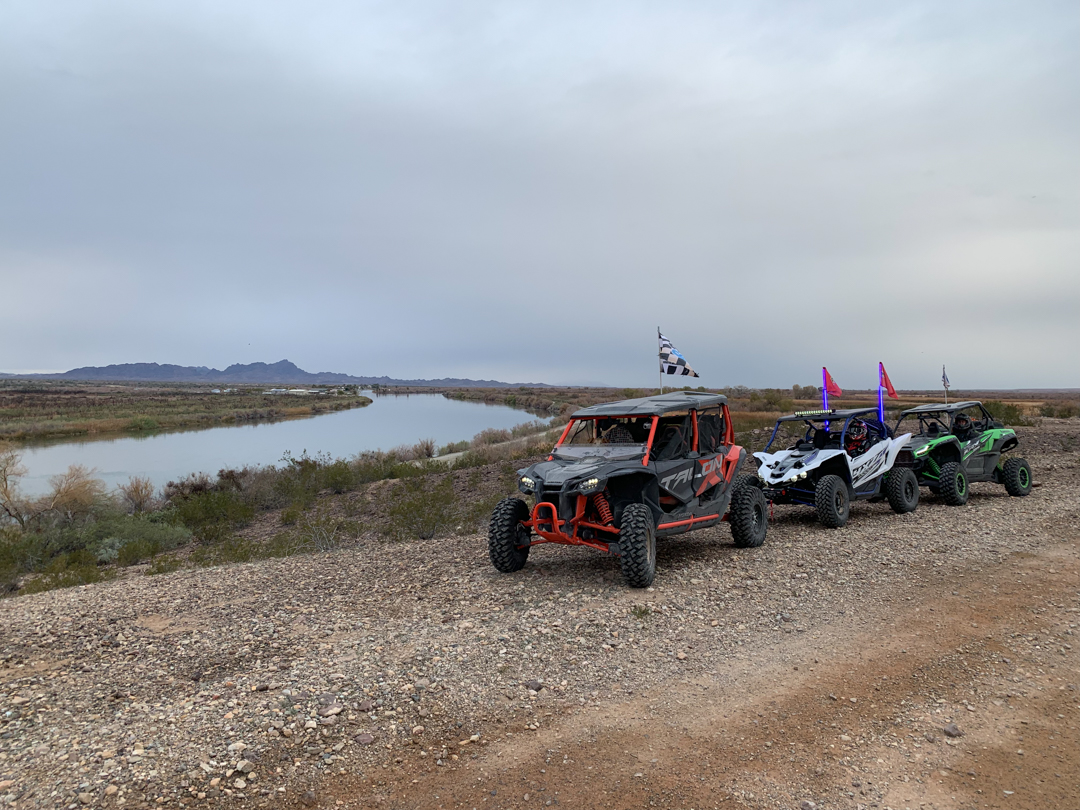
Near Cibola National Wildlife Refuge and the Colorado River
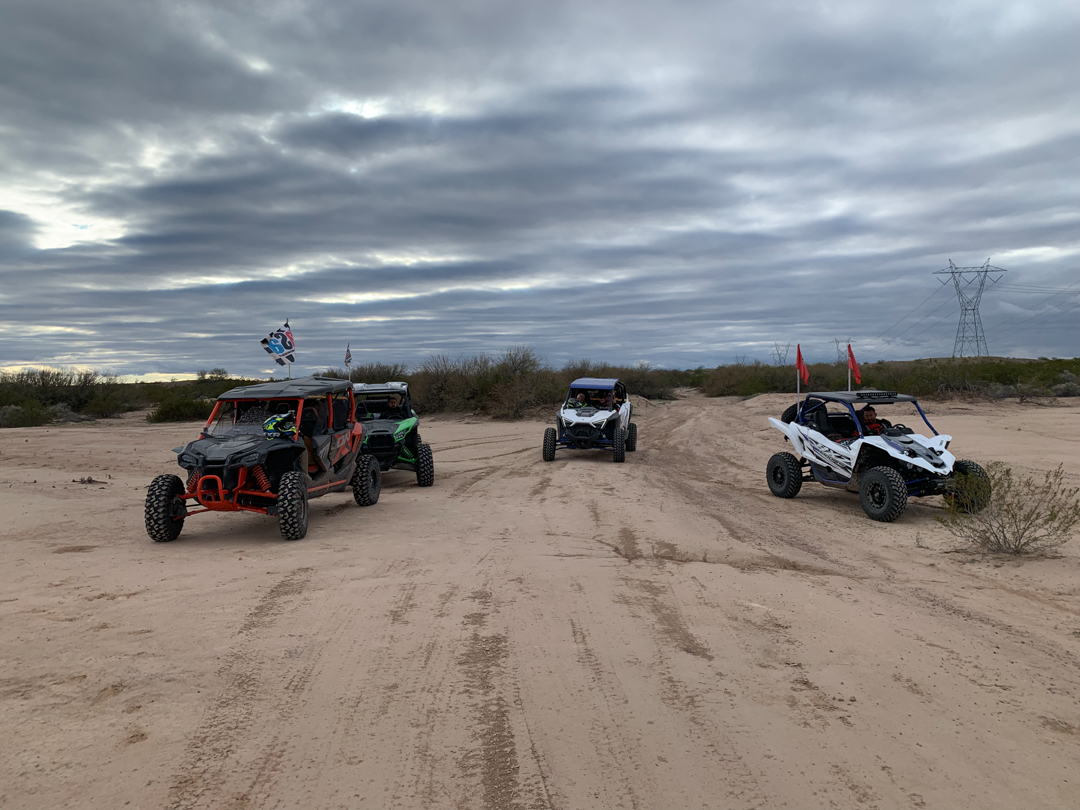
The Arizona Peace Trail was formed by a group of off-roaders looking to connect all of the different off-road opportunities in western Arizona. There are UTV riding hotspots all throughout this area, but not many people had the determination and know-how of connecting all the dots. So the founders laid out a trail and acquired approval from the state to create the loop ride we now know as the Arizona Peace Trail. There are some markers that dot the trail, but not enough to direct you through the entire loop. At the end of this article are several resources if you want to tackle this yourself, including a link to maps that you can download for free. These are in GPX format, which can be imported to most GPS systems these days.
Not only can you complete this trail in a UTV, but Jeeps, dirt bikes, and quads have also been known to tackle the trail. We found out quickly that many people don’t complete the entire trail, as evidenced by the “you’re crazy!” looks that we got from more than a couple people along our route. We got questions like, “Are you really doing the entire thing?”, and “how many days have you been riding?” It’s almost like the perma-sweat stain on our FXR jacket collars weren’t a dead giveaway that we hadn’t taken them off in days…
Anyways, let’s get into what it takes to ride this trail, and then what we saw on a daily basis…
Preparation
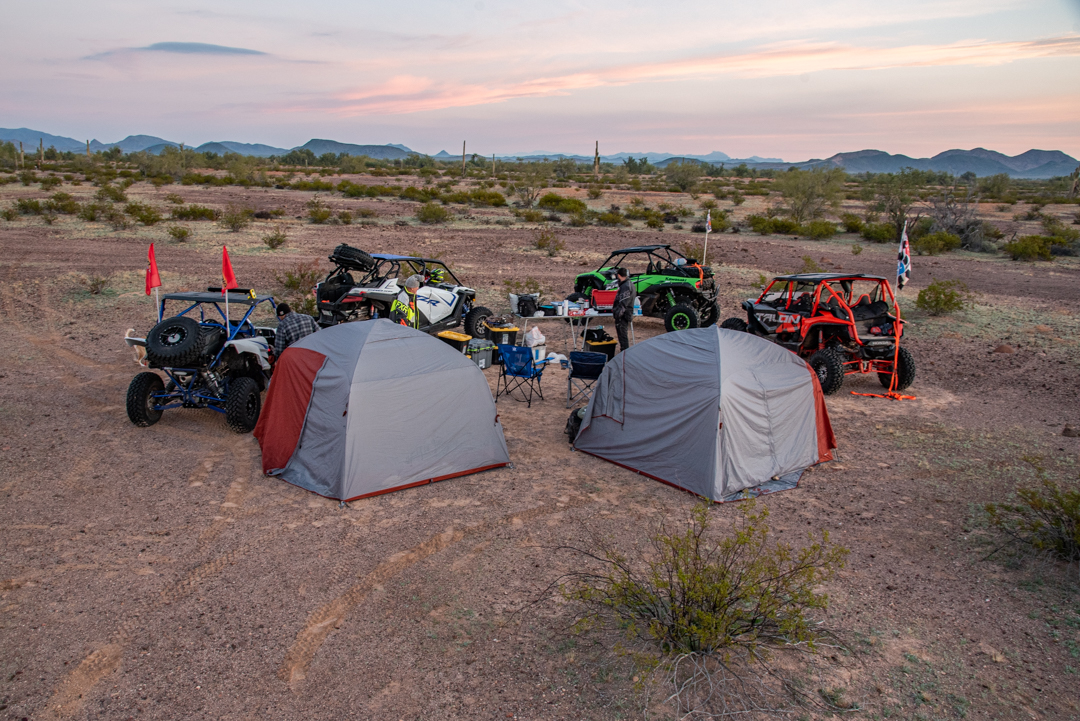
As I’m sure you already know, the key with any long ride is preparation, preparation, and more preparation. Most people think that this is just relevant to the machines that you take on a journey, and you aren’t wrong if you think this way – we did a ton of machine prep and gathering of extra parts. But there is also a personal component to the preparation as well, mentally and physically. Are you ready to be out in the “middle of nowhere” for 6 days straight without the ability to call up your closest neighbor when you’re 400 miles from home base? Can you handle sleeping with the coyotes at night? What about taking a dump in the woods? Maybe that’s a bit too real, but those are all things that we had to manage on this trip and things that you’ll have to think about. Sure, there are hotels along this route and they do provide a more homey place to sleep at night, but we really wanted to get the full experience here. Plus, the hotels take away from the full experience of this off-the-grid trail.
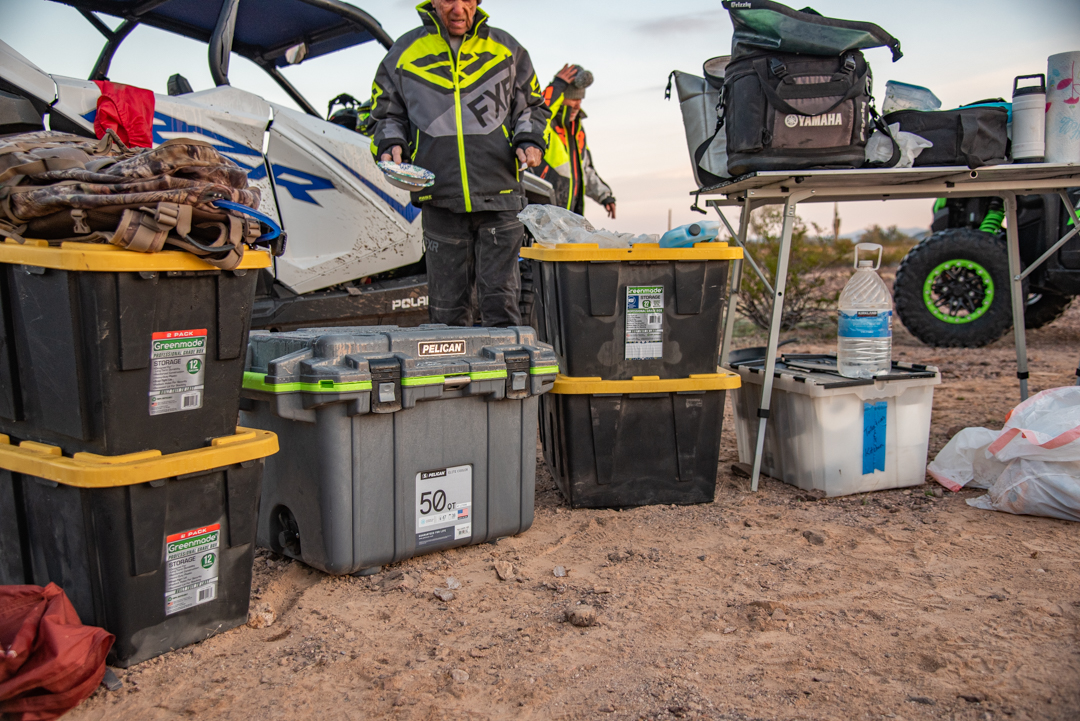
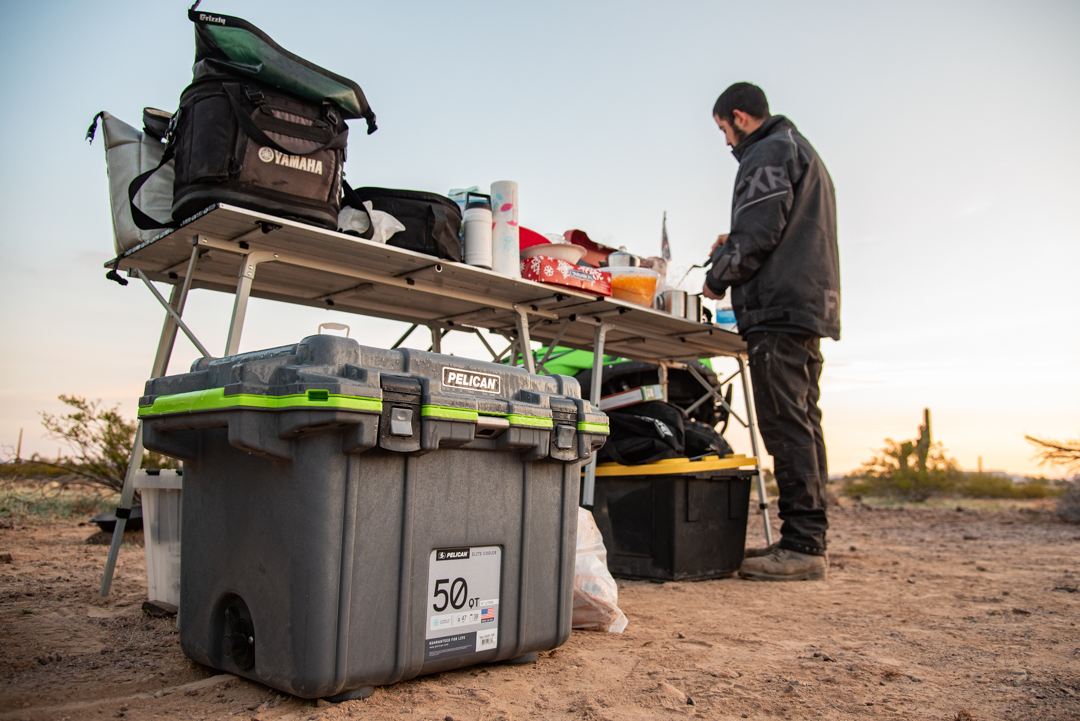
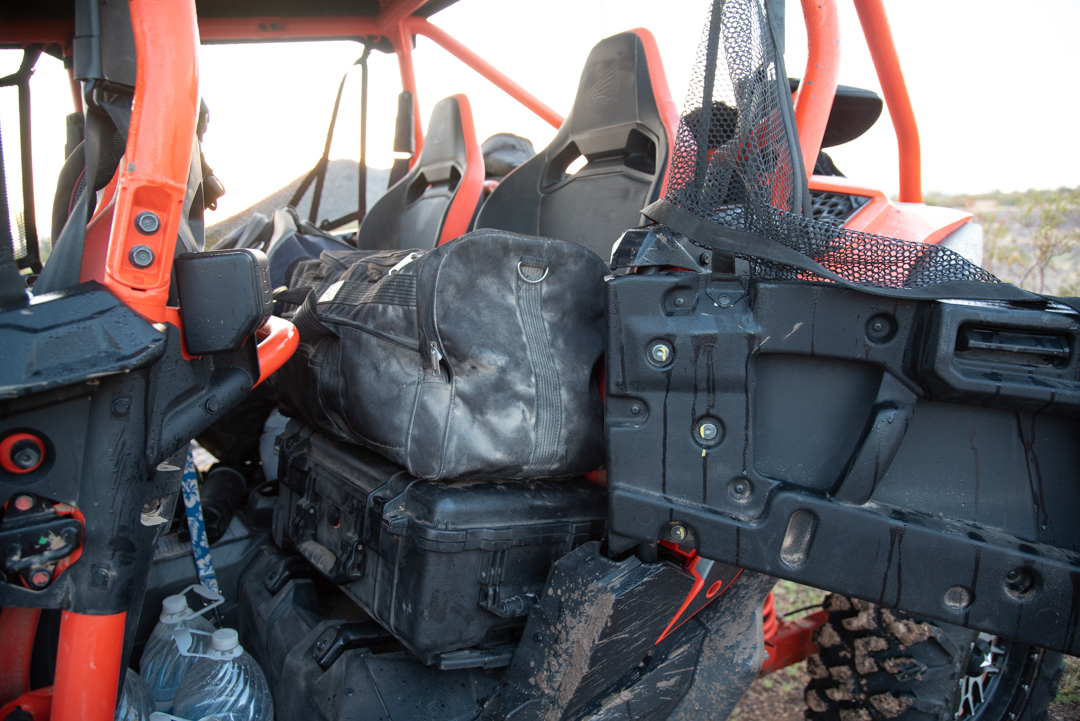
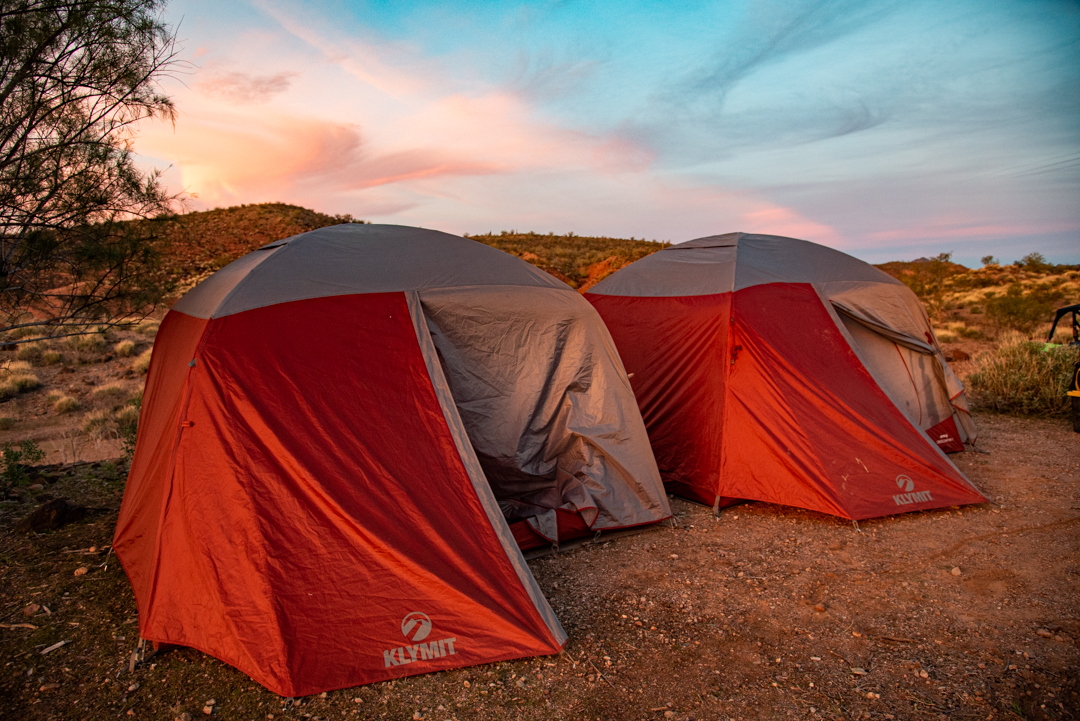
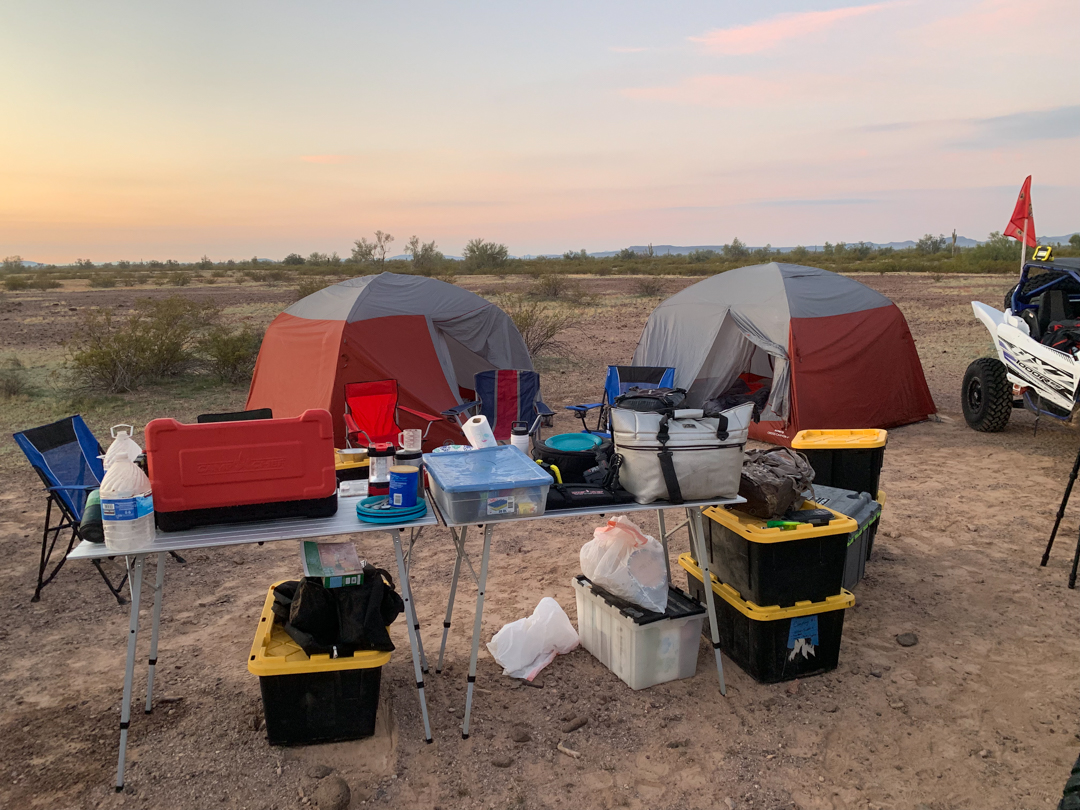
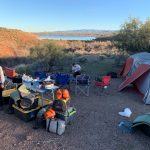
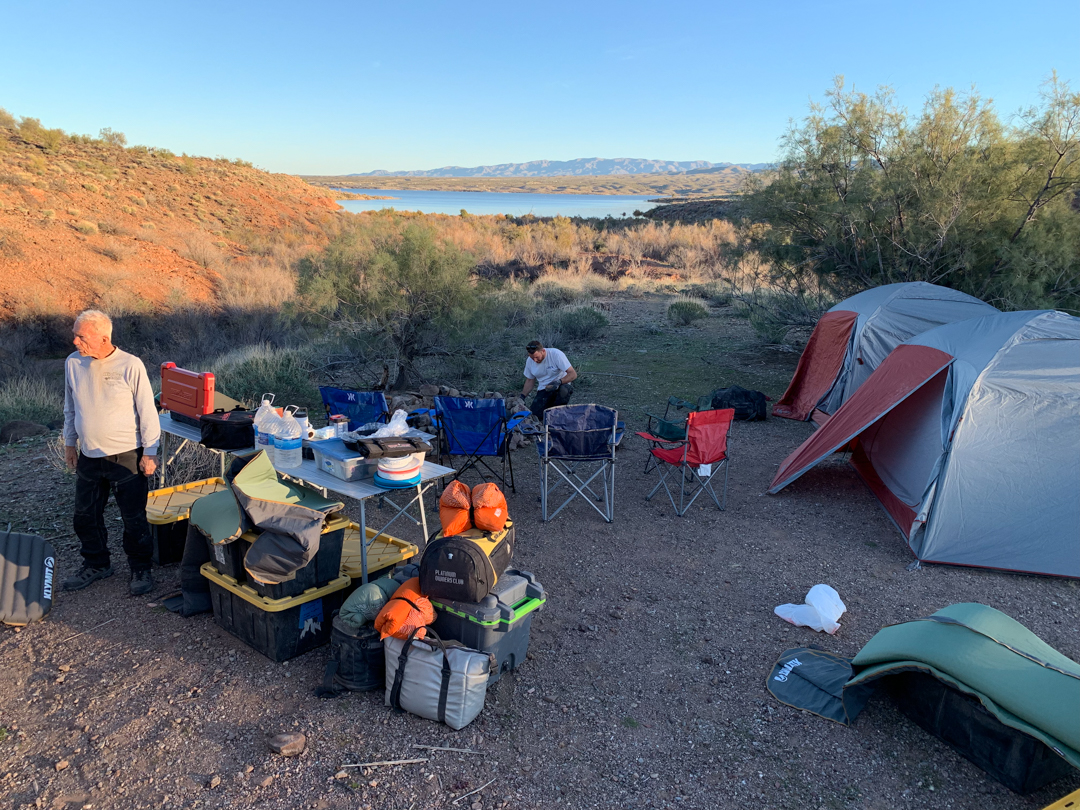
We used these plastic storage bins to contain all of our belongings on the trip, along with a stellar Pelican ice chest that only needed ice once on the entire 7-day journey.
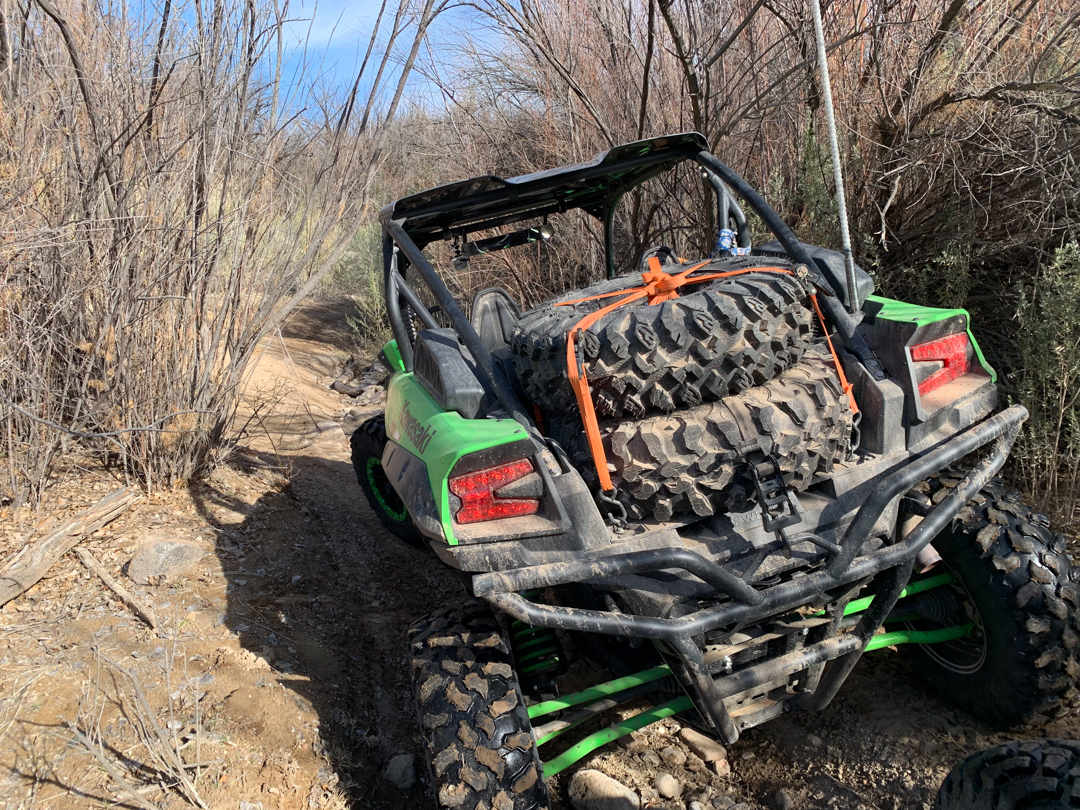
On the machine side of things, we had to first make sure that all fluids were full, fresh, and ready to go. Then we had to collect spare parts for each machine, make sure we had spare tires and a way to air up any tires. I brought everything from spare breaker bars, which can make a spare tie rod in a pinch, to spare belts for the CVT-driven cars, to spare fluids like oil and antifreeze. Then there were the spare fuses, wiring, complete tool box full of sockets, jack, wrenches, duct tape, gloves, plugs, bolts and nuts, hoses, bailing wire, rags, drills, and just about everything else you can think of. In total, the tools and spare parts took up one entire plastic bin, which actually wasn’t too bad considering that was everything for 4 vehicles. Every vehicle had a spare tire, and I went through every beadlock wheel and bolt on each vehicle to check torque before the trip started. Once we had everything loaded, the machines were more than ready to go.
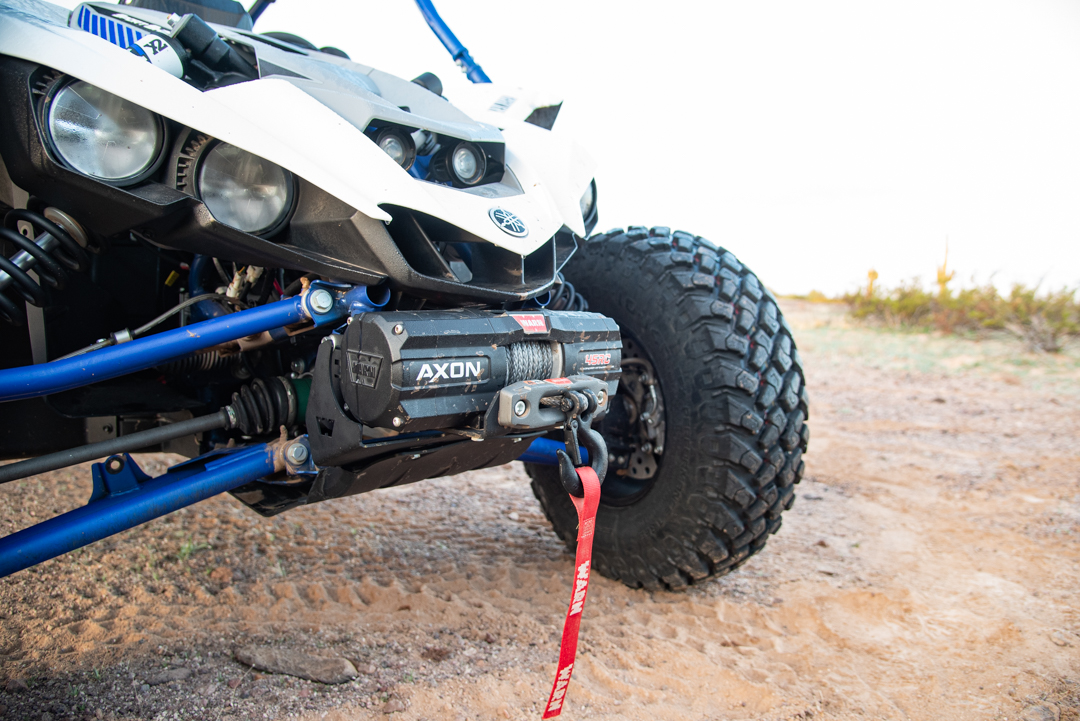
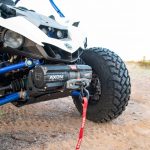
A WARN winch is mandatory on a trip like this. A winch will help you get out of a stick situation, change tires, and help in just about any other situation.
One thing I will say about tires is this… If you don’t have at least half tread on your tires before you do this trip, I would recommend you take the opportunity to put some fresh meats on your vehicle. After the abuse from this trip, we had 2 sets of tires wear down half way after being brand new when we started. So, just take that into consideration. You’re going to want the traction for the steep climbs and unpredictable terrain on this journey.
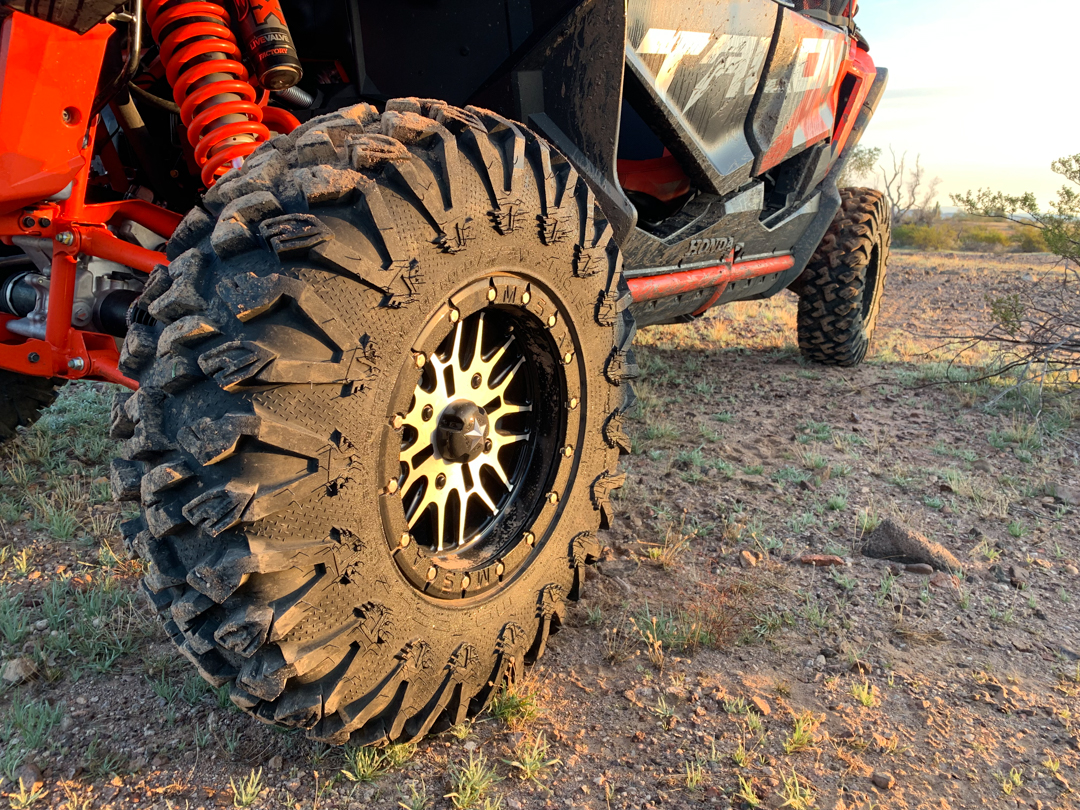
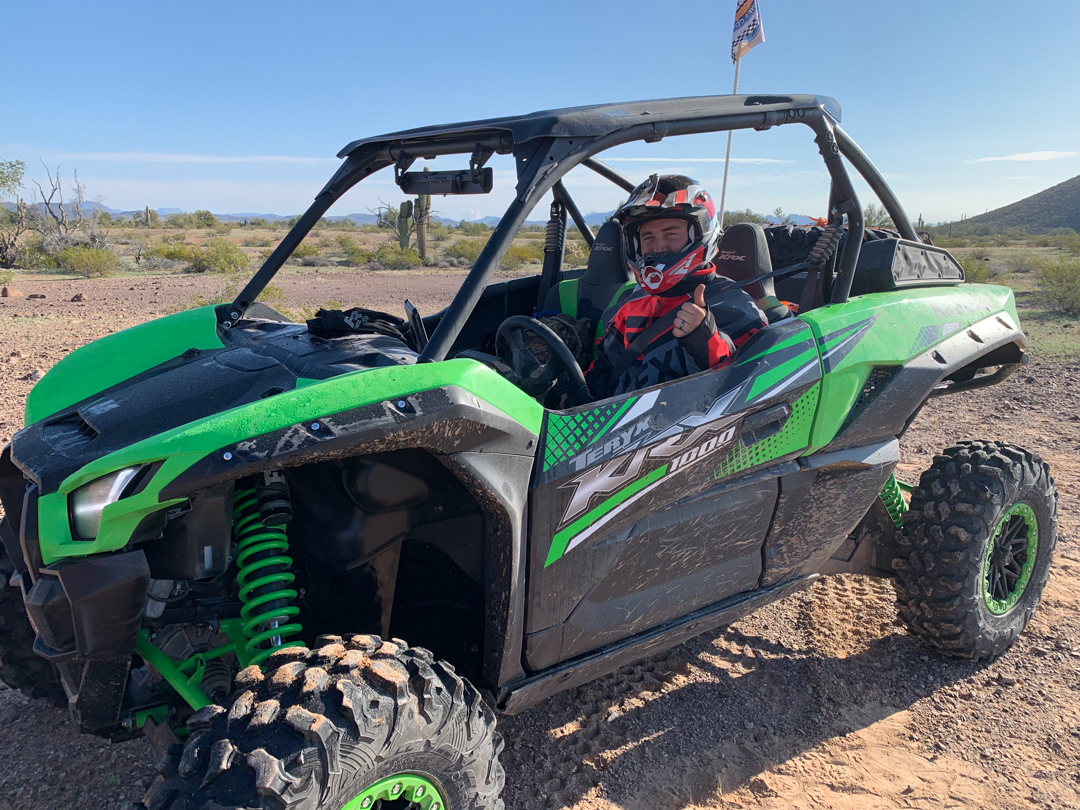
These 31″ EFX MotoClaw tires and MSA M37 Brute beadlock wheels were a great combo on this trip, delivering better traction than the stock tires in every terrain.
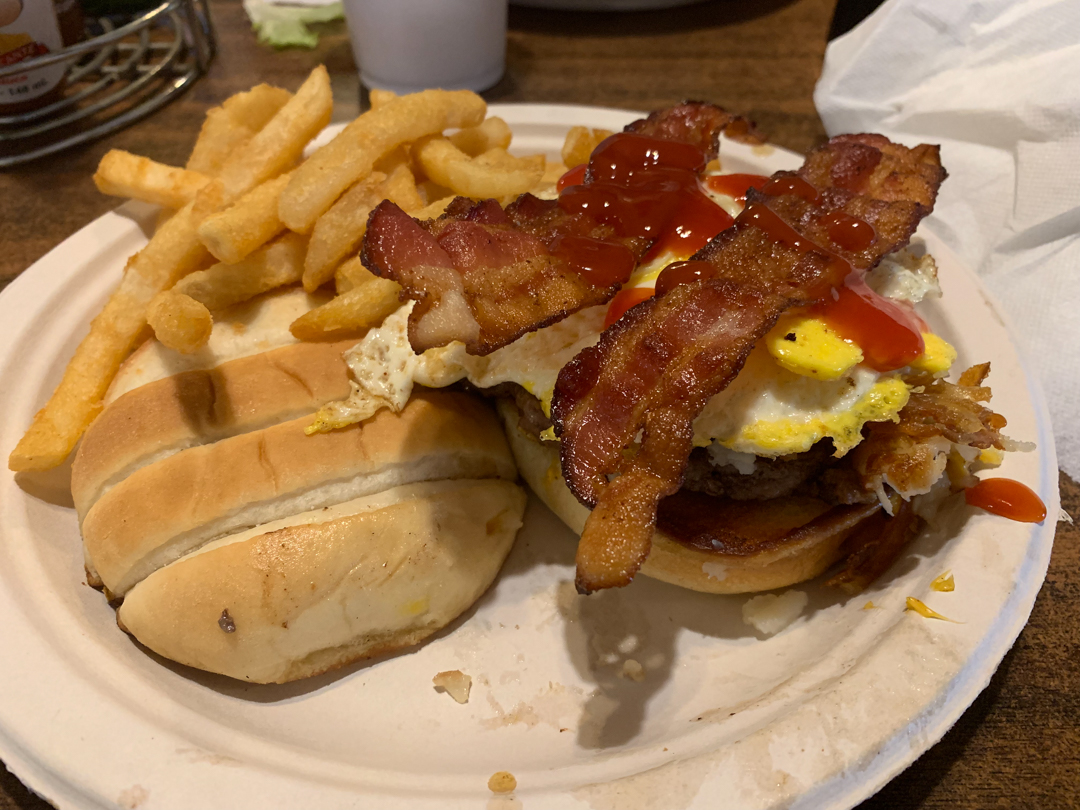
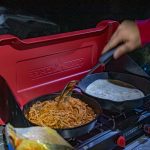
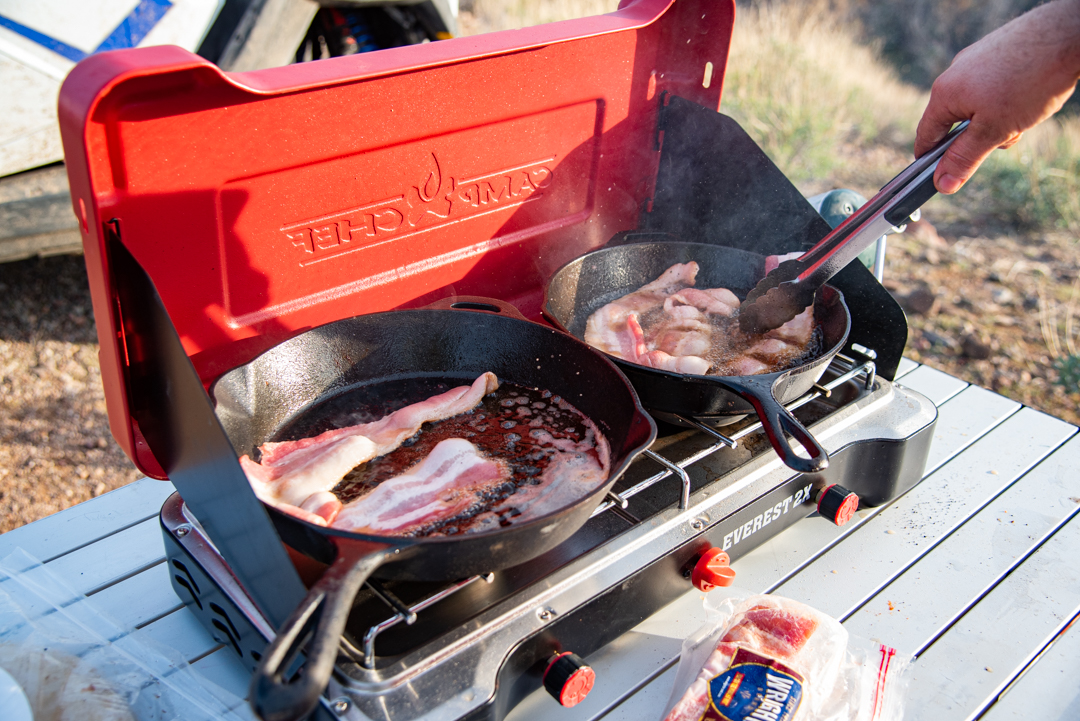
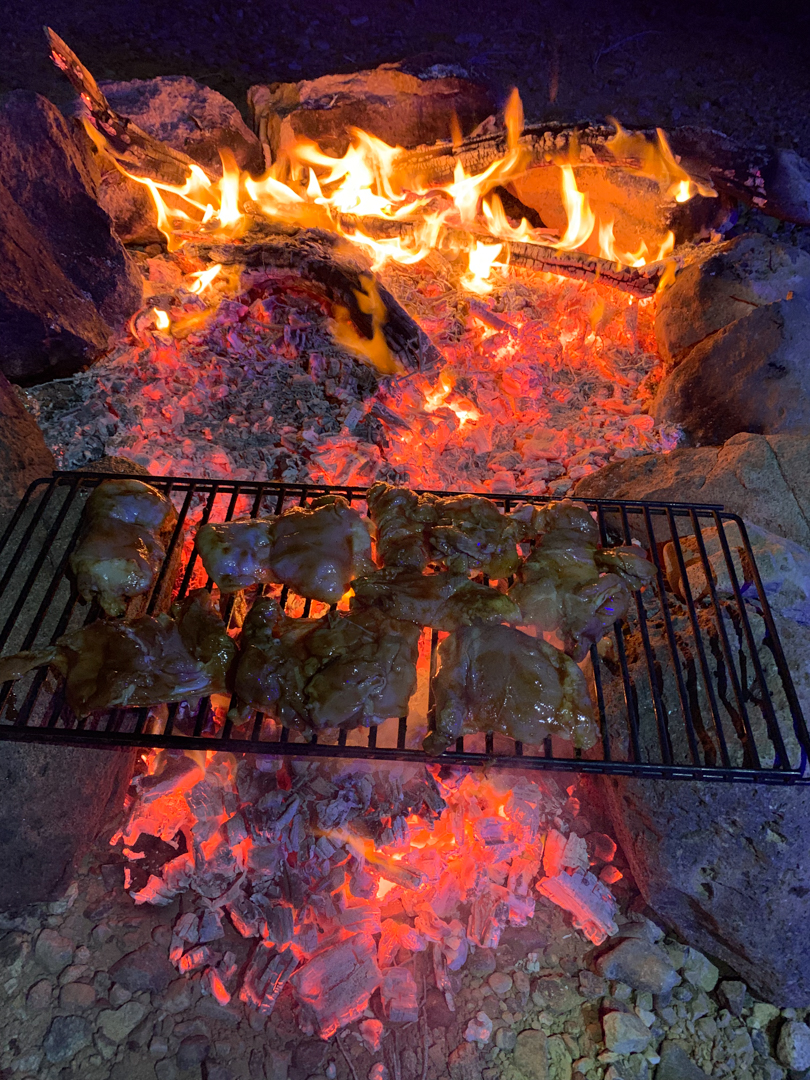
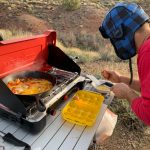
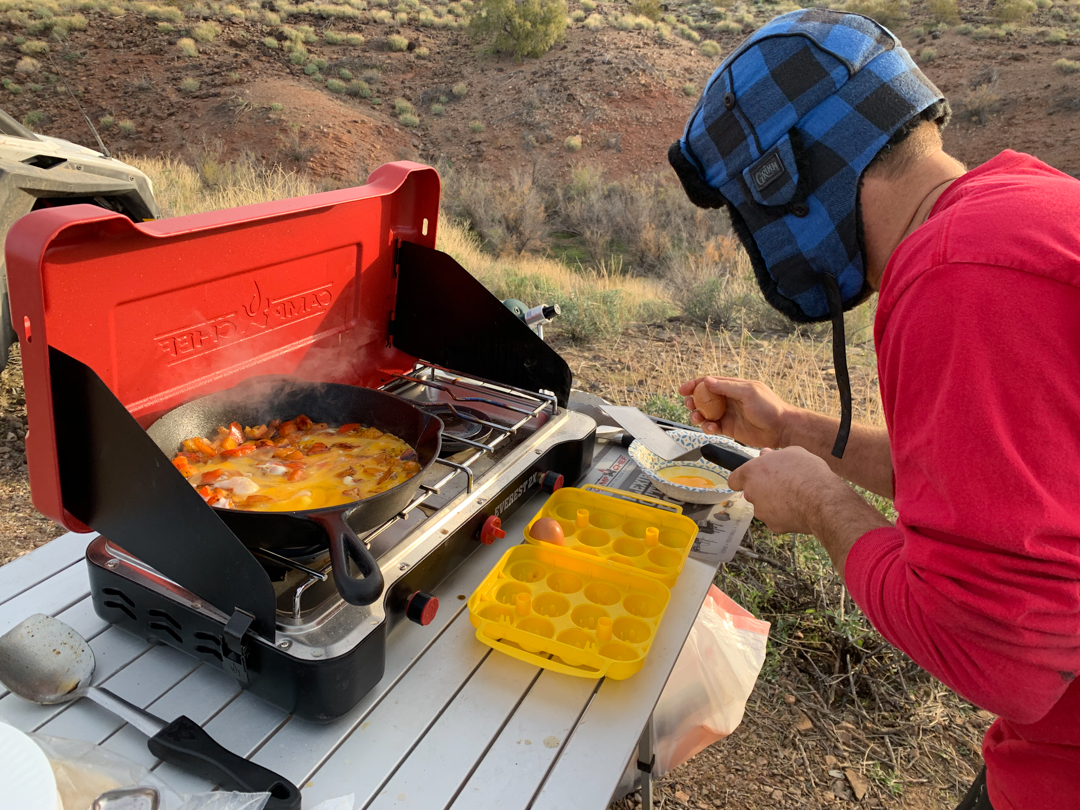
On the personal side of things, I, along with my partner in crime, Jess, prepared almost all of our meals beforehand. For breakfasts, we hard boiled a couple dozen eggs and took a whole bunch of uncooked eggs for fresh meals. One of the guys on our trip, Bubba, brought their family recipe of chorizo and eggs for breakfast burritos. All we had to do was warm it up, heat the tortillas, break out the salsa, and we had fast breakfasts for the trail. When you’re ready to get in the driver’s seat in the morning, fast breakfasts are key. For lunches, we brought several pounds of lunch meat to make sandwiches or wraps on the trail. These are quick and easy and doesn’t create a mess. Dinners were the biggest items to pre-cook, and we made venison chili, spaghetti, and tacos (meat fried with the shell, ready to eat). We also brought marinated raw chicken that we ended up cooking over a campfire on the second night. Pre-making all of the meals was a huge help when we were actually on the trail, giving us more time to just enjoy our surroundings, focus on the process of putting up and taking down camp, and checking over the machines before/after a long days ride. It also gave us more time to enjoy the trail! For packing purposes, we had one main Pelican 50 quart cooler that we got specifically for this trip. This cooler is extremely well insulated, had plenty of room to store our meals, which were placed in plastic Tupperware containers, and had a great build quality that allowed us to strap it down. We had it over the engine in one of the vehicles. Even with the extra heat, the cooler only needed refill of ice once on day 5.
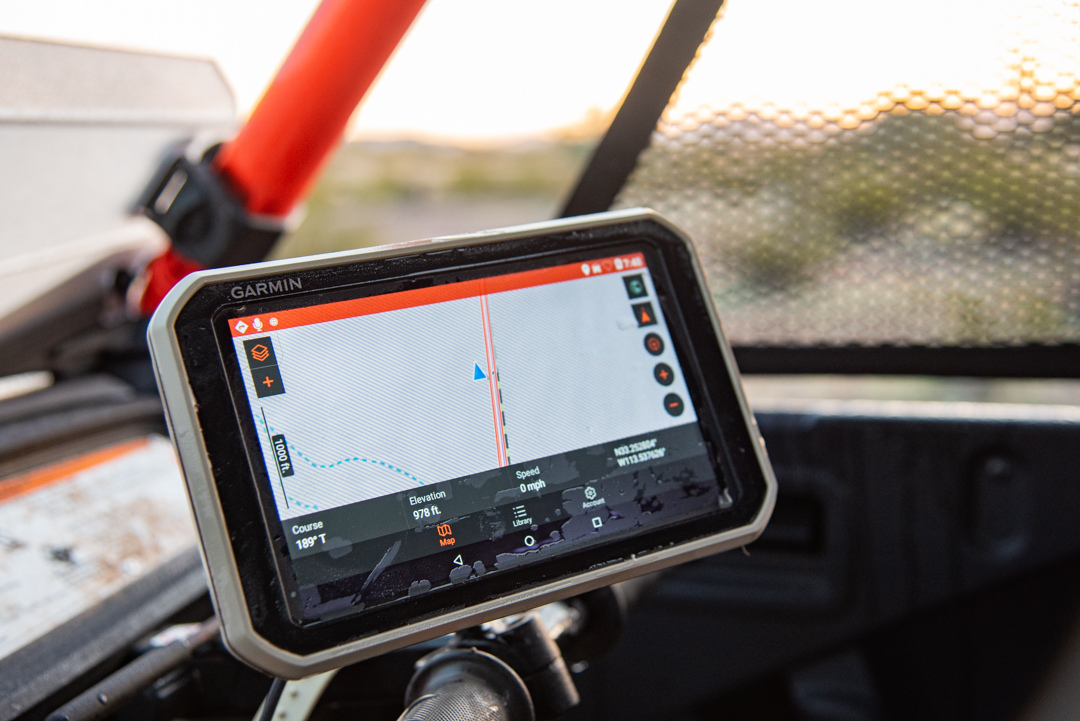
Having two GPS systems in your arsenal is always a good thing. The Garmin Overlander is a fantastic navigation device that is built for any weather.
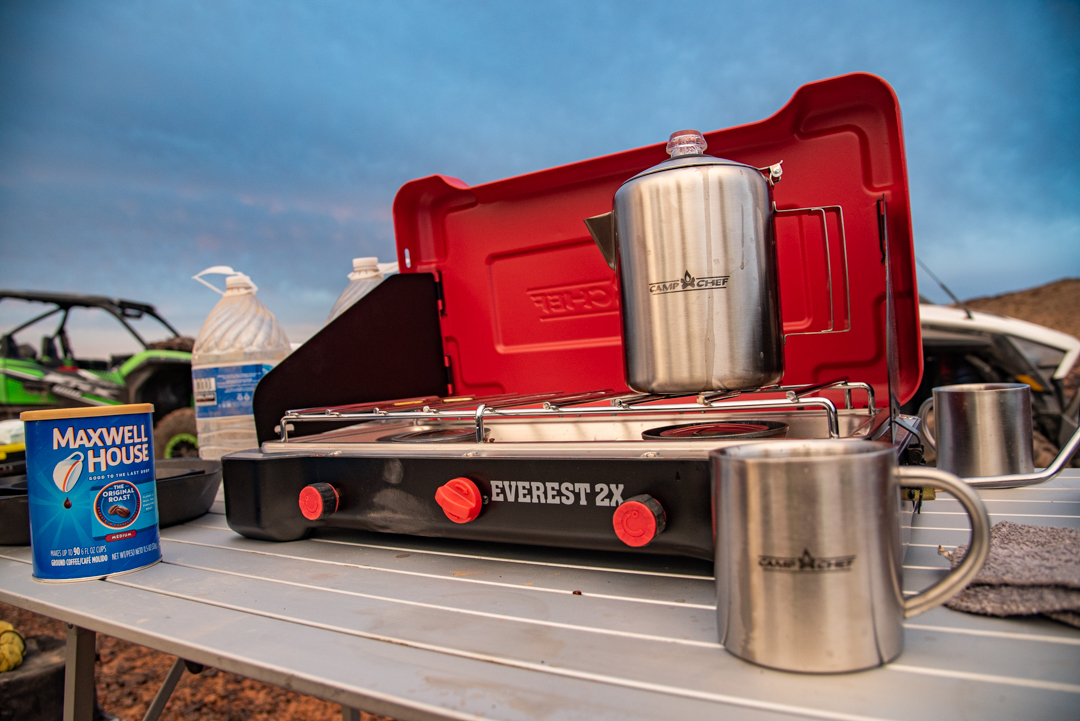
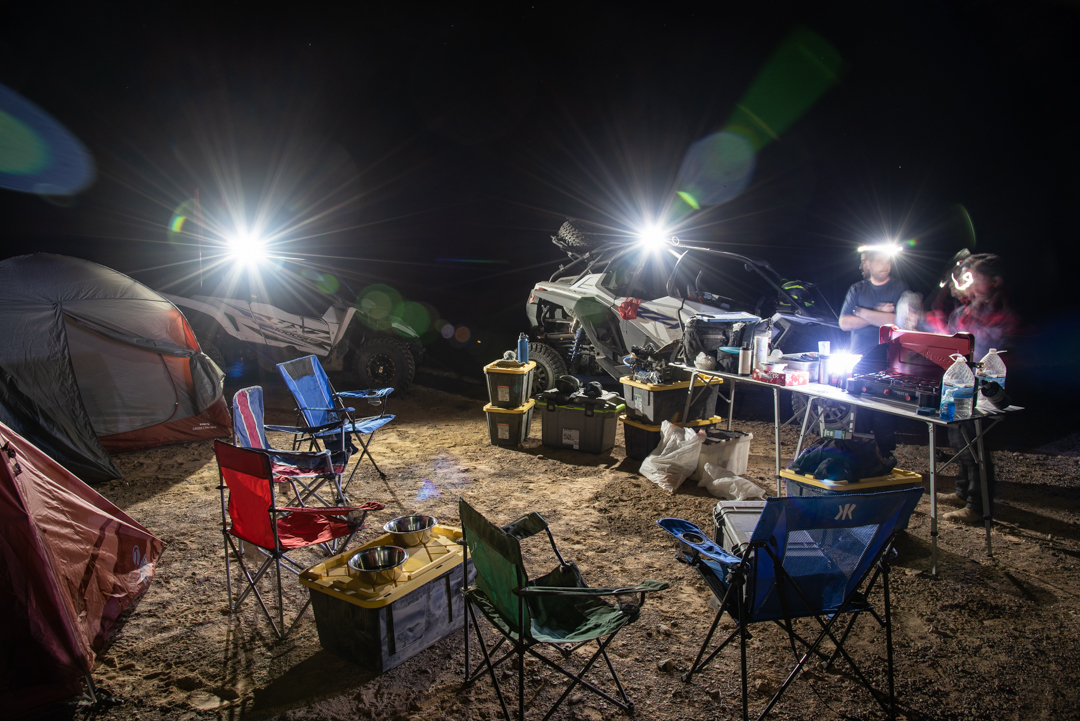
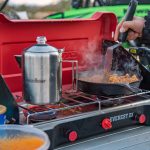
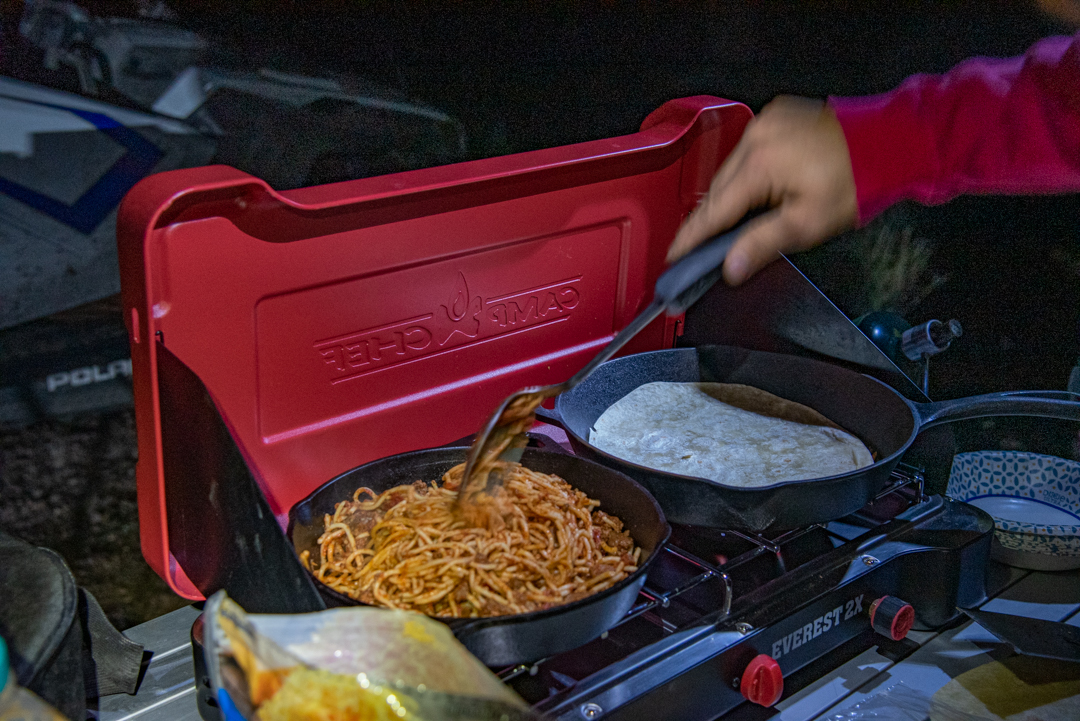
For cooking, we used a Camp Chef Everest 2X camp stove, which folded up for easy storage and gave us the ability to carry small propane canisters instead of a larger 5-gallon unit. We carried 8 canisters with us and used 5 on this trip. Camp Chef also has collapsible aluminum tables that are very handy for cooking. We used 2 of these Mesa Aluminum camp tables and would buy them again in a heartbeat for their durability and portability.
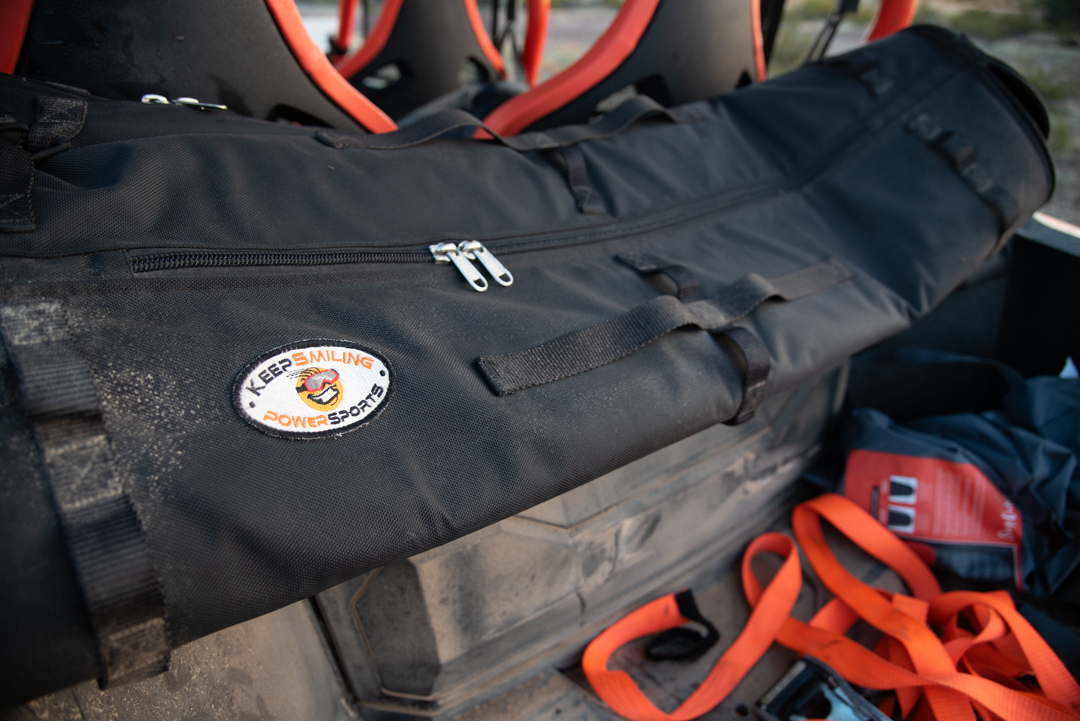
Keep Smiling Powersports makes this handy bags that fit our tents, pillows, and pads in one, non-dusty area. These bags also kept these items dry on the trail.
On an even more personal side of things, all 5 of us made sure we were ready for this type of trip. Again, when you’re 400 miles from home via off-road trails, it’s not like you can phone a friend and get out of the ride. I was very transparent warning them what we were up against and gave them an idea of how this ride would go, even though I only knew half of what to expect since I hadn’t been on the trail before. It was good we prepped, as we would encounter rain that left us soaked, seemingly impassible rivers which had flooded canyons after heavy rains that we conquered anyways, and unexpected rock climbs that tested equipment and driver’s skill. No one flipped out, and everyone had a great time. With preparation, we were all confident in our skills, our vehicles, and the fact that we were going to make it…
Water is the other big essential that we had to have on hand at all times. Not only did I buy a lot of our food in bulk at Costco, but I also bought gallon jugs of water at Costco. In total, we brought 12 gallons of water with us on the trip, and we just kept refilling our reusable water containers at every stop. This gave us plenty of personal water supplies, along with plenty of water in case we ran into any radiator issues along the way.

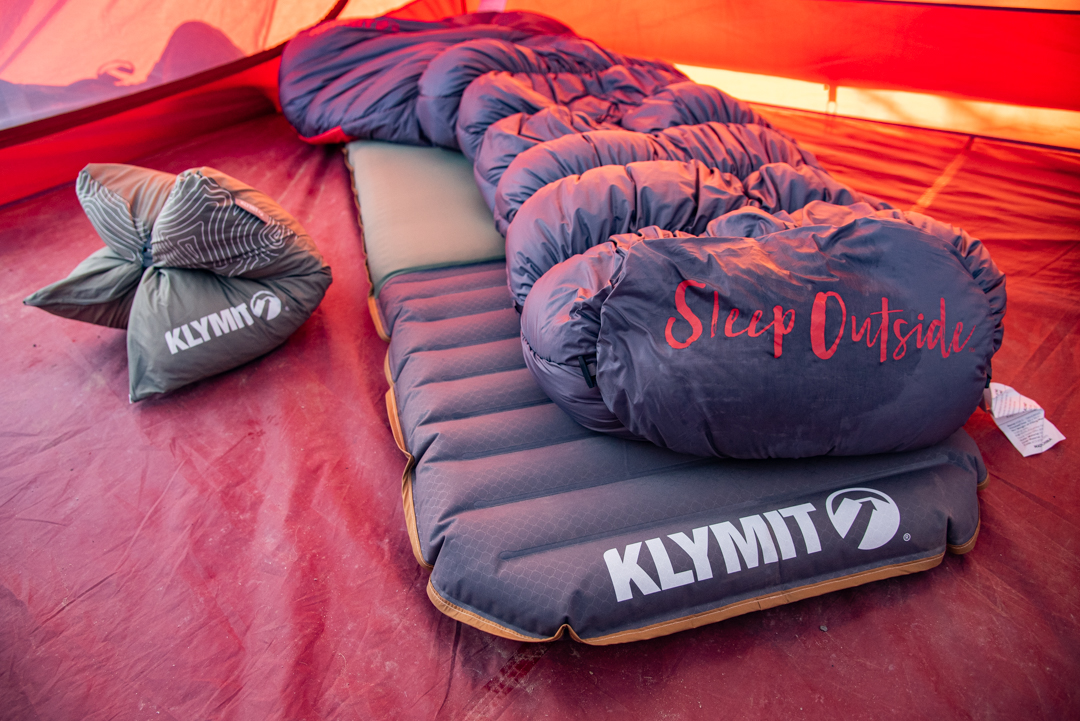
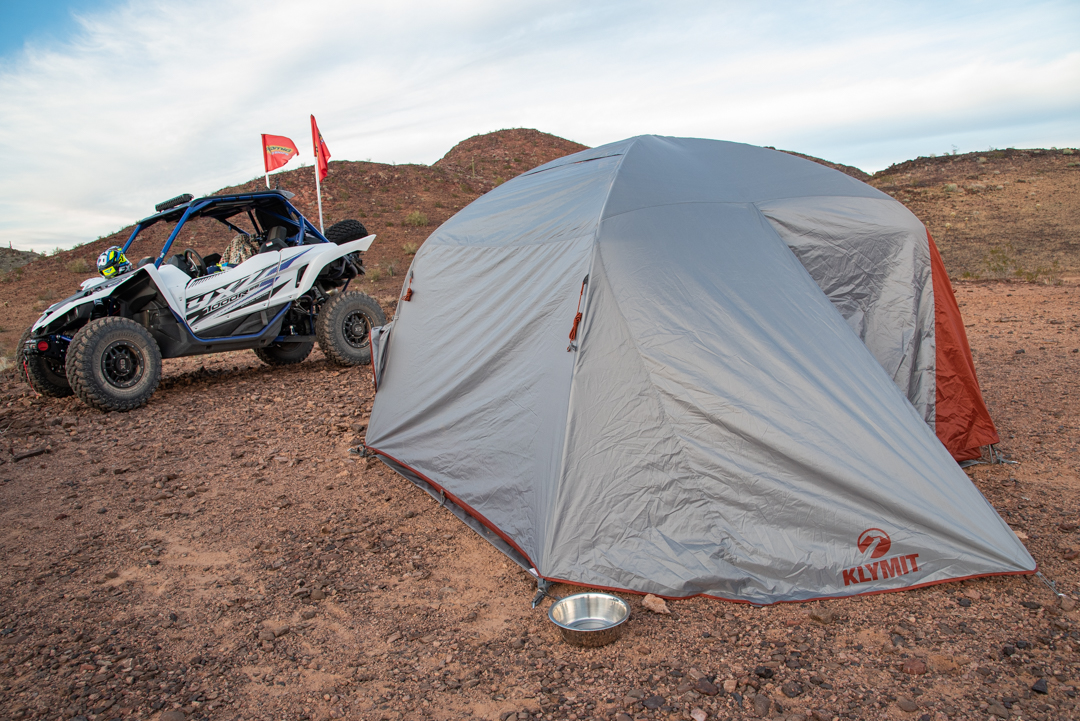
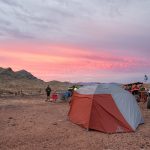
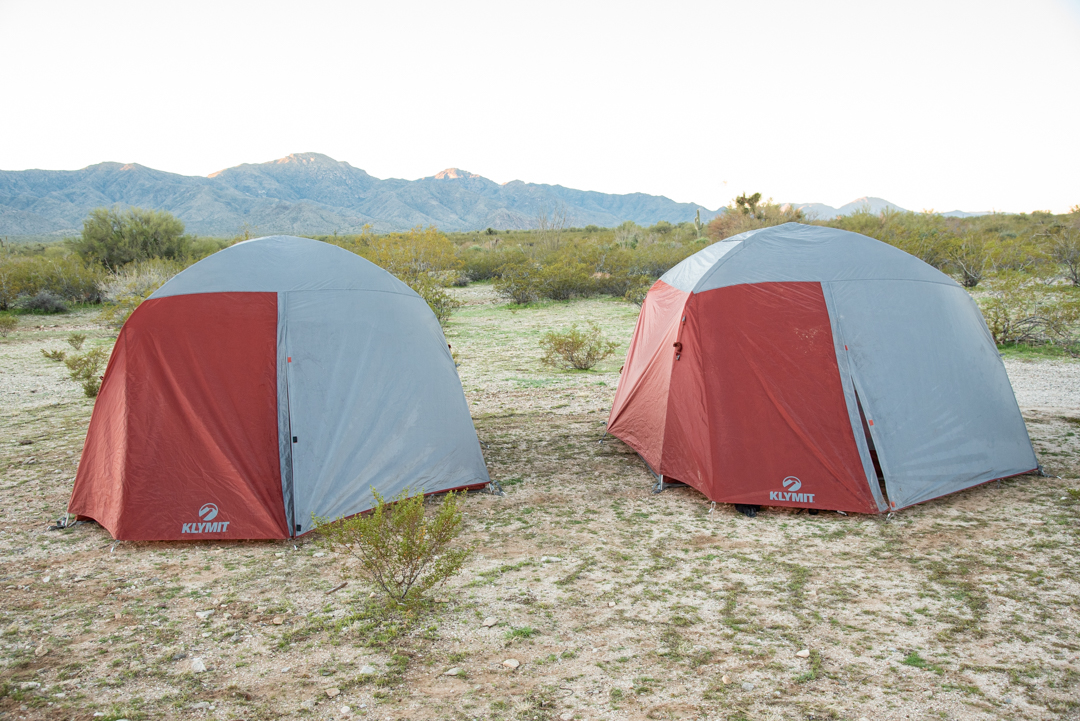
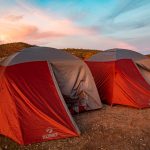
One of the most important things you can do to prepare for a trip like this is get yourself a tent that is going to last and give you the best night’s sleep. These Klymit Cross Canyon 4 tents are built extremely well and gave us the shelter we needed to sleep like we were at home every night.
Last but not least, we needed to make sure our personal items were taken care of. We needed comfortable places to sleep at night, so we got a full gamut of Klymit gear to keep us warm, out of the weather, and comfortable. We used 2 of their 4-person Cross Canyon 4 tent, Klymaloft sleeping pads, Drift pillows, and KSB 0 sleeping bags (0 degree sleeping bags). The tallest among us was 6’3”, and we all fit great in these warm sleeping bags. The first night was the only night we didn’t sleep perfect because we didn’t shut the rain fly flap all the way. But, other than that, we all slept like babies. Credit the 2” thick pad and warm but not too-warm sleeping bags for keeping us comfortable all night long. We almost missed the sunrise a couple times, almost…
Comfort at night was key. Even Pop at a young 89 years old thought these Klymit Klymaloft pads were comfortable. We were happy that he was happy!
Making the route
All of that preparation would have done us no good if we didn’t have a logical and planned route for this trip. Running out of fuel is a very real possibility on an adventure like this, or, worse, searching for hours to find a camp spot only to be stuck sleeping on rocks. When you plan your route out to the T, you know how far you’re going to travel in between gas stops, how far you’re going to travel each day in between camp spots, and any possible side routes just in case what you expect to see isn’t what you actually do see when you’re out on the trail.
A sample of what your LeadNav trail could look like. Check the “Resource” section at the end for a download link to trail maps
No paved roads – that was really the only stipulation that I had when making our Arizona Peace Trail route. So, we had to modify the original route that you can find on the internet a bit to make our route more off-road friendly with no pavement included, or as little pavement as possible. I used the best program available for mapping this route – LeadNav. It’s pretty incredible how you can map your own routes and then utilize all of your hard work when you’re out on the trail. I’ll be honest, I spent literally days combing over the satellite images preparing our final route. I even marked it out completely one time, then had to go back and do it again because I realized there was a missing gas stop (I don’t have a Pro Pack yet). I did mark out all possible gas stops and camping spots, making sure that each of those was within our daily mileage limits. In case we needed food along the way, l marked out restaurants and several convenience stores that we would pass by. Several gas stations had large convenience stores that made it easy to get any extra supplies.
My stipulation was also that I didn’t want to rely on extra fuel containers to bring fuel. If you’re looking to complete this journey, you can actually do the whole thing without taking extra fuel – we didn’t take any (we did, however take an empty small gas can just in case!) and were successful at not running out of fuel one time. Our gas stops were at most 115 miles apart, thus being well within the fuel range of all the vehicles that we took.
We planned out our camping spots to be about every 100 miles, too, except for one day that was going to measure out to be about 170 miles in total. Frankly, we didn’t want to camp too close to the border of Mexico down by the Yuma area of this trail. I’m glad we didn’t, because we saw numerous border patrol in this area. So, we had one long day, one short 50 mile day, and the rest were right at the 100 mile mark.
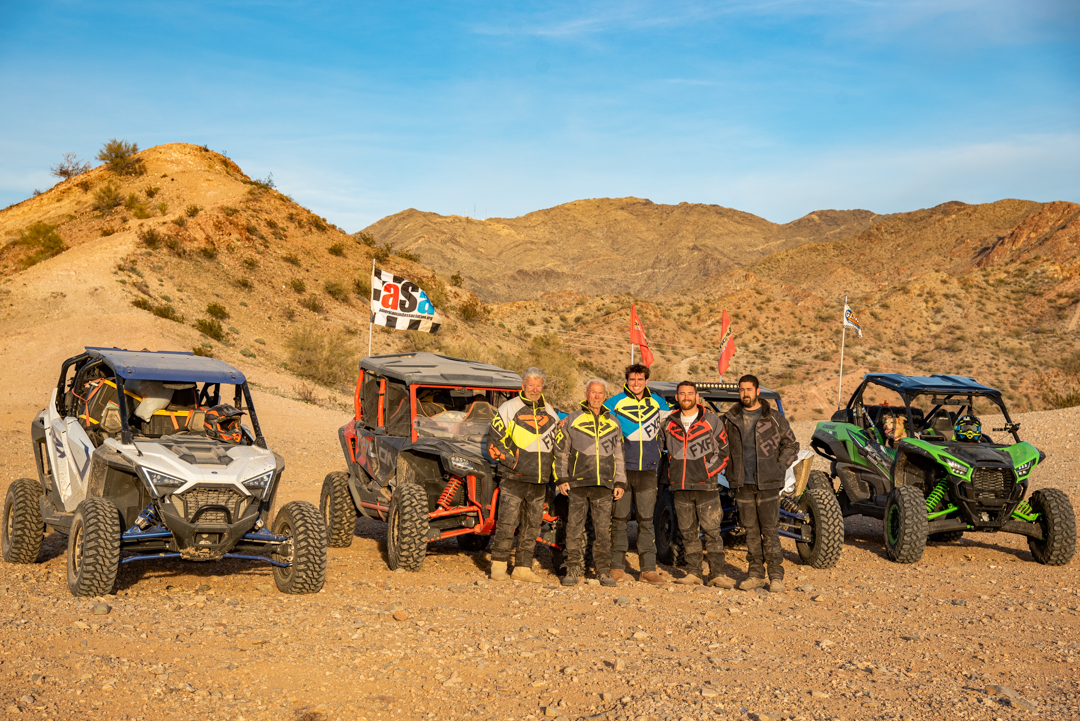
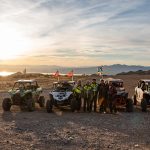
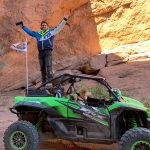
The People & Pup
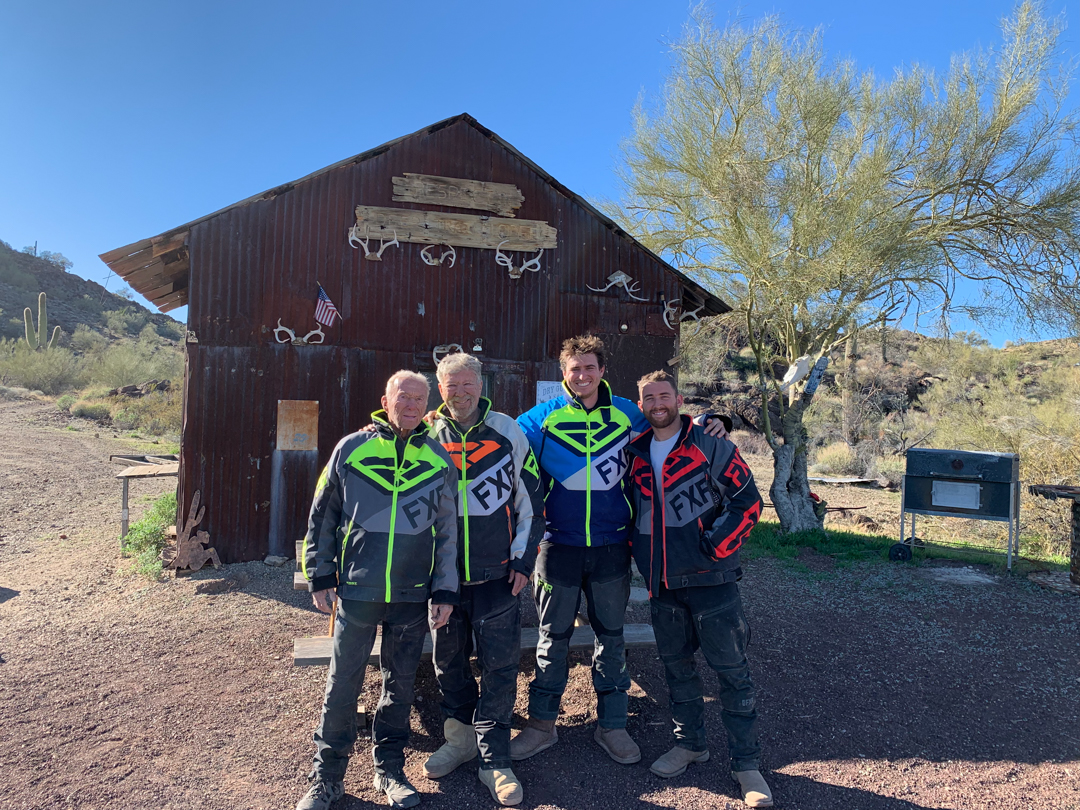
Casey Cordeiro (aka Casey #1, I’m the older one…) – 30 years young, your author and architect behind the trip. I have been wanting to complete this trail for years!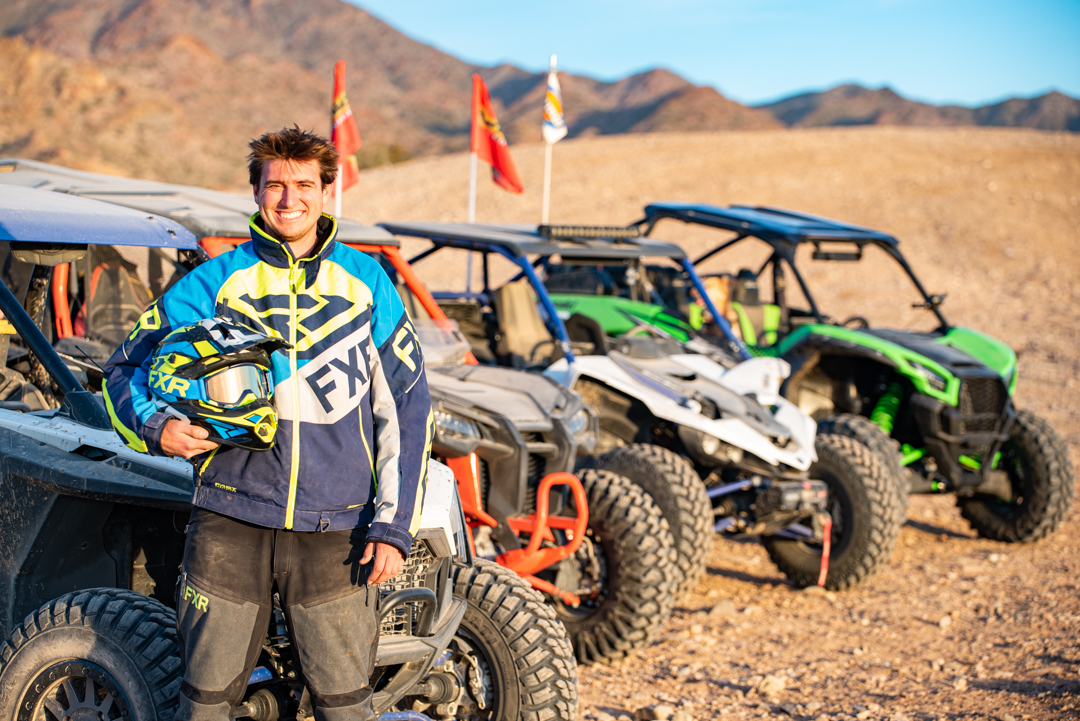 As an avid adventure enthusiast and camping guy, this was such a rad trip to put together. Word of advice to all of your reading: assemble a fantastic group of people like we did, each with a love for adventure and a willingness to “go with the flow”, and your trip will be phenomenal like ours was! Also, if you’re like me and into the planning/prep just as much as you are into the actual adventure, then the APT is for you!
 Casey Schroeder (aka Casey #2, he’s the younger one…) – 29 years young… I never thought I’d have a best friend named Casey, but here we are today having known each other since we were kids and always getting into some kind of shenanigans together. If he’s up for it, he’s also going to be the Best Man at my upcoming wedding! From driving backwards in golf carts as fast as they would go to growing up together right jet skis and motorcycles, we’ve done a lot together and enjoyed every moment. Casey #2 just had to be there, and I’m so thankful that he enjoyed this experience, too. As we talk about to this day, we need to do this APT trip on dirt bikes one day soon…
Glenn JR – 26-ish years young… the “new guy on the block” that quickly showed that he was one of us and up for anything. 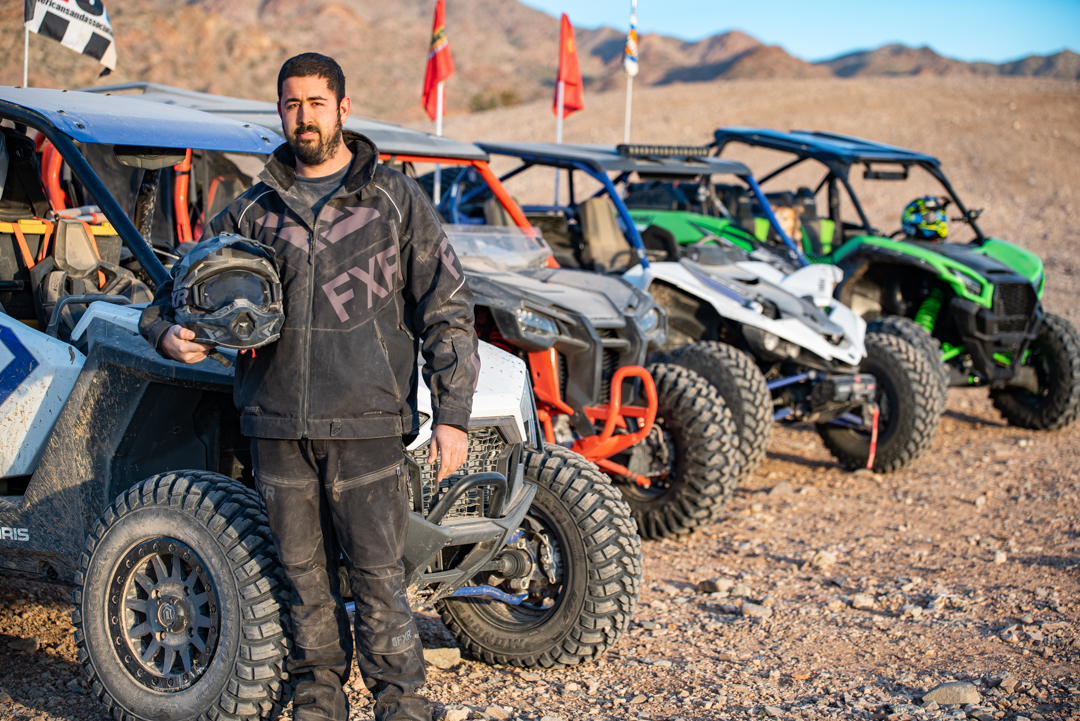 Glenn is the guy you want as your friend, willing to help in any situation and always ready for a good time. He got a taste of Turbocharged UTV power on this trip, and I think his permagrin smile is still as wide months after the trip as it was on the trip! Also, Glenn is quite the drone pilot and really needs to do this as a side business…
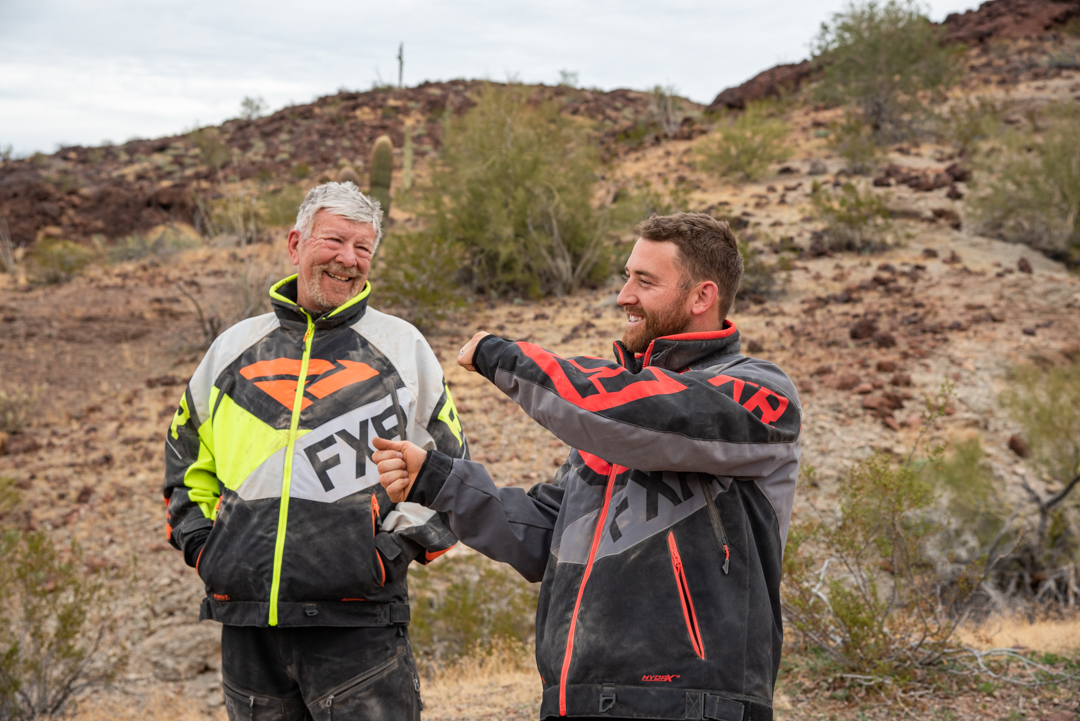
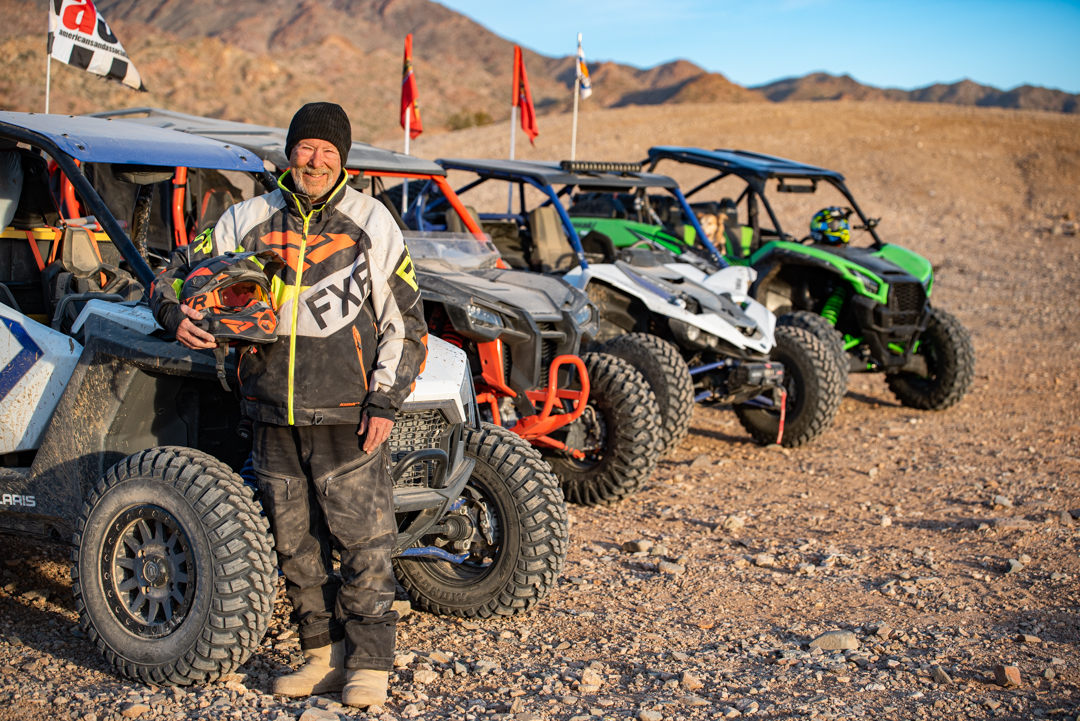 Bob “Bubba” – 74 years young at the time of the trip, 75 now. Bubba is my testing and riding partner on many occasions, and he’s kind of like my grandpa in many ways. Bubba makes every ride fun with his ridiculously witty jokes, life stories, and blow-by farts. Here’s to our next smelly adventure, my friend… You’re one of a kind, Bubba, and we love you for it!
Andy “Pop” – 89 years young at the time of the trip, 90 now. Yes, you read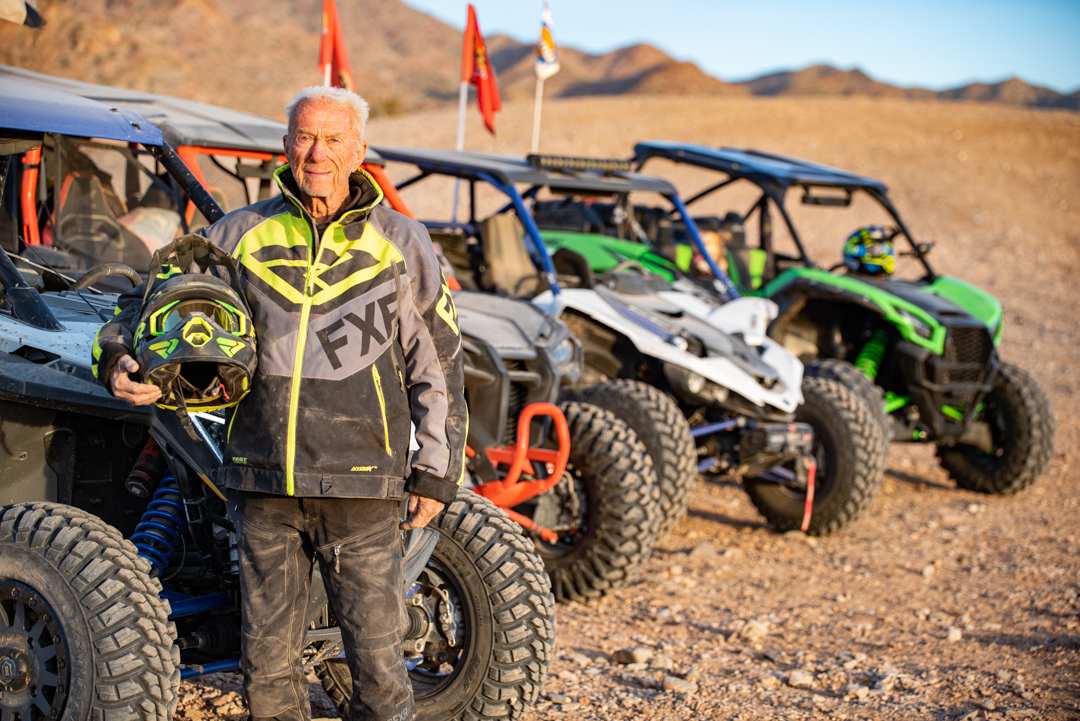 that right! Having Pop on the trip was the ultimate inspiration for all of us, we literally idolize him every day because he’s the guy right in the thick of things changing tires, checking oils, and ready to strap in at every moment. Age doesn’t define anyone, and Pop is evidence of that. If we can all live like Pop, we shall all live a successful and heart warming life!
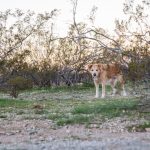
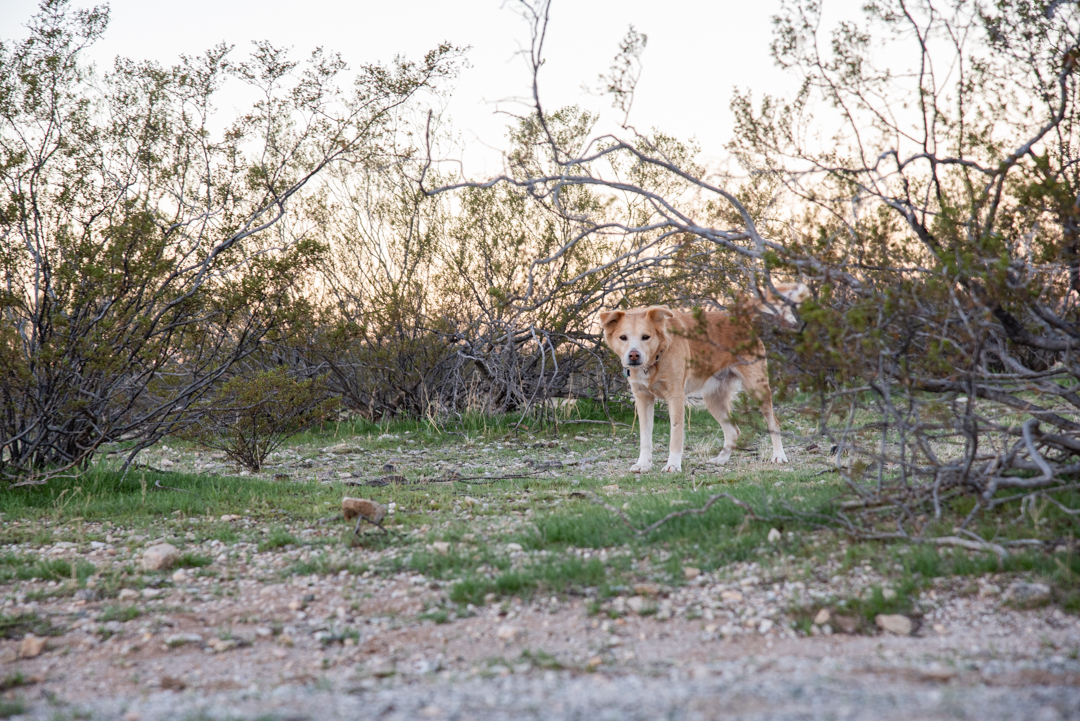
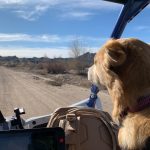
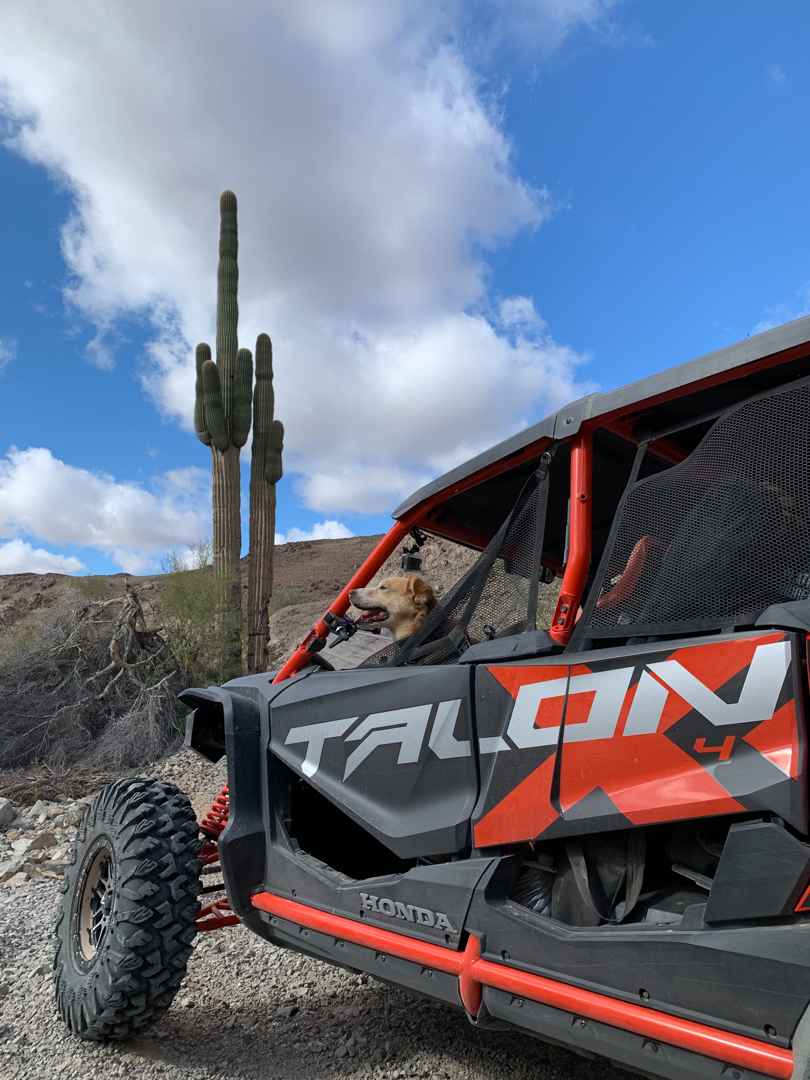
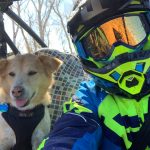
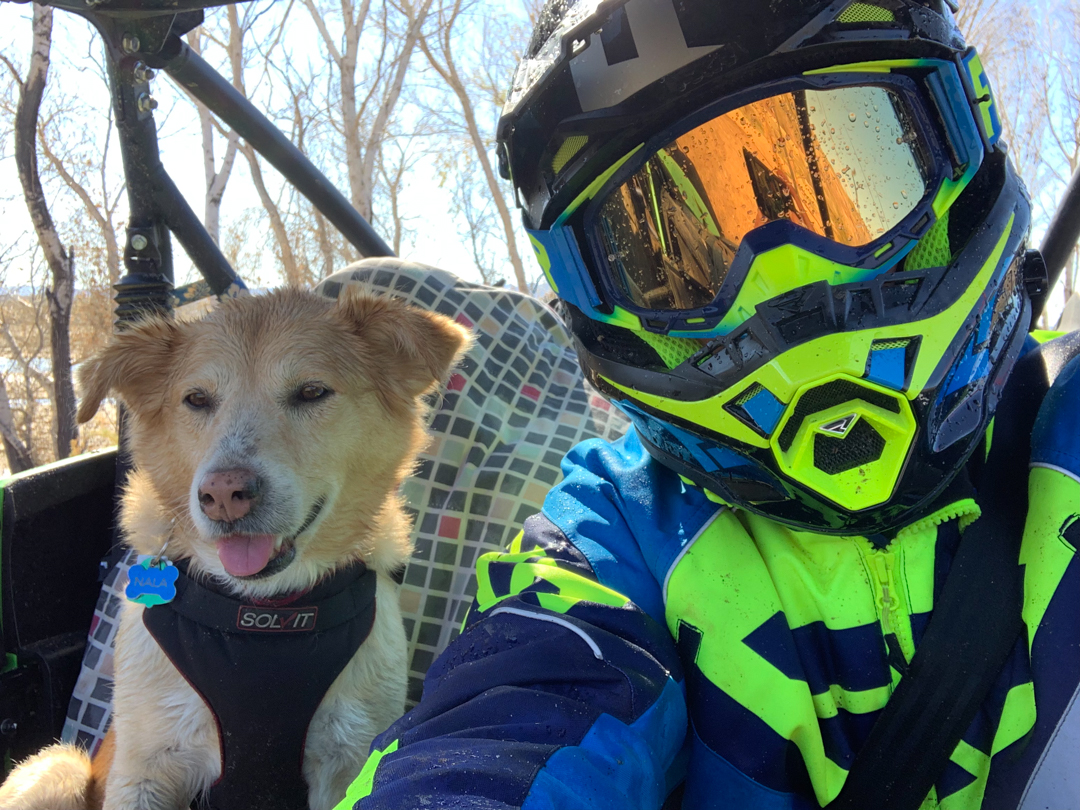
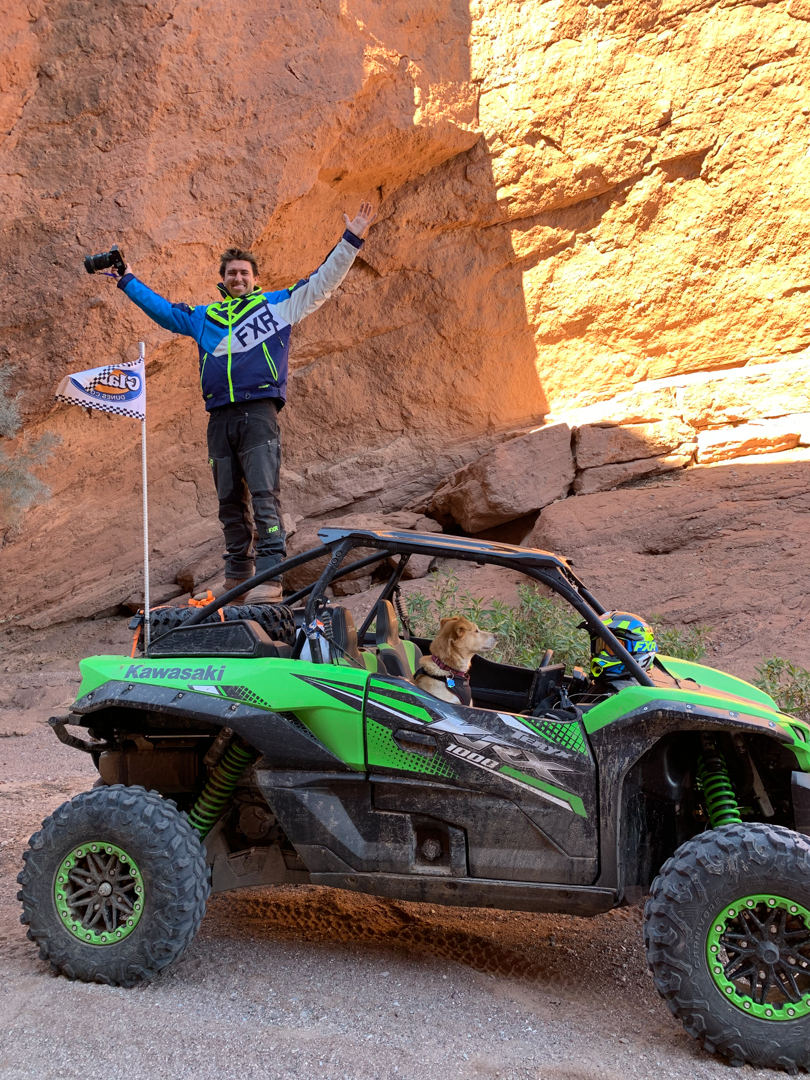
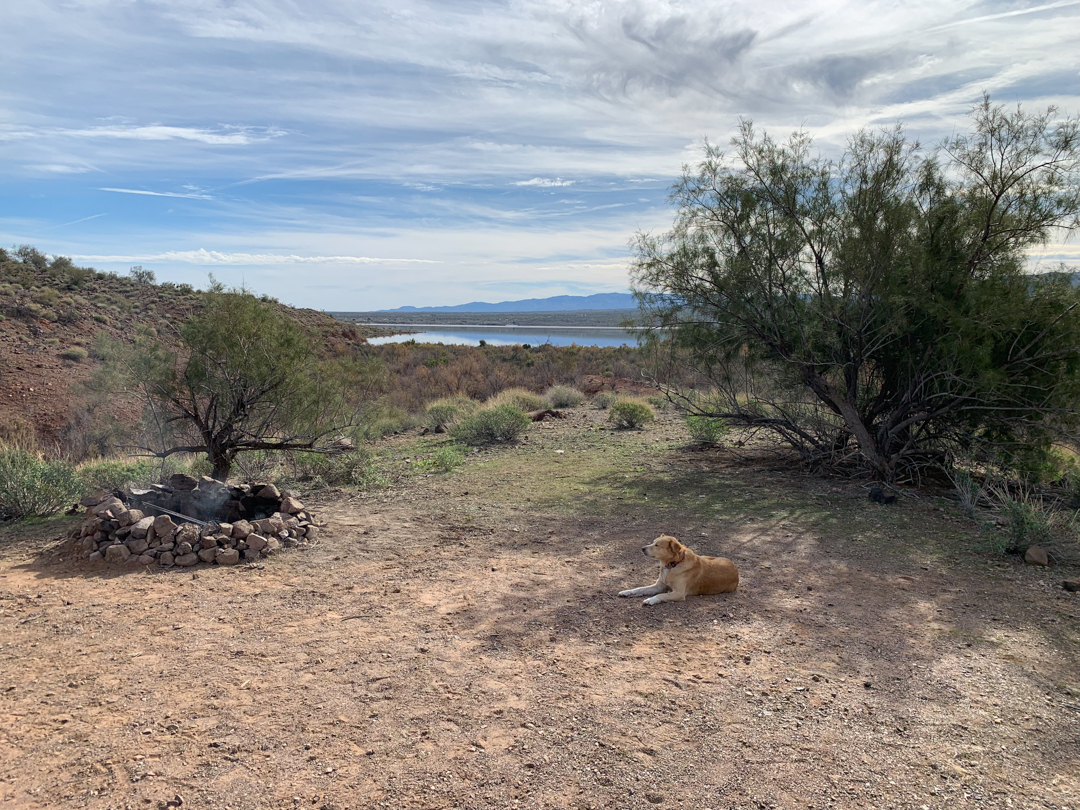
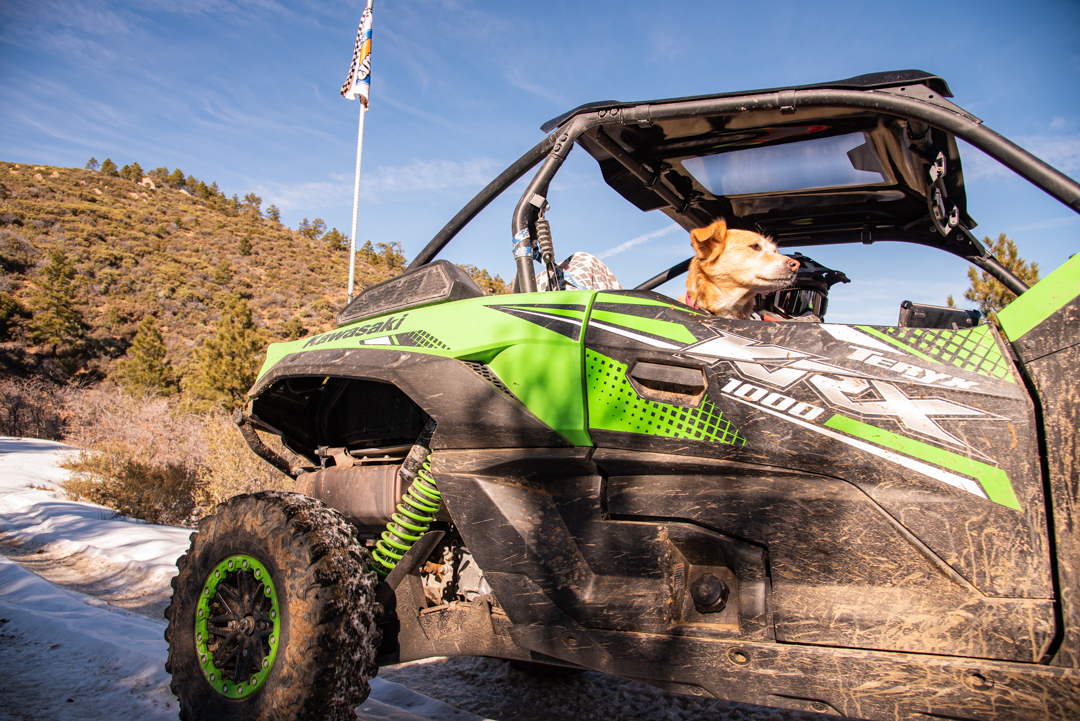 Nala – Nala is the Adventure Pup that goes everywhere and anywhere we go. She’s 9 years young, or around there anyways. She’s a rescue dog who has been more miles in a UTV than most people, and she loves every minute of it! I believe this is part of what keeps her so young at heart. She absolutely loved the 7 day trip with all of the fresh air filling her nose, plenty of new sights to check out along the way, and people surprised to see her in the passenger seat (she loves the attention). But, man did she sleep for days after we got home…
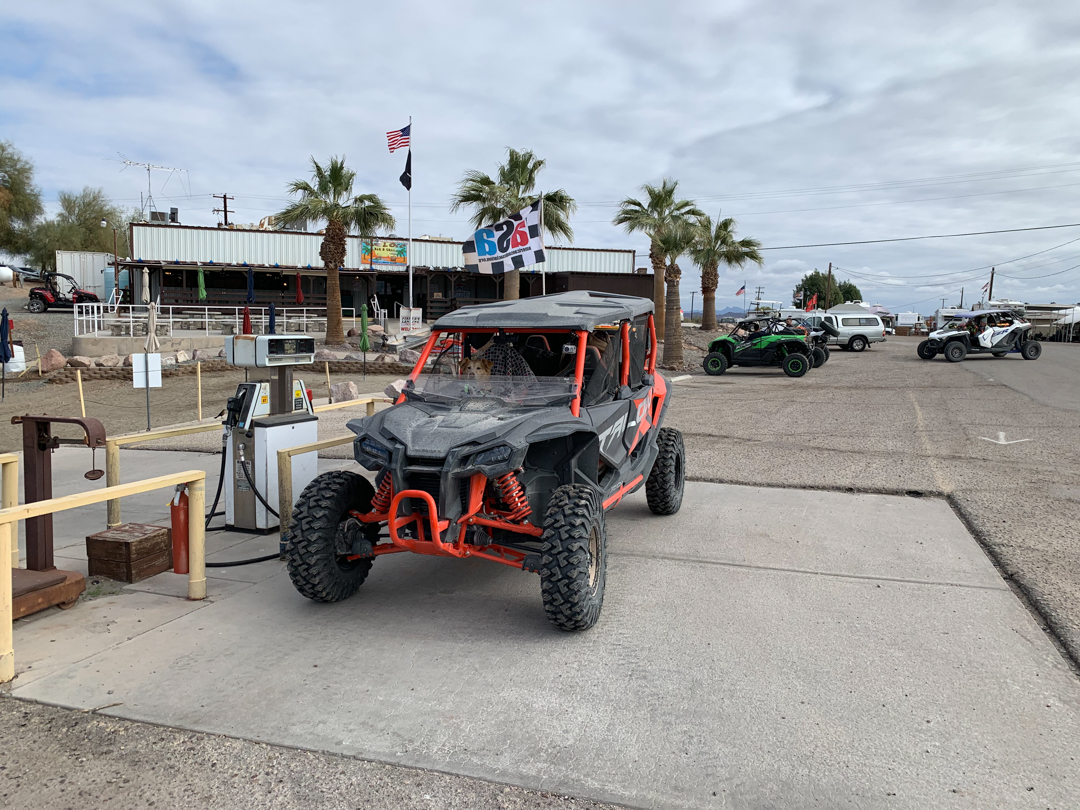
Day 1
- Start: Lake Havasu City, AZ
- End: camping spot 10 miles south of Bouse, AZ
- Total mileage: 89 miles
- Gas stops along the way: Bouse
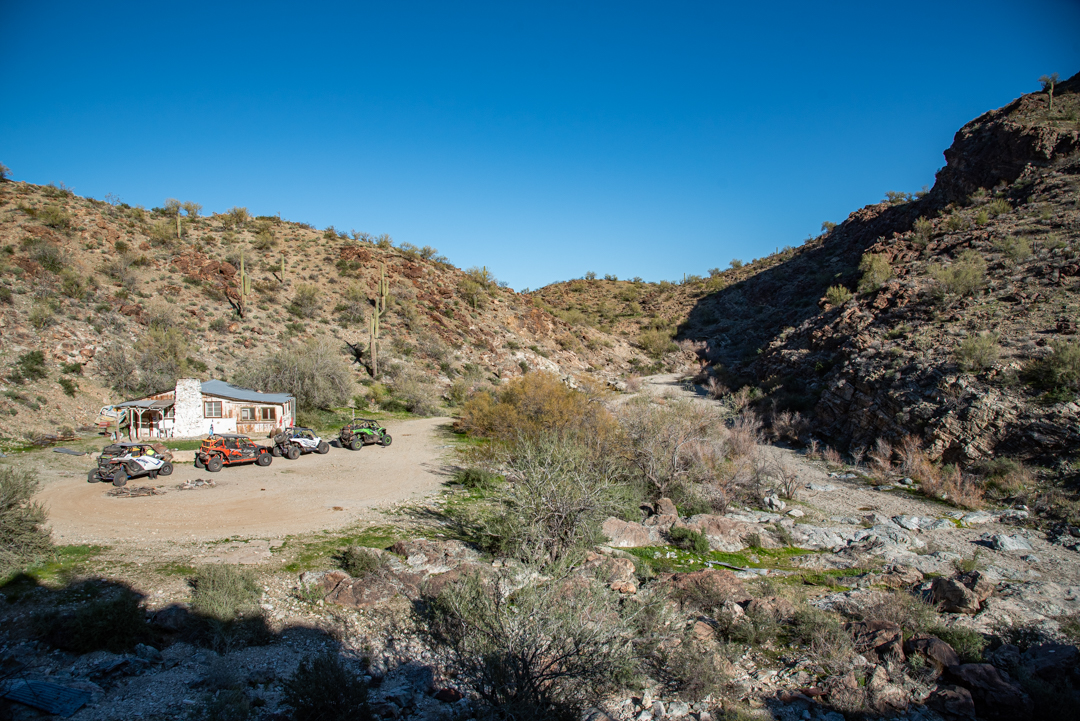
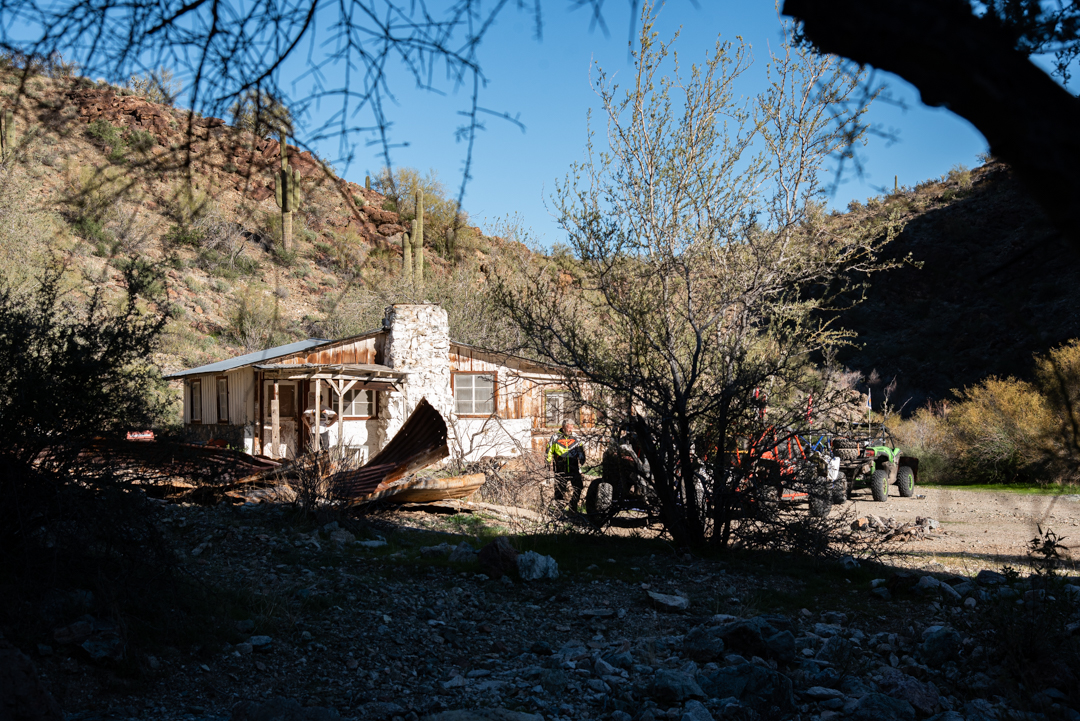
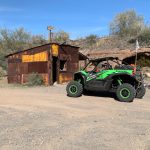
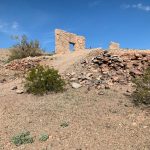
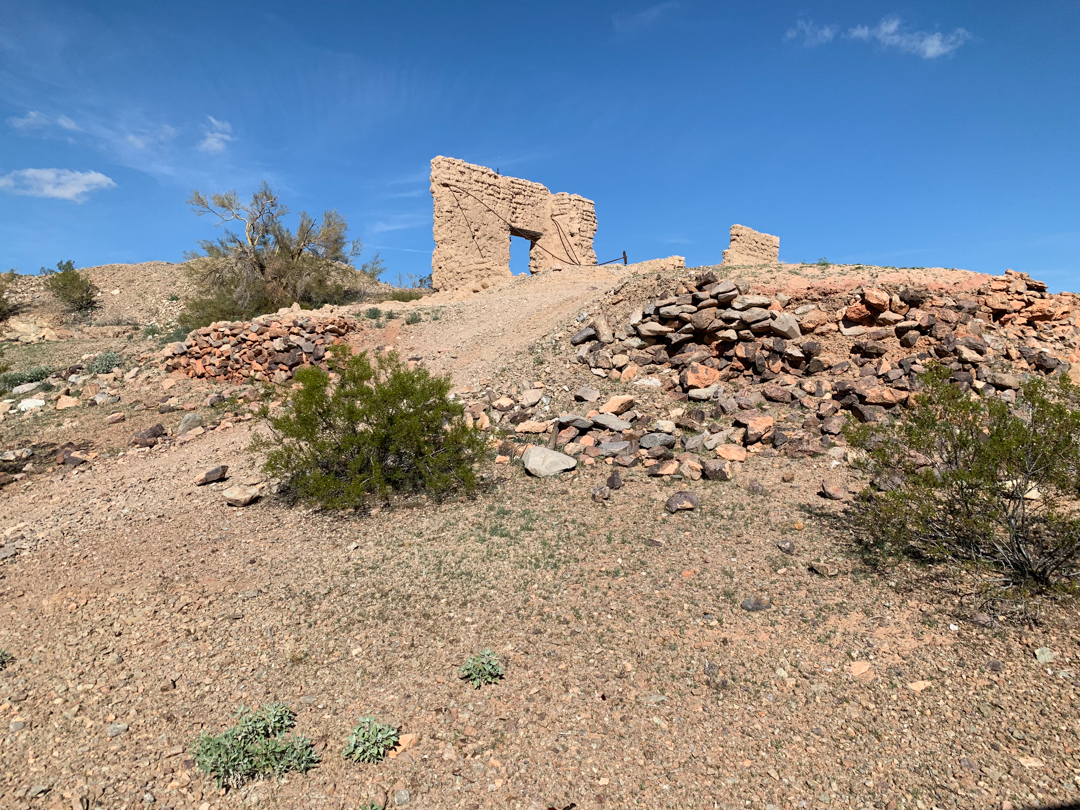
- Points of interest: 2 deserted cabins outside of Havasu, Swansea ghost town
One of the abandoned cabins near Havasu is called the “Founder’s Cabin”
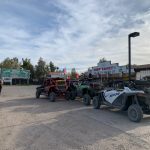
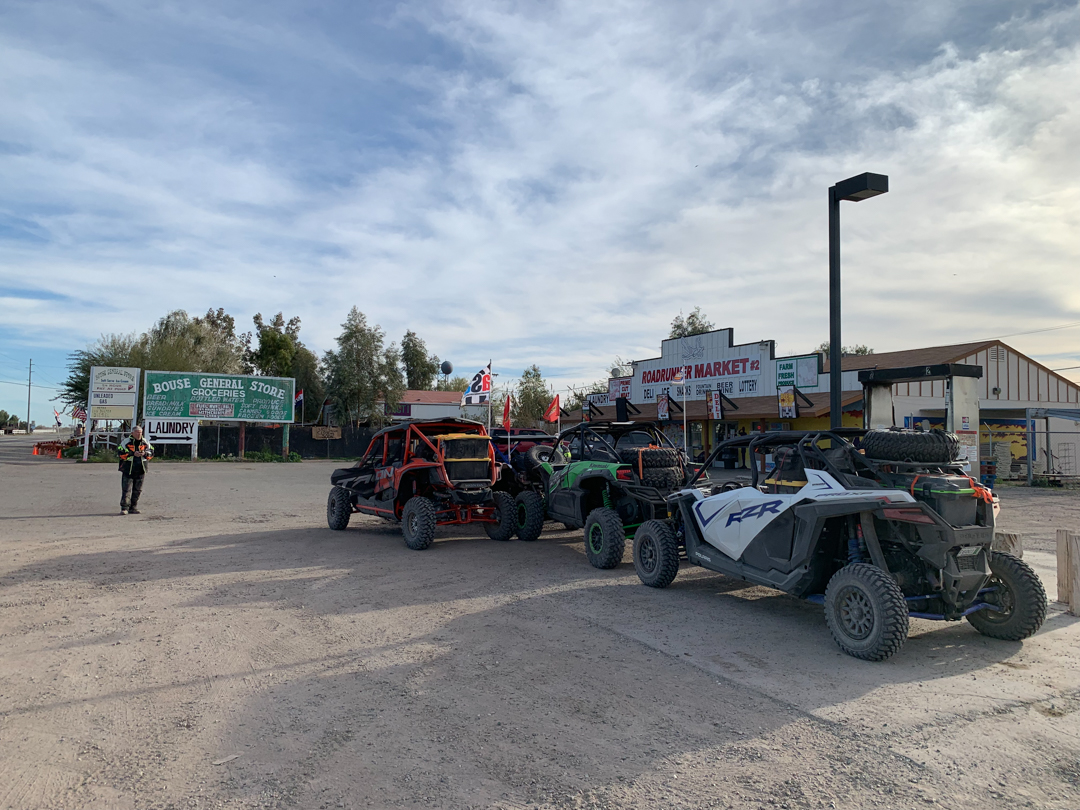
Taking off from Lake Havasu, you make your way past the well used area near Standard Wash. Be prepared for long paths of washboard road until you get to Planet Ranch. Before you hit Planet, make sure you stop at the two cabins to pay a visit. Please respect the area, though, and leave everything as you found it. Once you get through Planet Ranch (please respect the speed limits on the dirt roads in this area), you’ll hit various open desert terrain until you get to Bouse. On the way, make sure you check out the ghost town of Swansea. Bouse is a very small town that offers fuel at one gas station. There is a wash that leads out of town and up into the mountains where you can find great camp spots nearly anywhere.
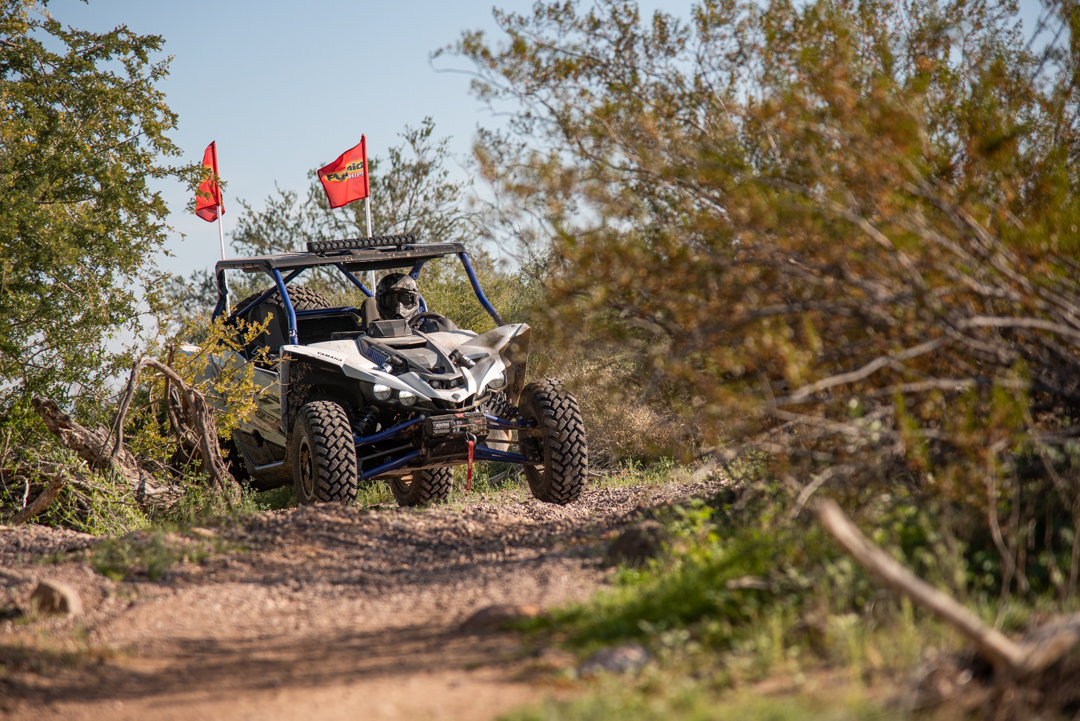
While there are some signs on the trail, don’t count on these for your navigation. They are sporadically placed and not completely marking the entire trail yet.
Day 2
- Start: Bouse
- End: near Cibola National Wildlife Refuge (just north of the actual refuge)
- Total mileage: 111 miles
- Gas stops along the way: Quartzsite, Ehrenberg
- Points of interest: tank tracks from General Patton’s practice grounds, mountain passes north of Quartzsite, mountain passes south of Quartzsite, Colorado River outside of Ehrenberg/Blythe
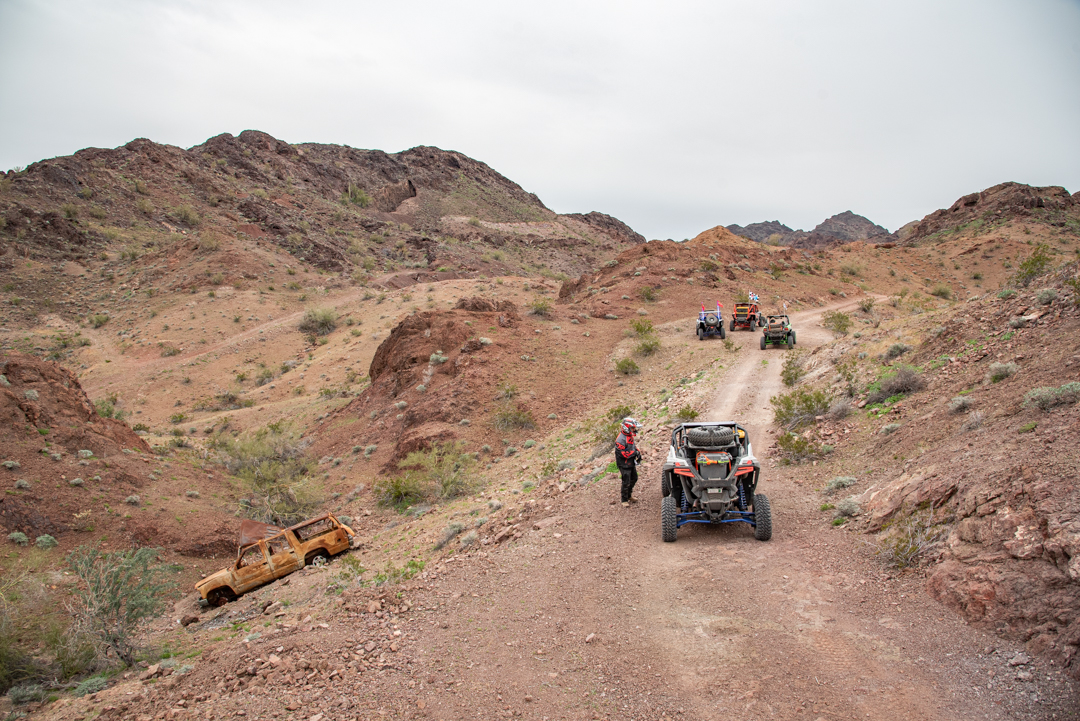
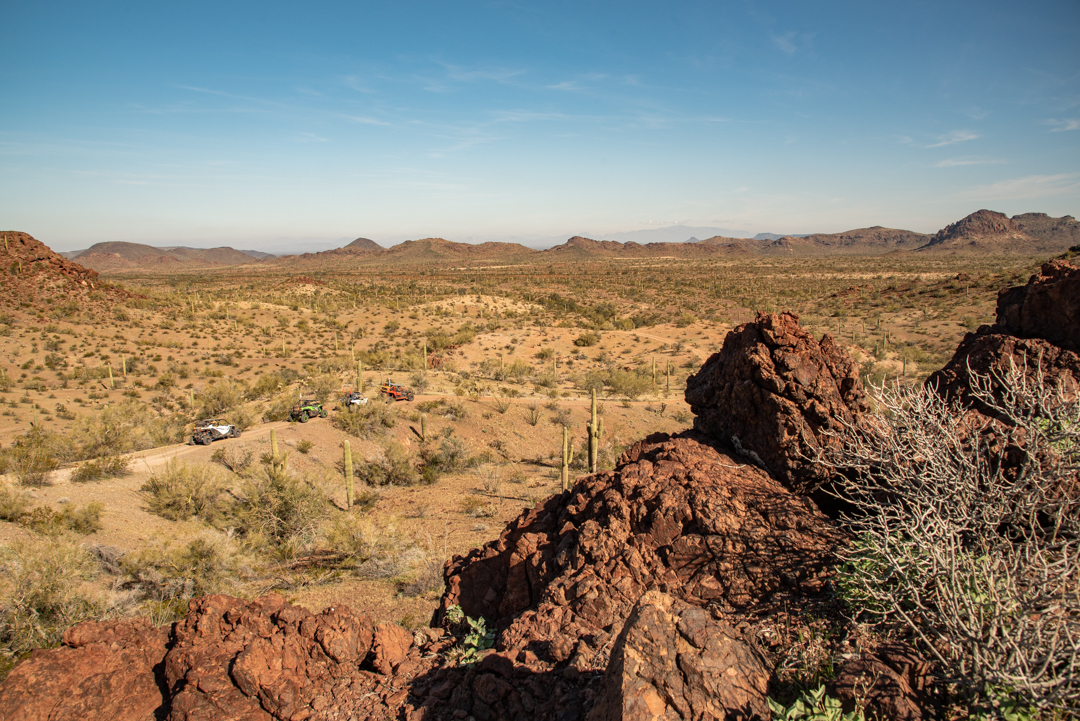
We camped about 10 miles southwest of Bouse and enjoyed a great night of no sounds and still air on the first night. The occasional snowbird camper will dot the area, but that is about it. Be careful of mines and deep, unmarked mining shafts in this area. We packed up early and didn’t realize how beautiful the trails were about to get. We took a route through the mountains in between Bouse and Quartzsite and were rewarded with stunning views the entire time! This area is beautiful, and you should stop and see the tank tracks in here from General Patton’s army forces if you can. These are still visible on the ground to this day.
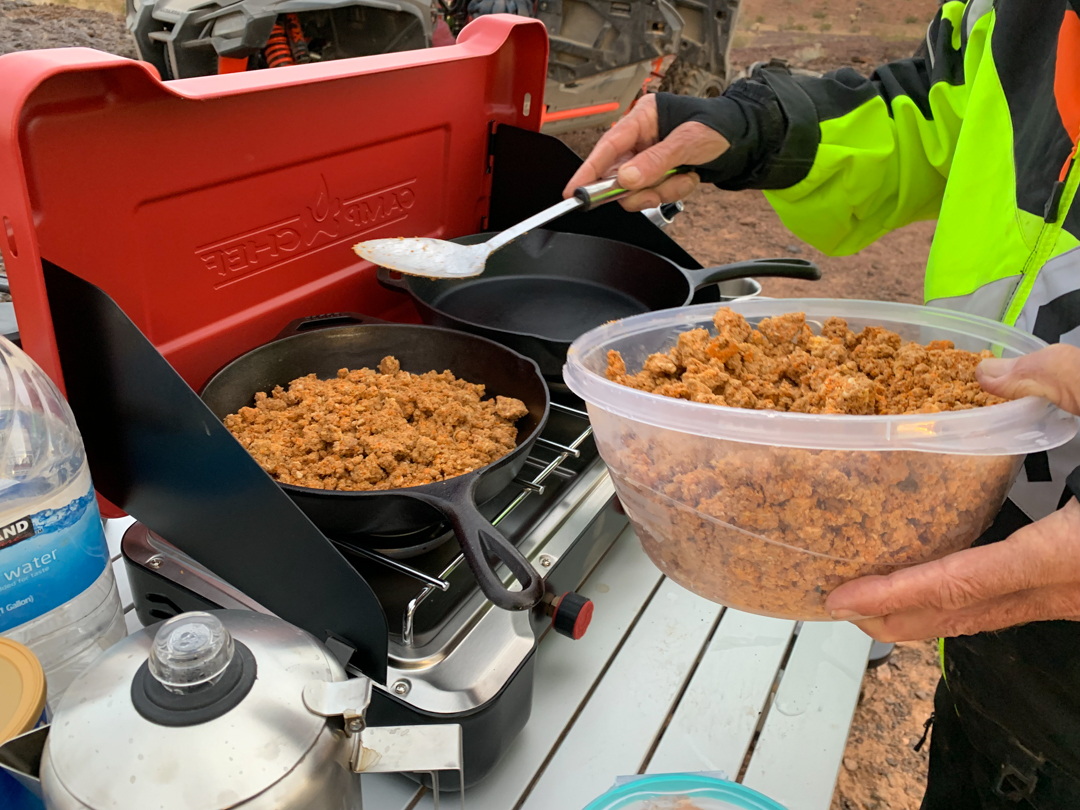
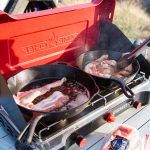
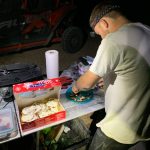
Our pre-made meals made cooking a breeze. How about some home made chorizo and egg burritos for breakfast?! We didn’t forget the home made salsa on this trip either…
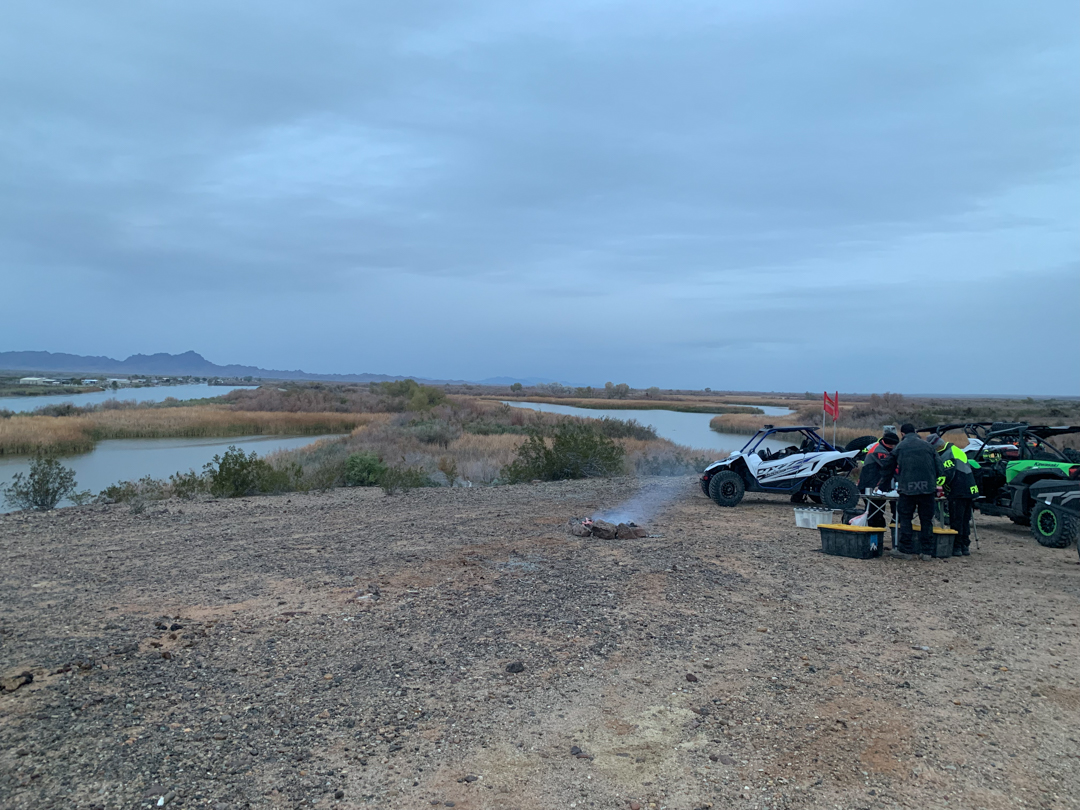
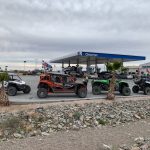
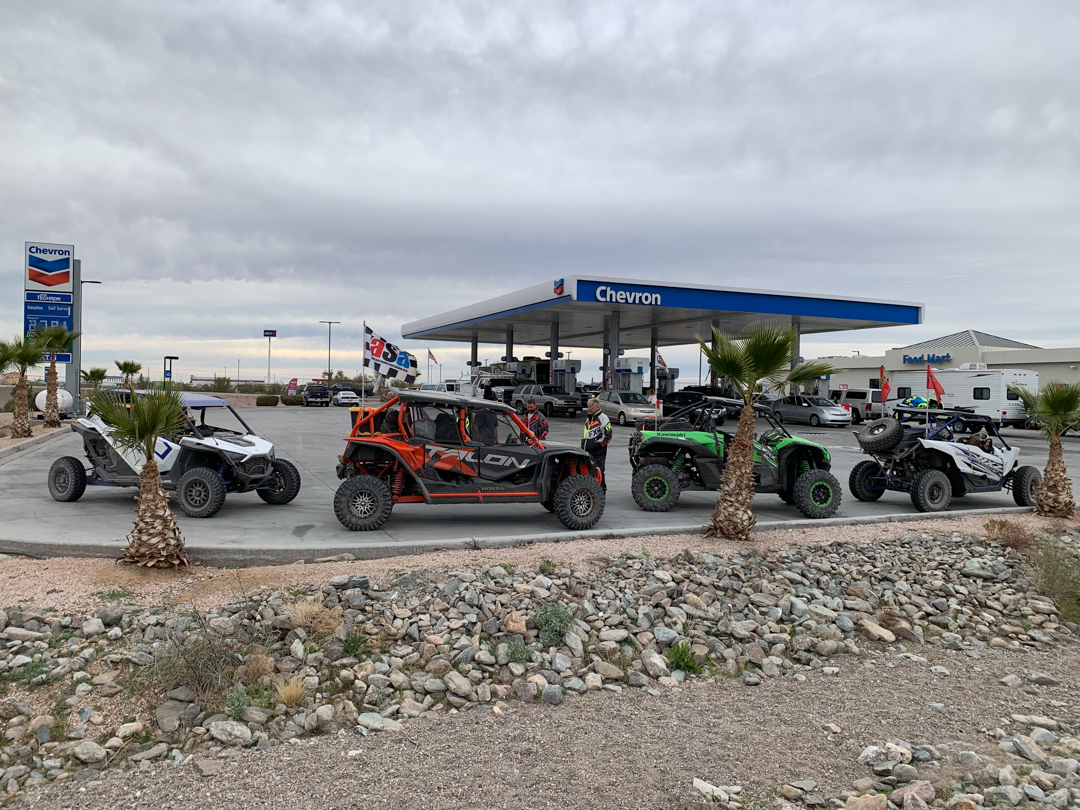
The roads widen as you get closer to Quartzsite. Once through the town, you jump over to more open roads and head west for a while, passing several mines, old cabins, and more big mountains. The power line road is fun, and we were scheduled to take a trail named “Good, Bad, and Ugly”. Unfortunately, with the recent washouts and our 4-seat machines on the trip, the trail was nearly impassable with huge boulders in the road. If you have two seat UTVs with winches, you’ll be able to do it. But, we also had 550 miles to go on the trip… After fueling up at the Love’s in Ehrenberg and grabbing lunch at the Wendy’s there, we made our way south on epic flat roads. So. Much. FUN! Word of advice: stay on the main APT route in this section south of Ehrenberg and down to Cibola. I planned a secondary route to bypass some of the paved roads, and it did not turn out great. After paving our own way through the rocks, we made our way back down to the main road. We did get to see a full grown buck out there, so that was cool! It was dark when we got to camp, but it was a great camp right along the Colorado River.
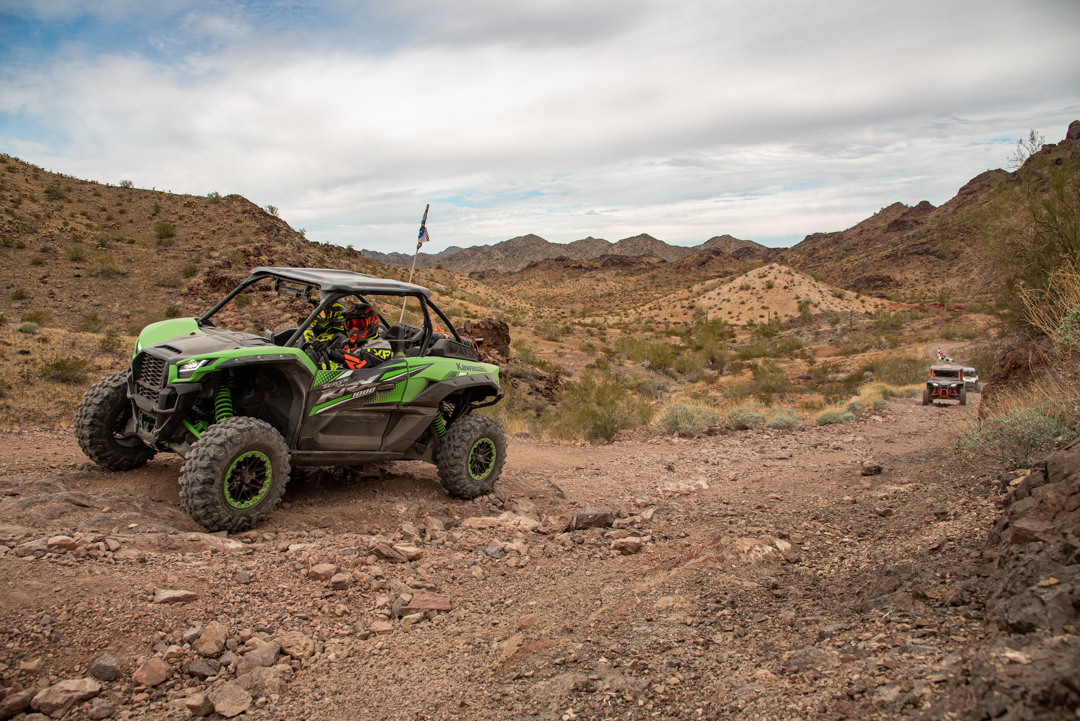
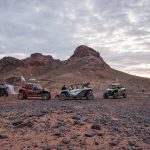
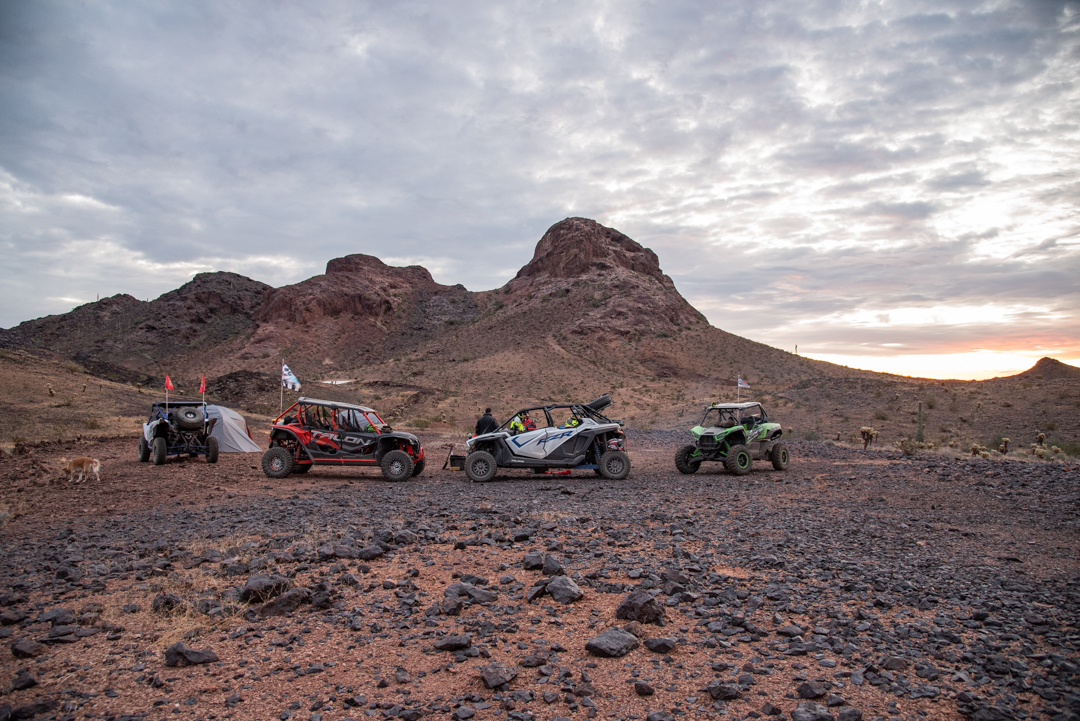
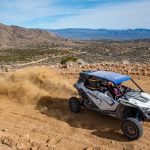
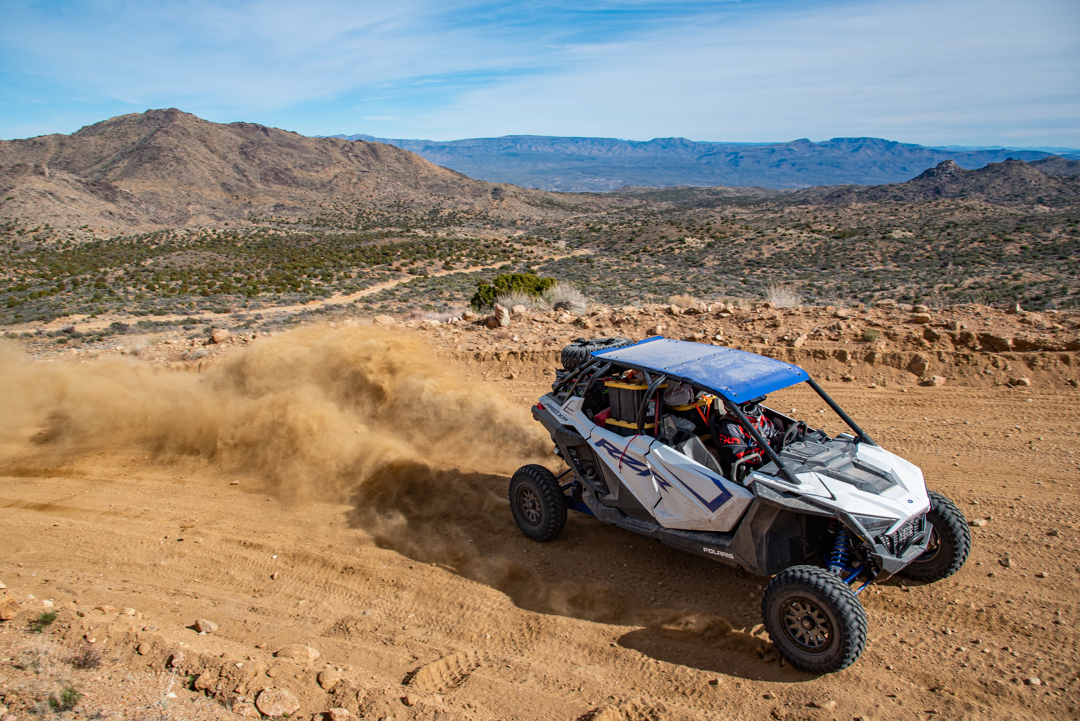
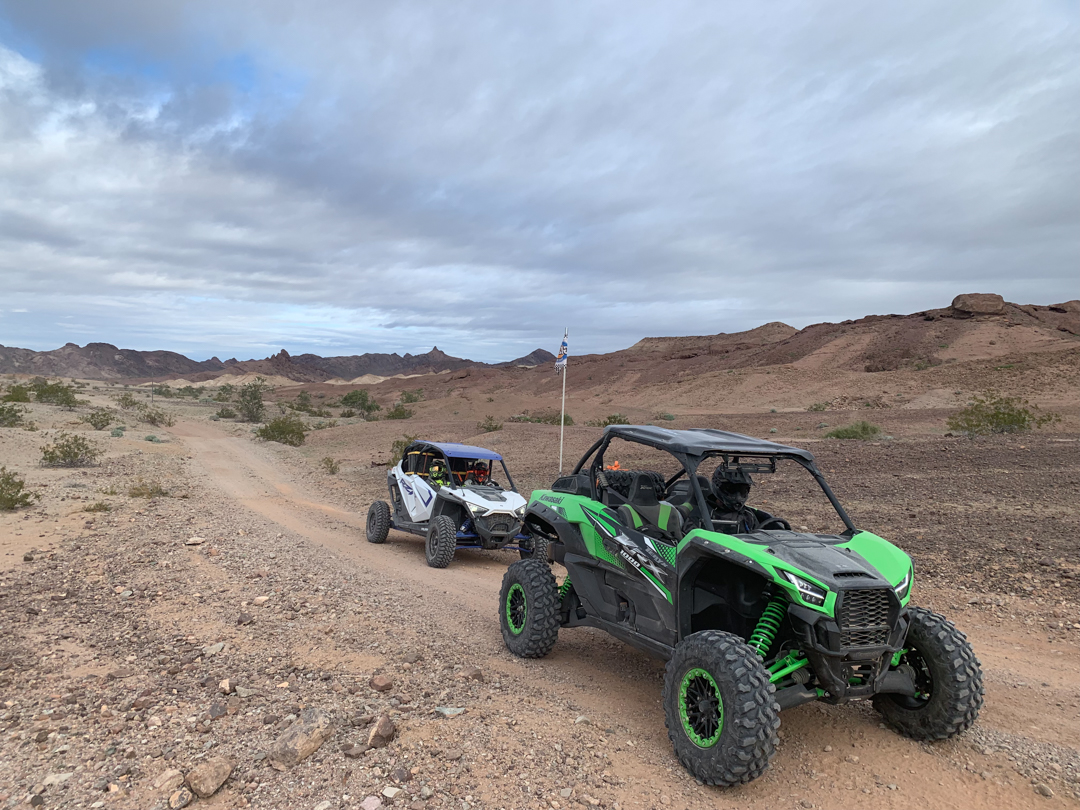
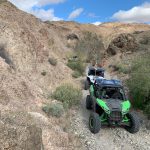
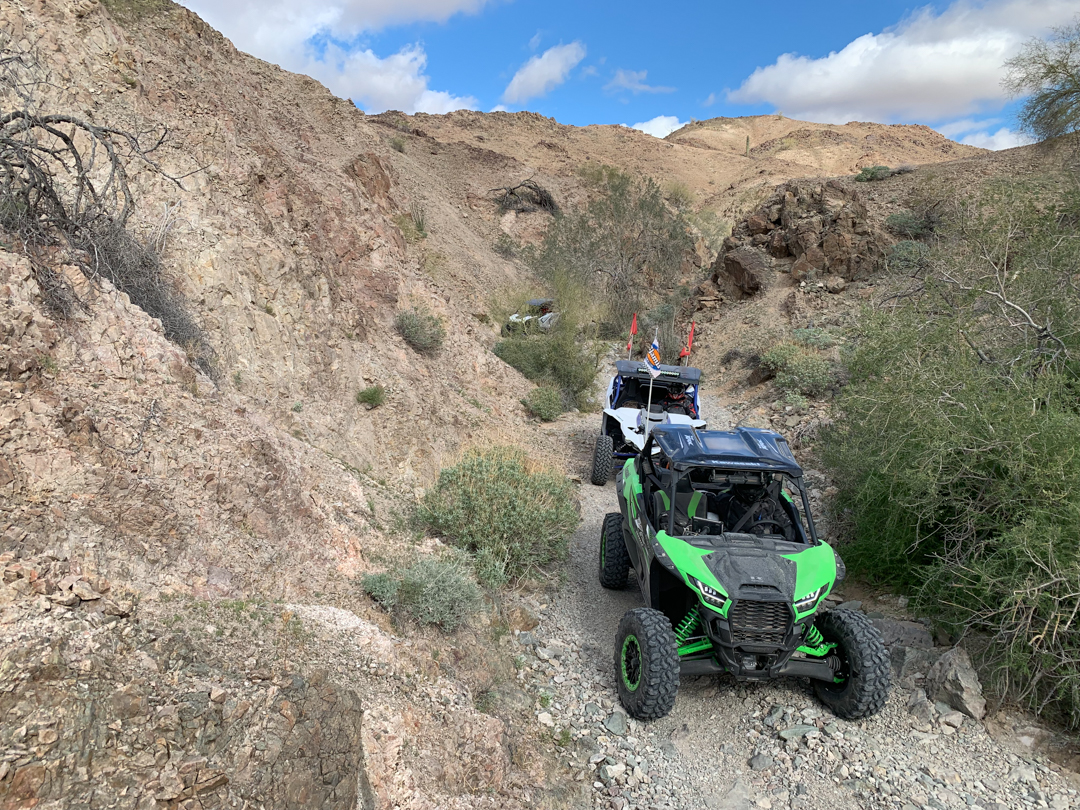
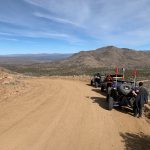
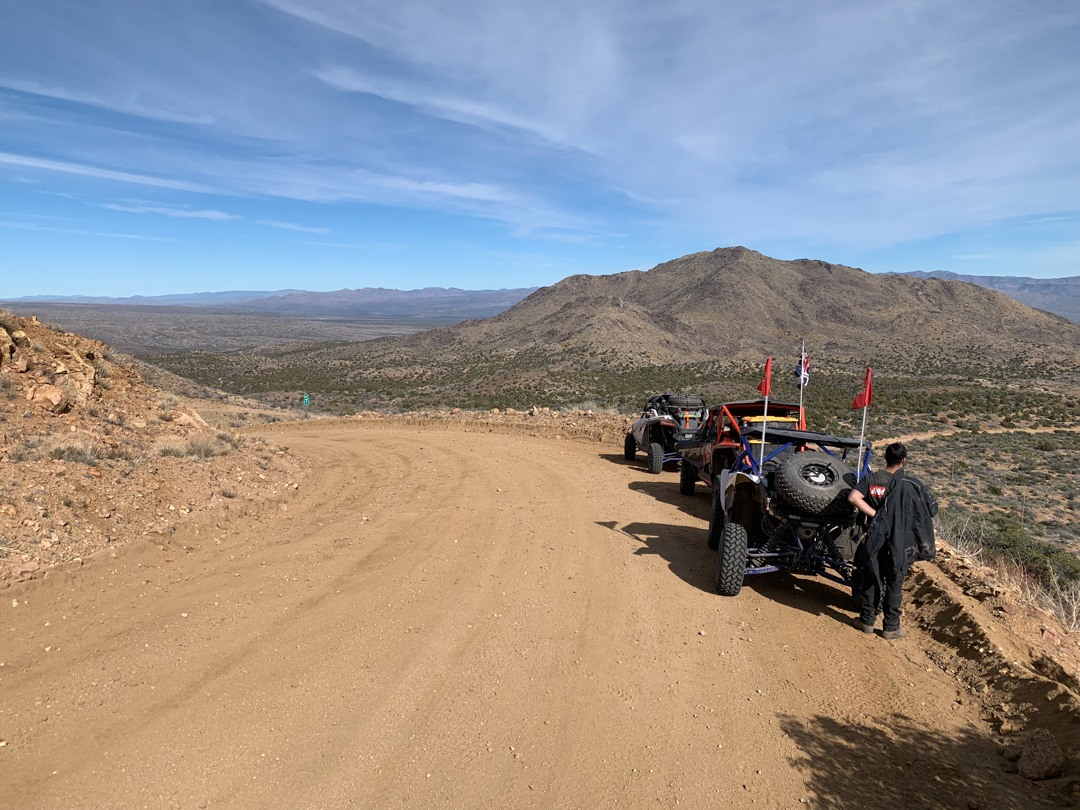
The mountains made for some epic backdrops and scenery during the first couple of days riding!
Day 3
- Start: Cibola area
- End: about 70 miles north of Yuma
- Total mileage: 170 miles
- Gas stops along the way: Fisher’s Landing, Dateland Travel Center
- Points of interest: Cibola National Wildlife refuge, Yuma proving grounds hills above Yuma, Dateland Travel Center (they have lots of Dates there, literally), Camp Horn monument, smooth and fun power line road trail
Breaking camp after a rainy night camping right on the river.
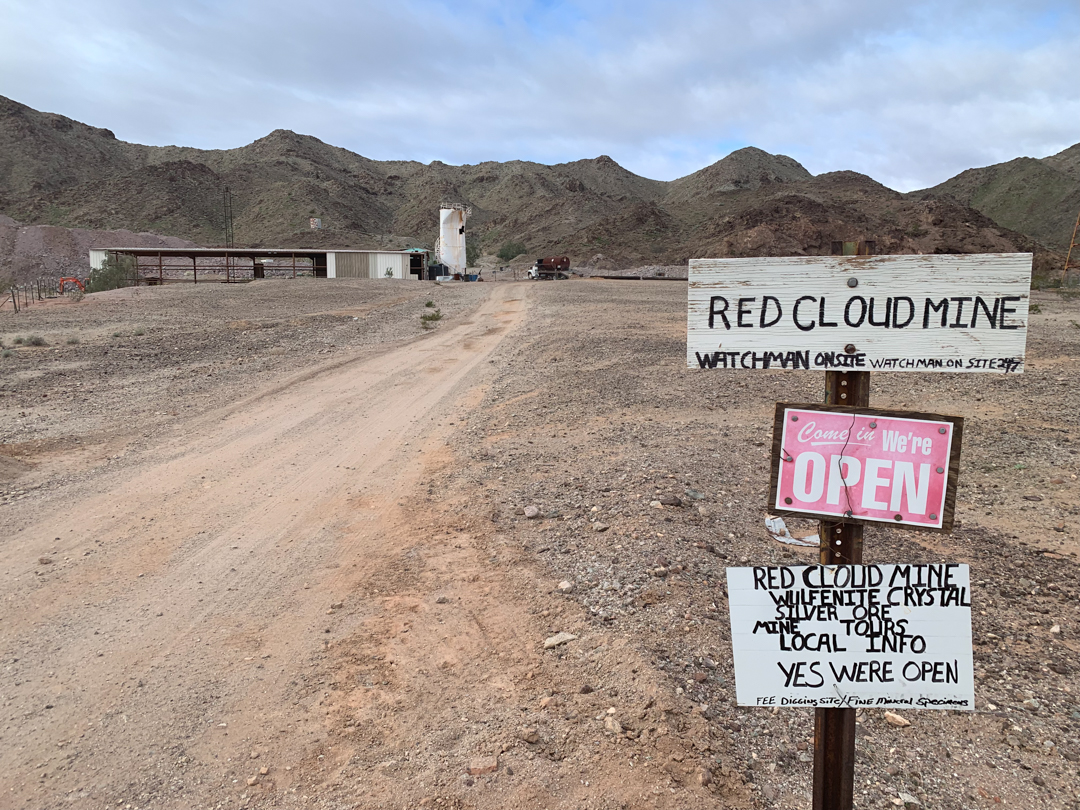
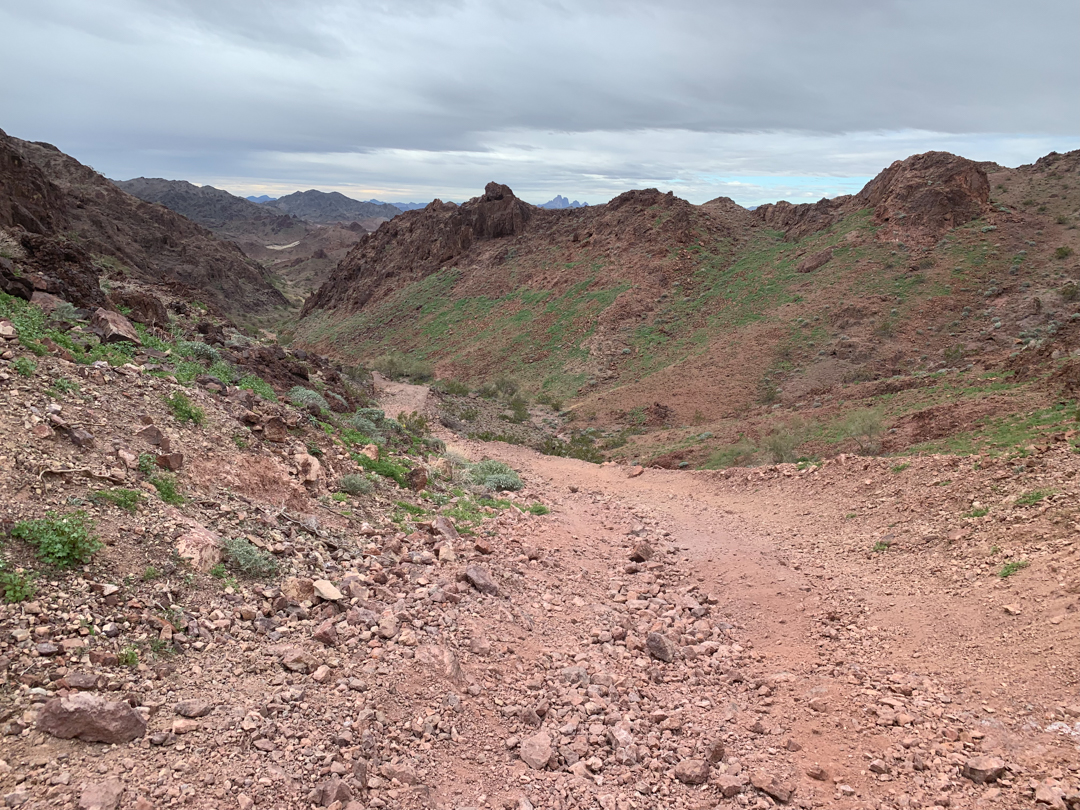
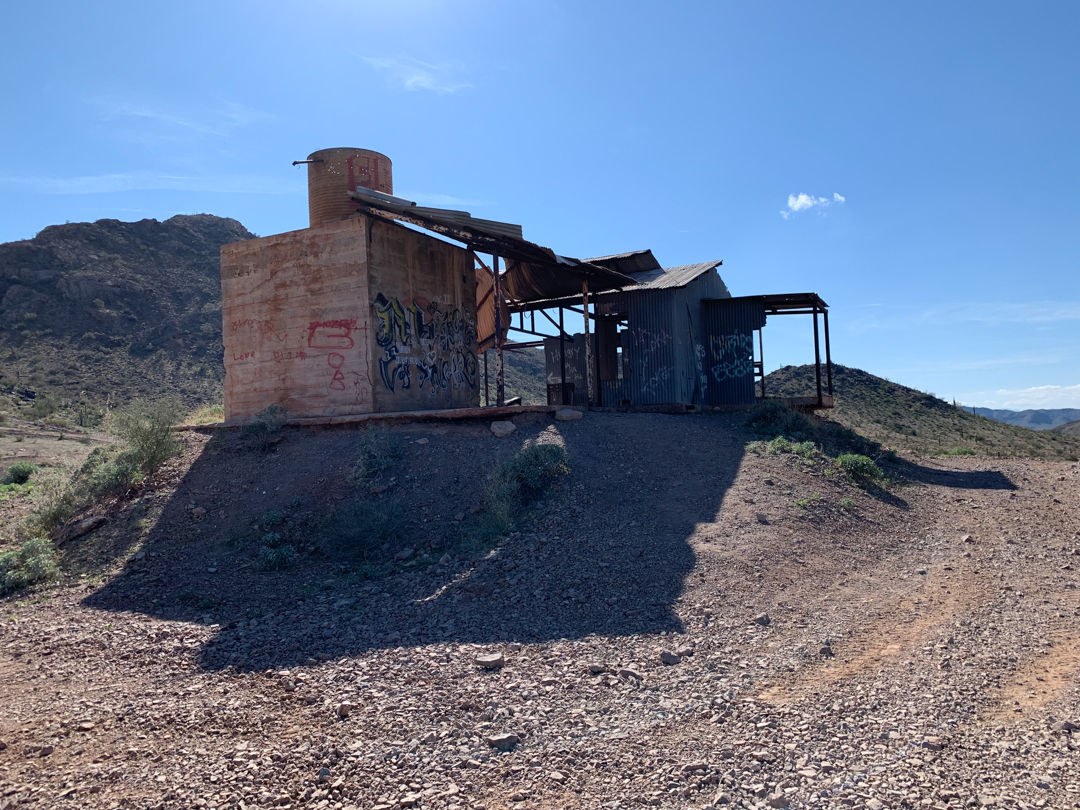
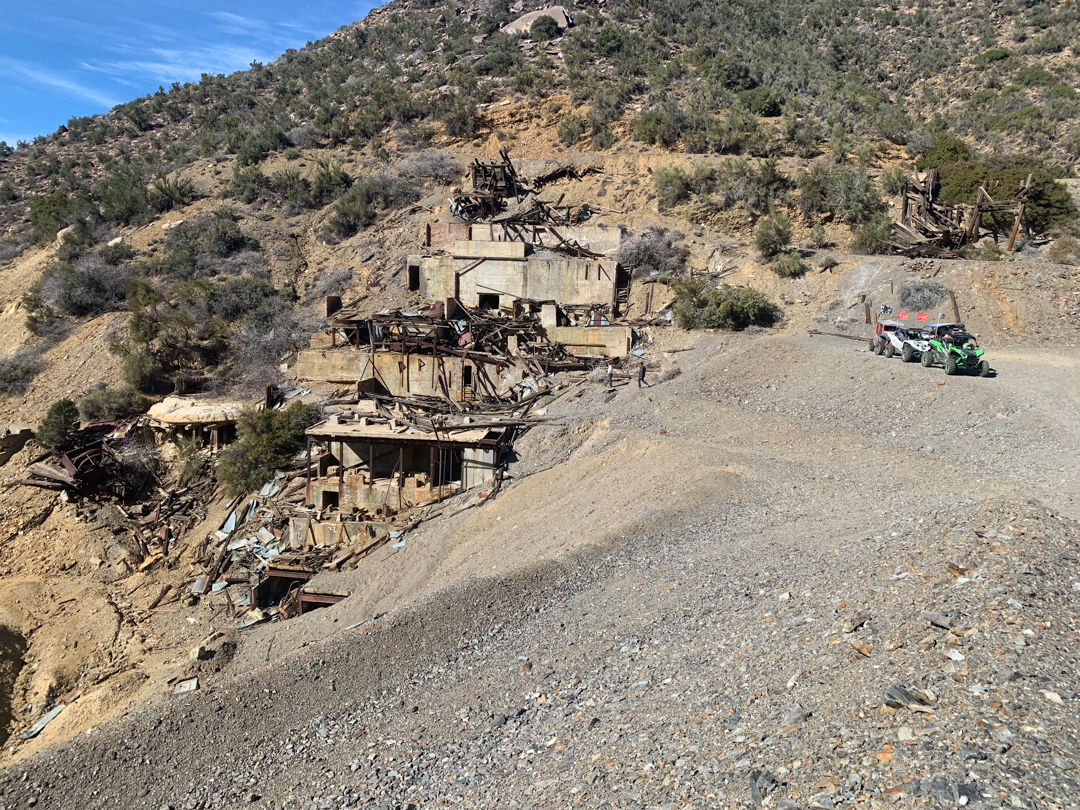
We woke up to rain soaking our tents and supplies on Day 3, which was also supposed to be our longest day. We knew that morning that we didn’t have to cook breakfast, so that made packing up easy and fast at daybreak. We got on the road around 8am and made our way through some awesome trails, which included tree-lined washes, open washes with very fun rock climbs, rocky trails that led us up to mines, and some serious mountain passes. This area turned out to be one of our favorites for the scenery. Then we got to Red Cloud Mine and Black Rock Mine, both of which are great sights to see.
You just never know what you’re going to find in places like this…
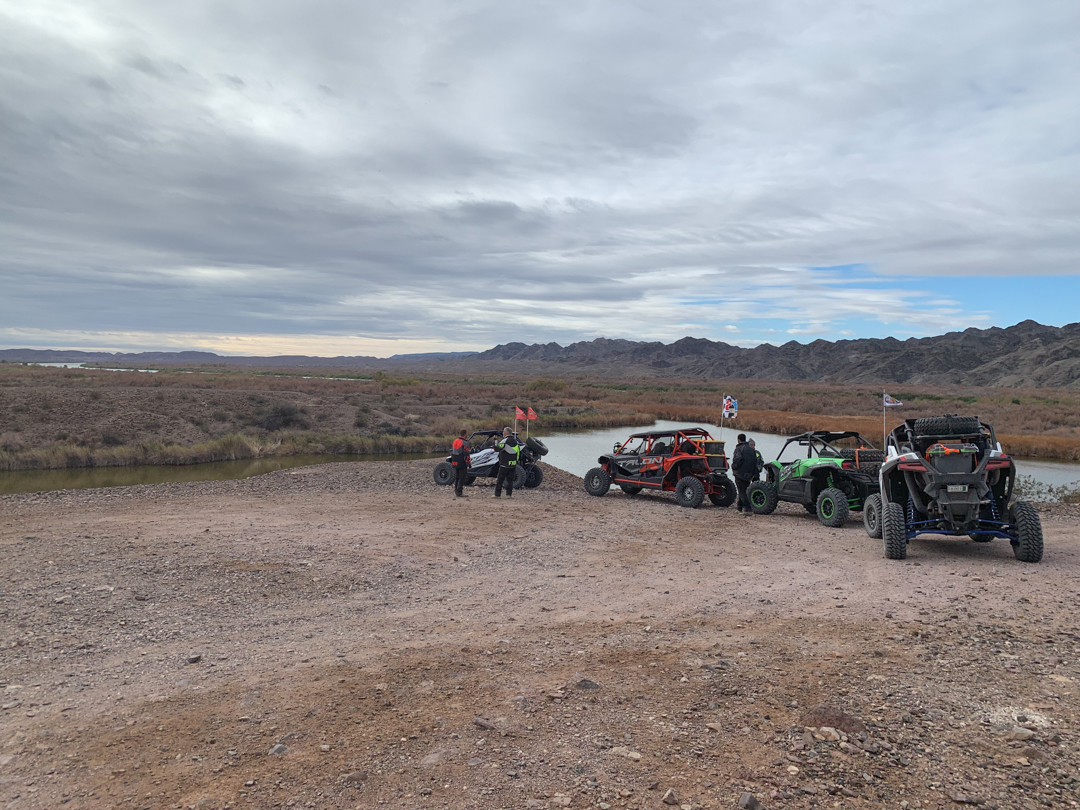
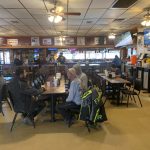
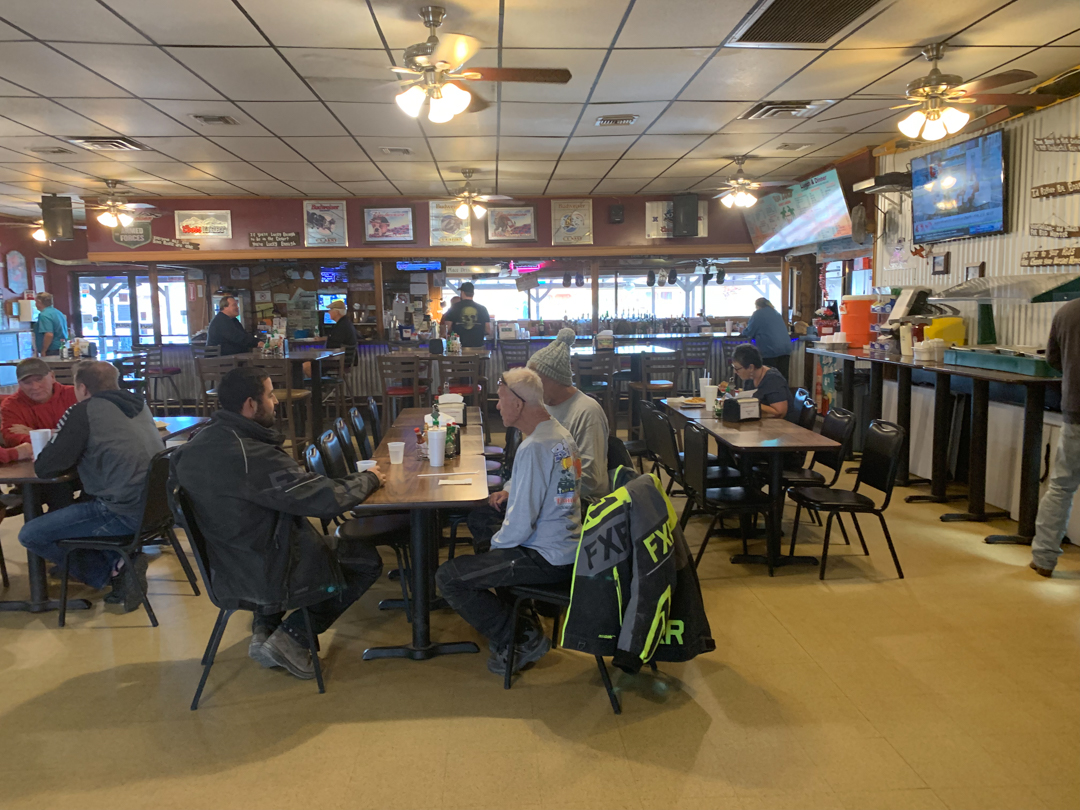
After that, we made our way towards Fisher’s Landing. On the dirt road that parallels the Colorado River, we stopped at a couple of the viewpoints – they are highly recommended! Gas and grub was on the schedule at Fisher’s Landing and the Rio Loco Bar & Grill. Stop in there and get breakfast before 11am if you can. It’s great!
We splurged a bit at Rio Loco… Awesome food when you’re on the trail for long periods of time!
The trail heads south and through some very scenic hills that traverse above the Yuma valley. The views are incredible, and be ready for some steep climbs and equally steep descents. Once you drop down out of the hills, you are just north of the town of Yuma. Watch your speed on the dirt roads as we did pass a ton of working farms (don’t create too much dust), and we passed many border patrol cars. No one bugged us – maybe it was because of the packed UTVs with camping gear?!
The trails headed down to Yuma are epic as they traverse the tops of these mountains.
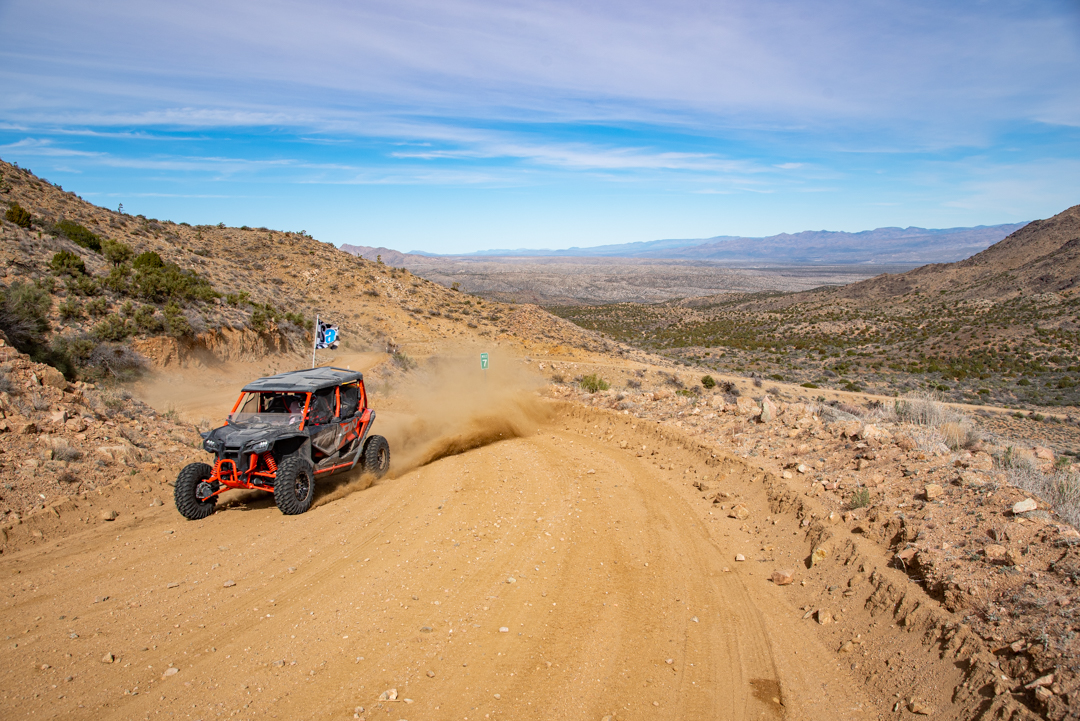
We’ll never know, but the trail going east out of Yuma is one of the most fun trails you can ever ride! It’s along the power line road, outside of the farms, and just waiting for your heavy right foot and slide-happy steering. I have had the privilege to ride countless trails in my life, and this area has to be one of my all time favorites. The dirt is tacky but still lets you break the back end loose. The road winds around awesome obstacles that allow you to float the backend out, and you have plenty of forward vision of what is coming up. It’s just plain fun to drive!
One of the absolute best trails of the route. The dirt has just the right amount of traction and give to make this area a blast to drive on. And, it’s smooth…
We ended up cutting down south before the main highway to take a sandy wash to the Dateland Travel center for fuel. We got there right at sunset and still had 70 miles to ago. Apparently we enjoyed the first half of the ride too much today…
Sunset at one of the many gas stops on the route. You can’t see how we still had 70 miles to go on this leg!
Little did we know that the ride north on the APT from Dateland was full of fast roads and awesome terrain! We went 70 miles north in the dark but still saw some amazing mountains and cactuses lit up with our stock headlights. Tip: be sure you have some better-than-stock headlights on your rig when you take this trail. You’ll appreciate it when the going gets dark. We found a nice little pullout on the side of the trail and made camp for the night. Luckily our wet tent rain flys were stored away from the actual tent, giving us a dry sleeping area to crash in.
Sunrise at one of our favorite camping spots. No one around, quiet, and beautiful scenery with massive cactus and mountains all around.
Day 4
- Start: random spot 70 miles north of Yuma (Dateland Travel Center, actually)
- End: random camp spot east of the El Paso gas pipeline road
- Total mileage: 94 miles
- Gas stops along the way: Salome
- Points of interest: Royal Arch, Natural Arch, Harquahala Mine & Chinese Graves, Cottonwood Pass
Waking up this morning to more dew on our tent and machines, along with all of our supply boxes, gave us a crisp clean feeling this morning. The sunrise was absolutely beautiful out here! Nothing around on this straight trail (I believe the trail was either YE008 or YE065). The quiet and stillness of the desert was so calming for our fire and morning coffee. Camp Chef makes an awesome percolator and coffee cup set if you’re interested – this was perfect for our trip…
Just a taste of the two-track trails headed north towards the natural arches and Salome
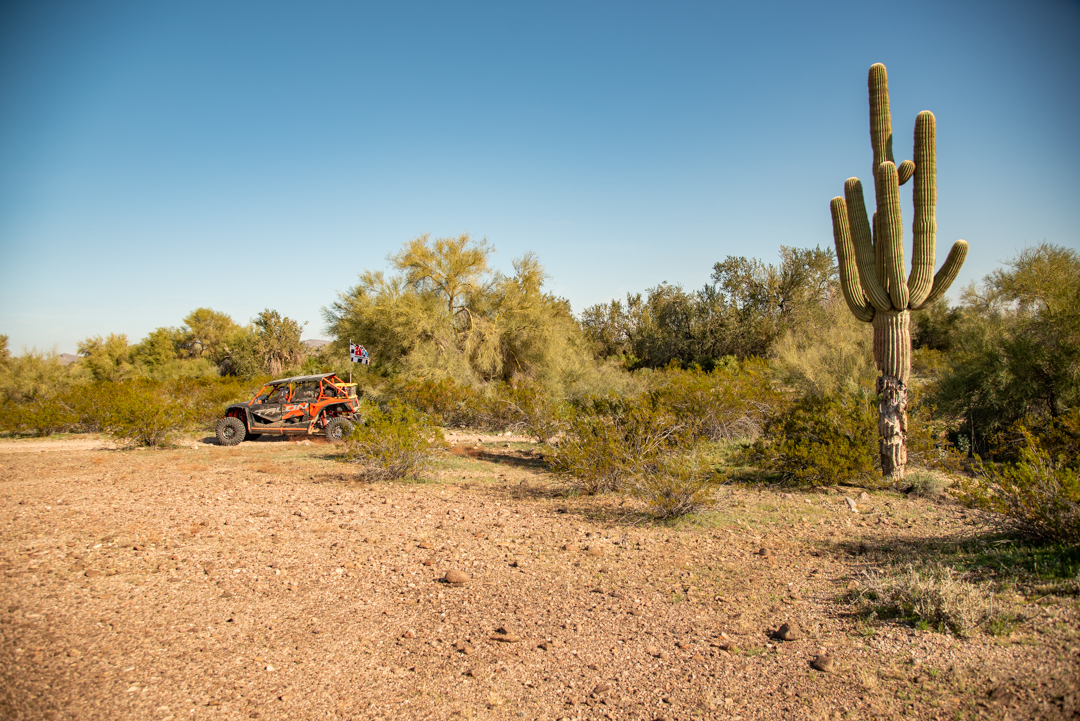
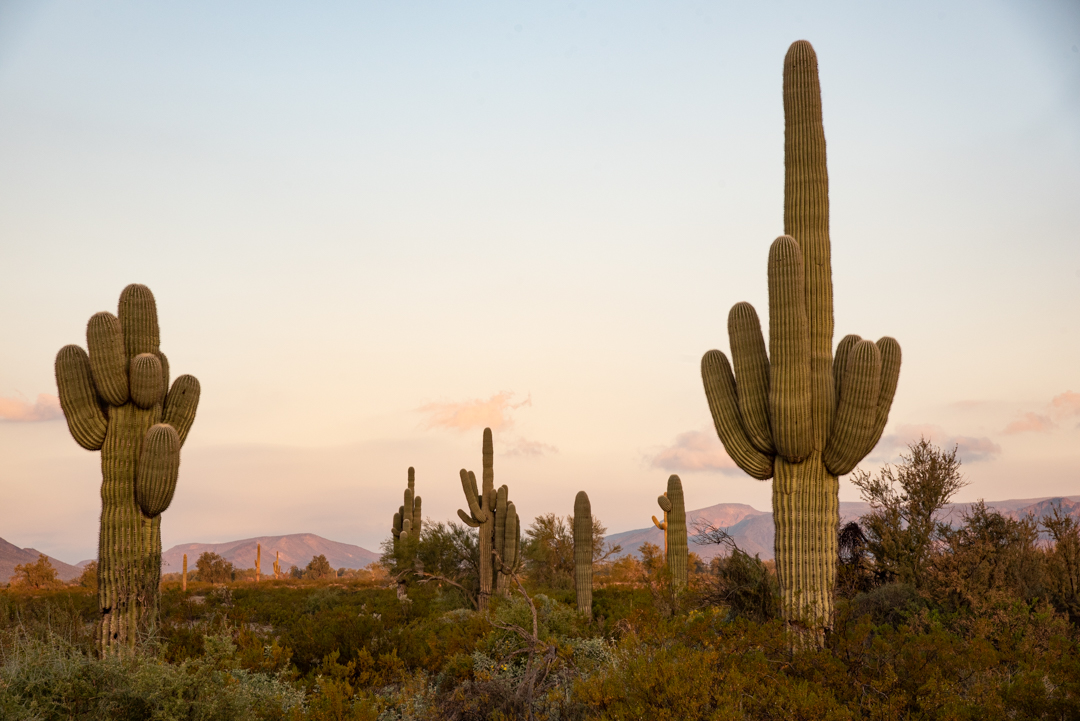
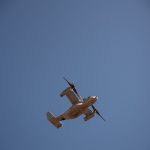
The fast roads slowed down today to more windy and scenic roads. The saguaro cactuses in this area are phenomenal. There aren’t quite as many as you would see in Tucson, but there are a ton down here. We were also surprised when a V-22 Osprey military helicopter buzzed us while we were taking photos. That was a thrill! That was the only other “person” we saw for almost a hundred miles. Then there was the random camper van out there… Needless to say, we kept driving!
We say Royal arch and Natural arch on the trail, both of which are fantastic rock formations. The trail after these was another favorite – fast, fun, smooth, and filled with sweeping corners. It’s a wonder we didn’t lose anything out the side of these vehicles… Nala, our adventure pup, didn’t like being held into place too much, but she has learned over the years that flat trails call for a bit more throttle.
This was one of the many gut checks as we appreciated how old the desert really is out here. It’s an awesome place!
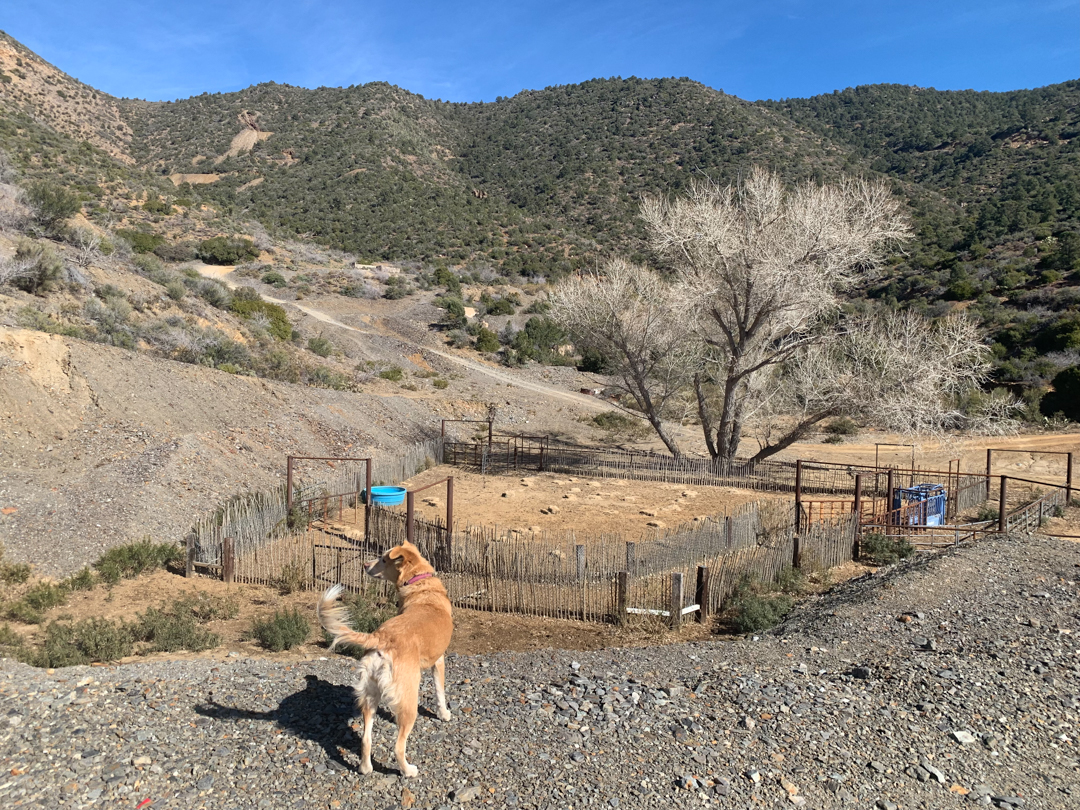
Farther north, we passed over the I-10 freeway and headed to the Harquahala mine, which was a very cool sight to see and hike around in. Then we made our way to Salome, avoiding all paved roads and taking some really cool side trails. We fuled up in Salome and headed north. Please note that Cottonwood Pass is a tight area north of Salome. When you’re headed up the mountain pass, be ready for some rock crawls and make sure that you look ahead to make sure that no one is coming down. There is essentially no room to pass. On the backside, more tight trails are found, but the scenery remains gorgeous. I would love to see this area in the springtime. We wound our way down and into the middle of the desert, where we pulled out for our camp spot that night. This day was a bit shorter and really nice. You need to take time to relax on a trip like this and enjoy your surroundings, too!
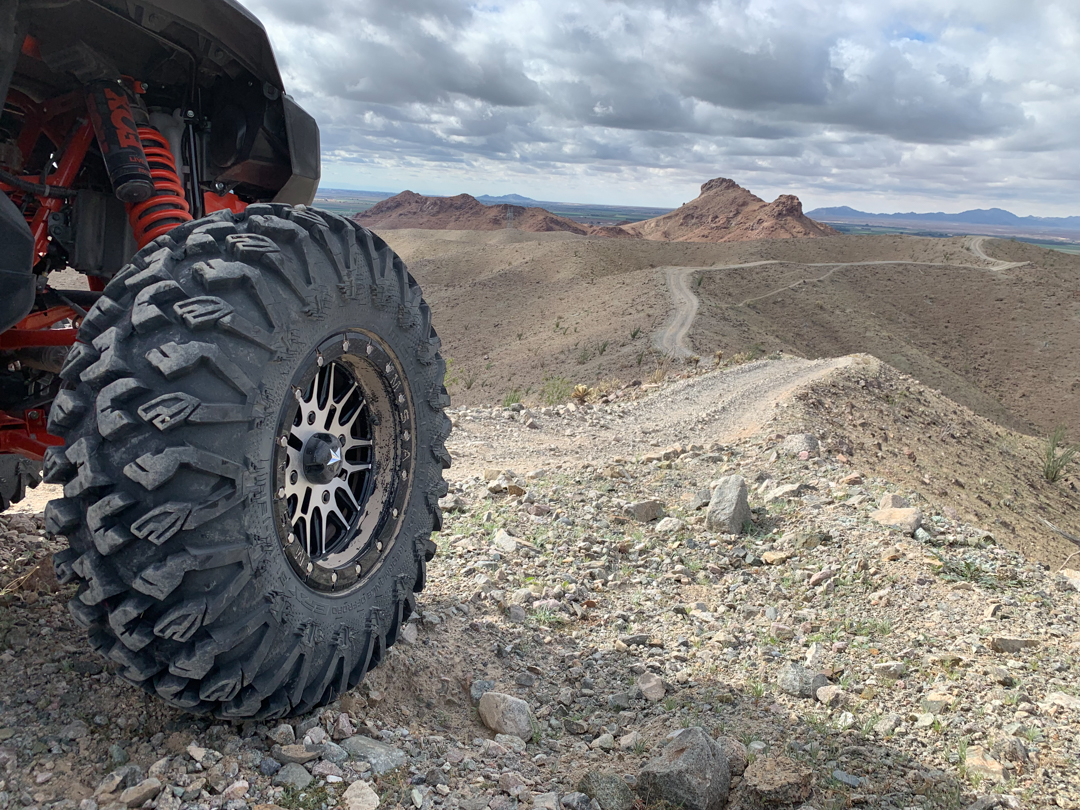
Never ending views as we made our way back north. Here is a view from the Harquahala mine area
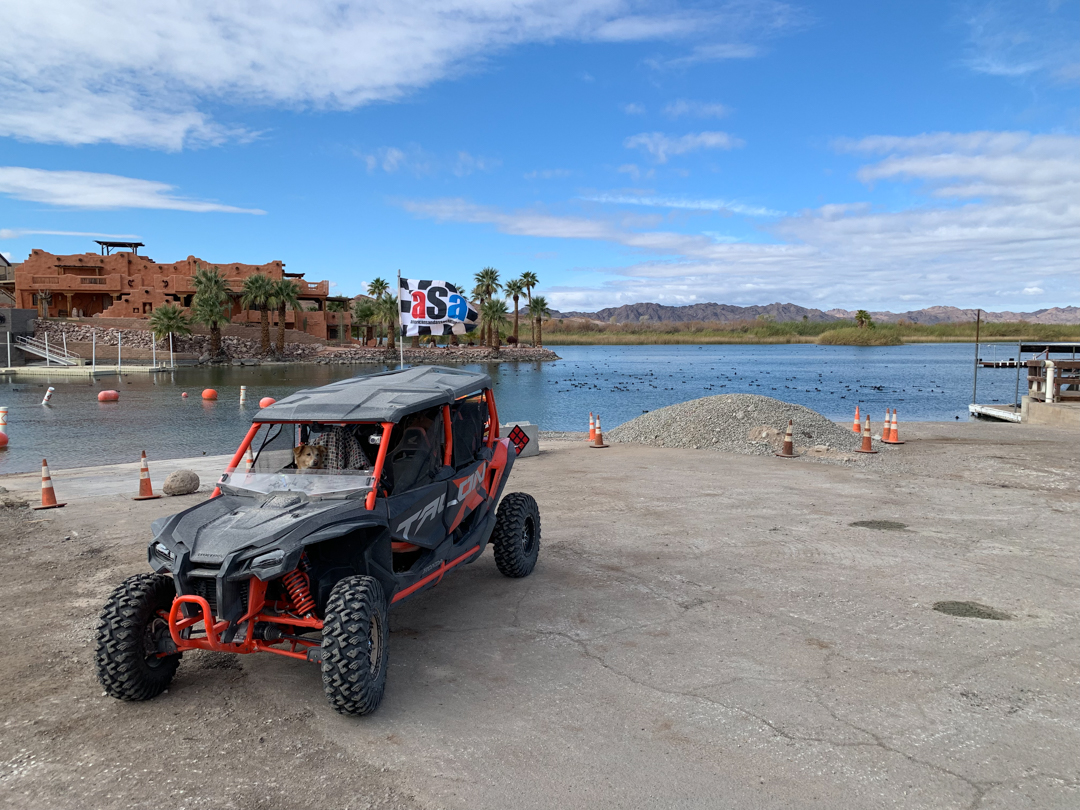
Day 5
- Start: camp spot east of the El Paso gas pipeline road
- End: Alamo Lake
- Total mileage: 59
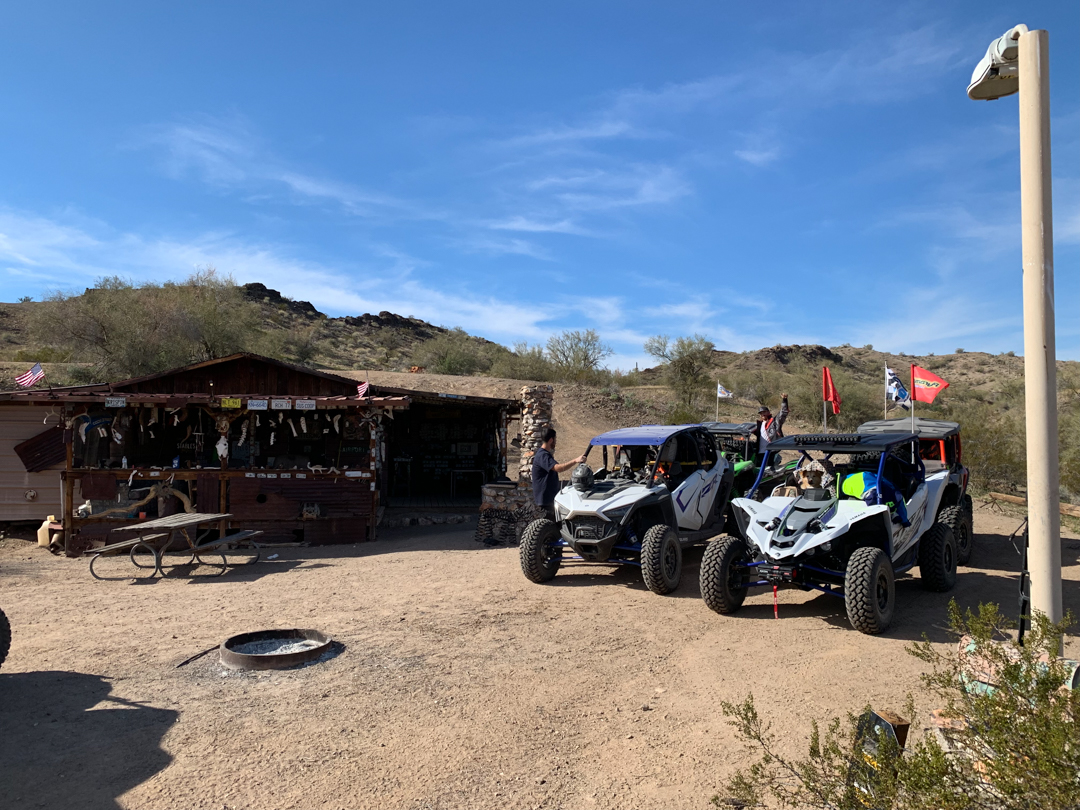
- Gas stops along the way: Wayside Oasis RV Park
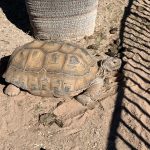
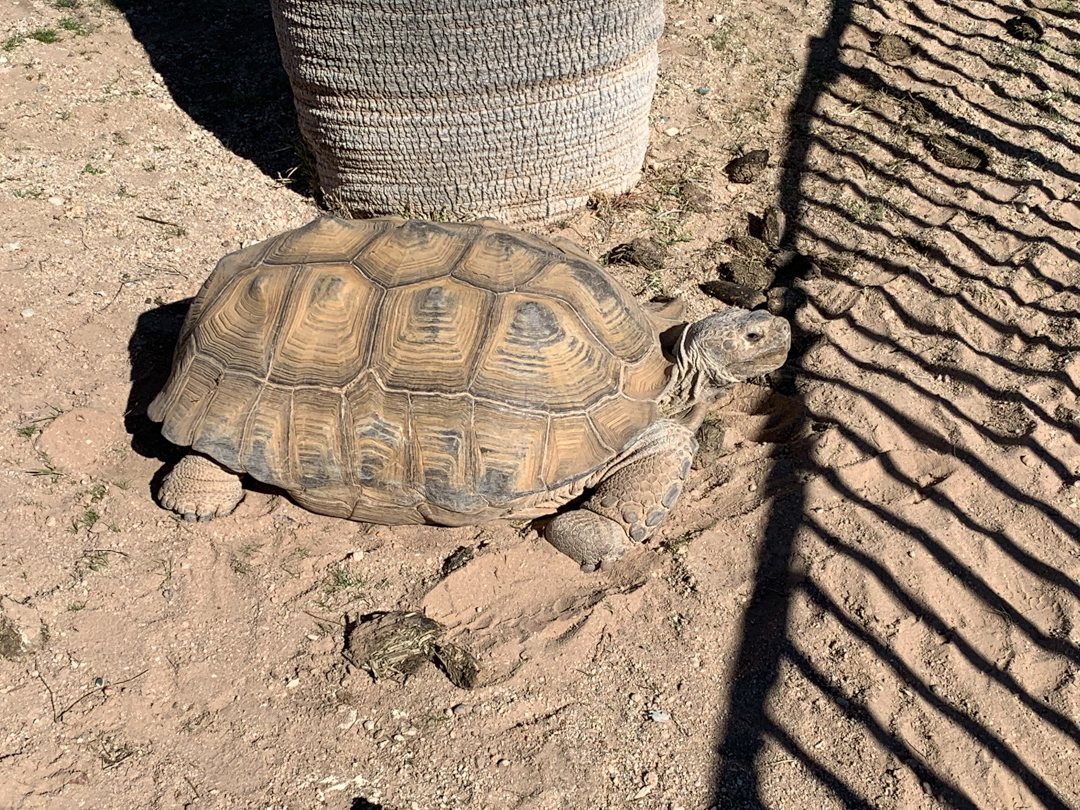
- Points of interest: giant turtle at Wayside Oasis RV Park, countless destinations on the north side of Alamo Lake such as: mines, drive-through slot canyons, abandoned cabins, lakeside views, and more
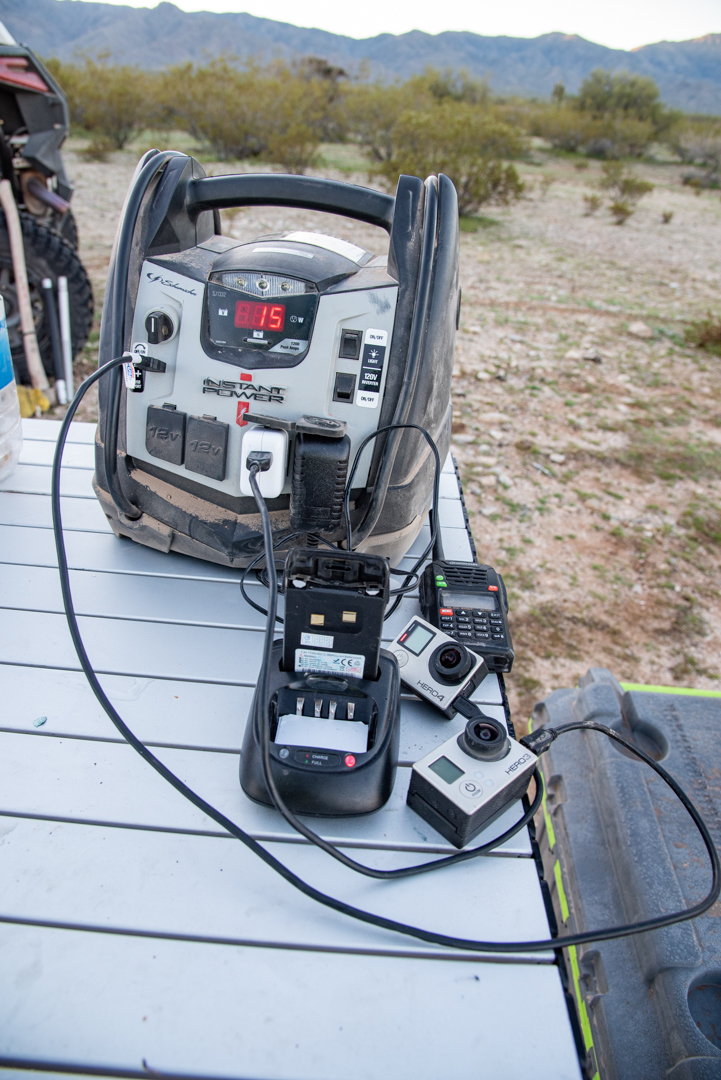
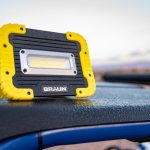
Make sure you are prepared for anything on the trail. This portable power unit charged our devices and served as a portable power supply for our vehicle batteries, along with a backup tire air pump.
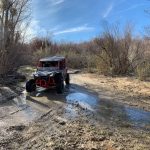
Again, with a little bit shorter of a day planned, we headed out north and made our way towards Alamo Lake. The washes to get there were all washed out with recent rains, so we were navigating a bit trying to find the best line. This was definitely fun! Our next fuel stop was at the Wayside Oasis RV Park, which has fuel and a great restaurant. They surprised us by initially being “out of fuel”, but then we were told that they do have 91-octane. Apparently no one there uses the 91, but that’s all we use. Thankfully, we were able to fuel up and get on the way. The next surprise was that the owner had recently been trying to tackle the river crossing and had gotten stuck in his Maverick X3 MAX. We were told that there was no way we were going to make it. So, you all know what happened next… We had to make it across, of course!
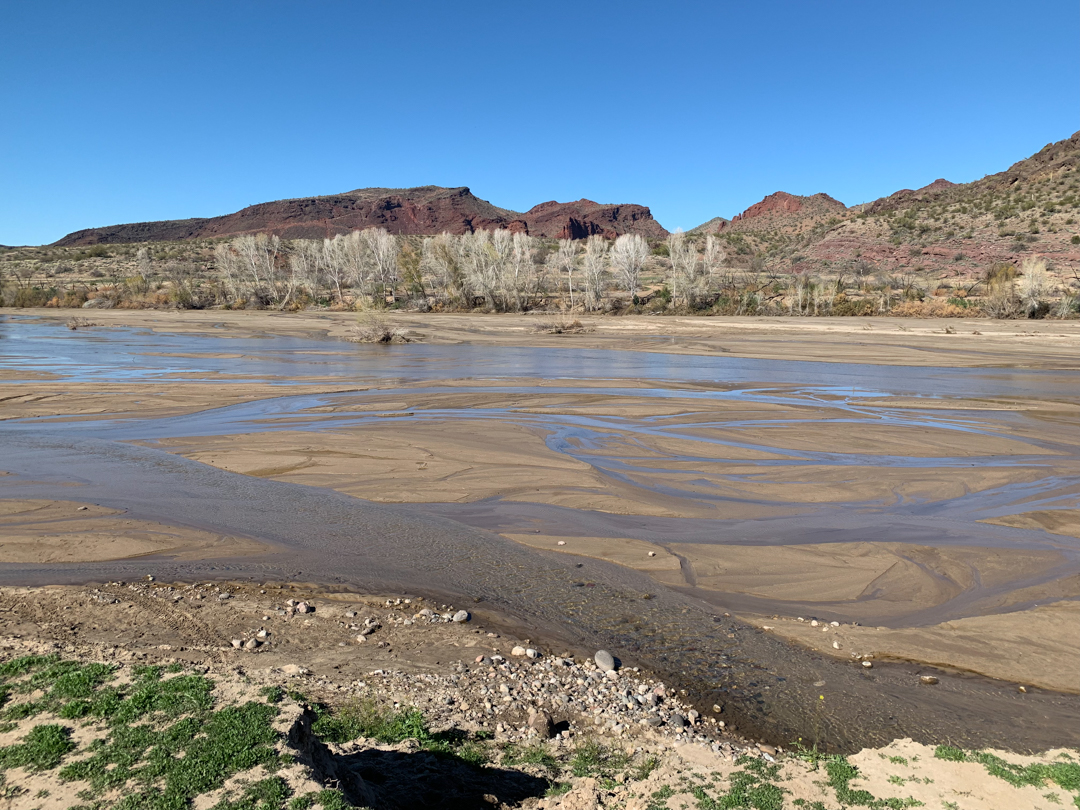
It doesn’t look like a bad water crossing, but it was much worse in person! This river can be flowing after big rain storms, so be sure to check with Oasis RV park before heading out this way.
We made our way out to the river crossing only to find the concerned people out there – they had to witness our attempts… Upon careful evaluation, we designated the right line to take to hit a couple sandbars as we kept up our speed to cross the river. It wasn’t that the water was very deep, maybe 2’ deep at most, but it was the very quicksand-like river bottom that was swallowing up tires. We had one heavy duty WARN winch with us, so we saved that particular vehicle for last. After I did a test run and successfully made it across with plenty of speed to spare, we knew we were good to go. Chock it up for the adventure, it was sure fun to see all of our vehicles cross! A little speed, a little driver finesse, and a can’t-stop’won’t-stop attitude. As we like to say, “challenge accepted”.
One of the coolest things any of us have done is drive through this slot canyon!
There are plenty of mining areas, far-out cabins, and beautiful slot canyons to explore on the north side of Alamo Lake. I would highly recommend seeing this area in your life if you can!
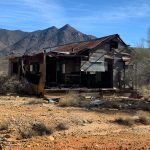
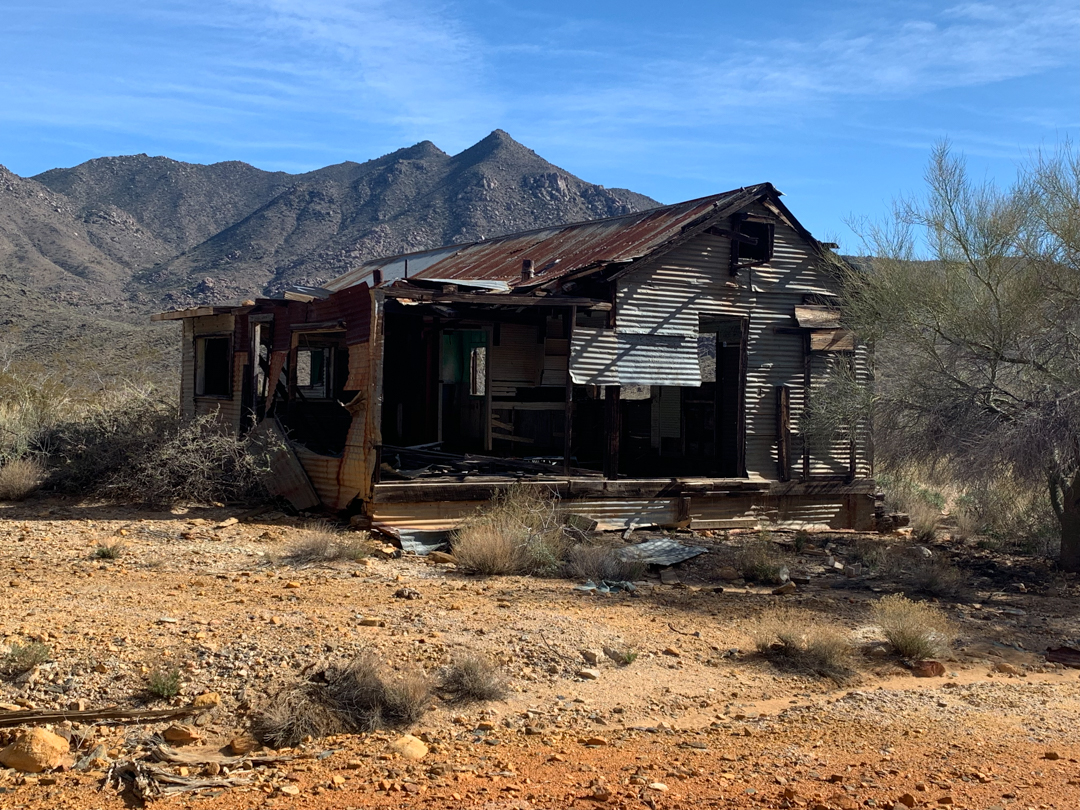
We would probably be shot if we told you where this hunting cabin is…
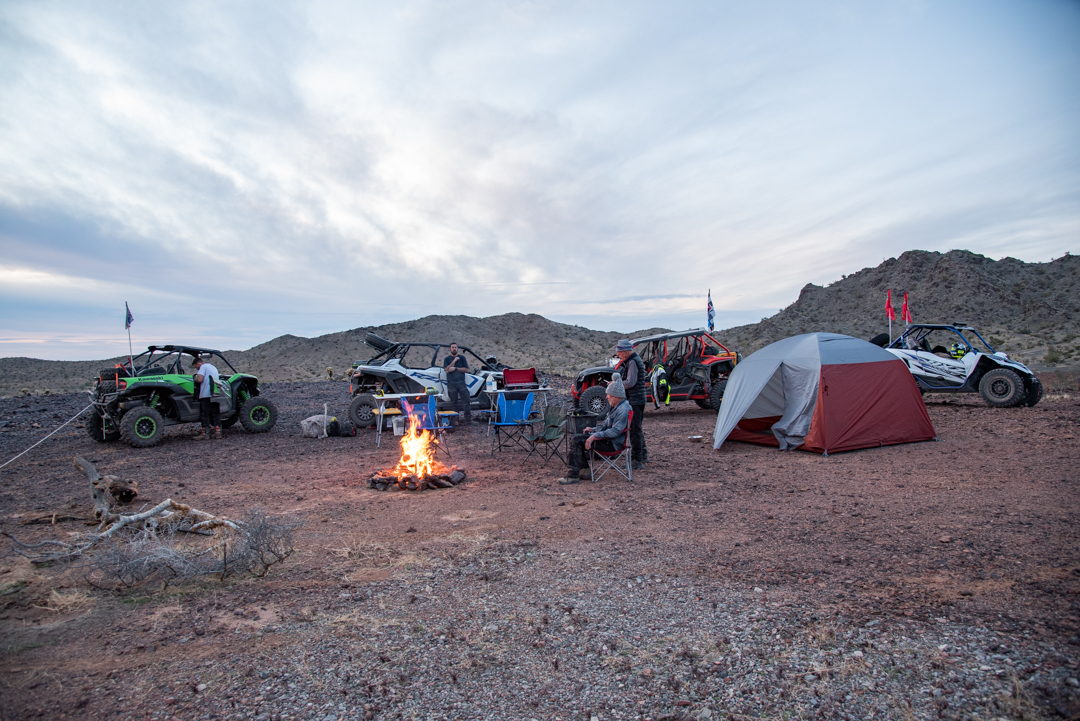
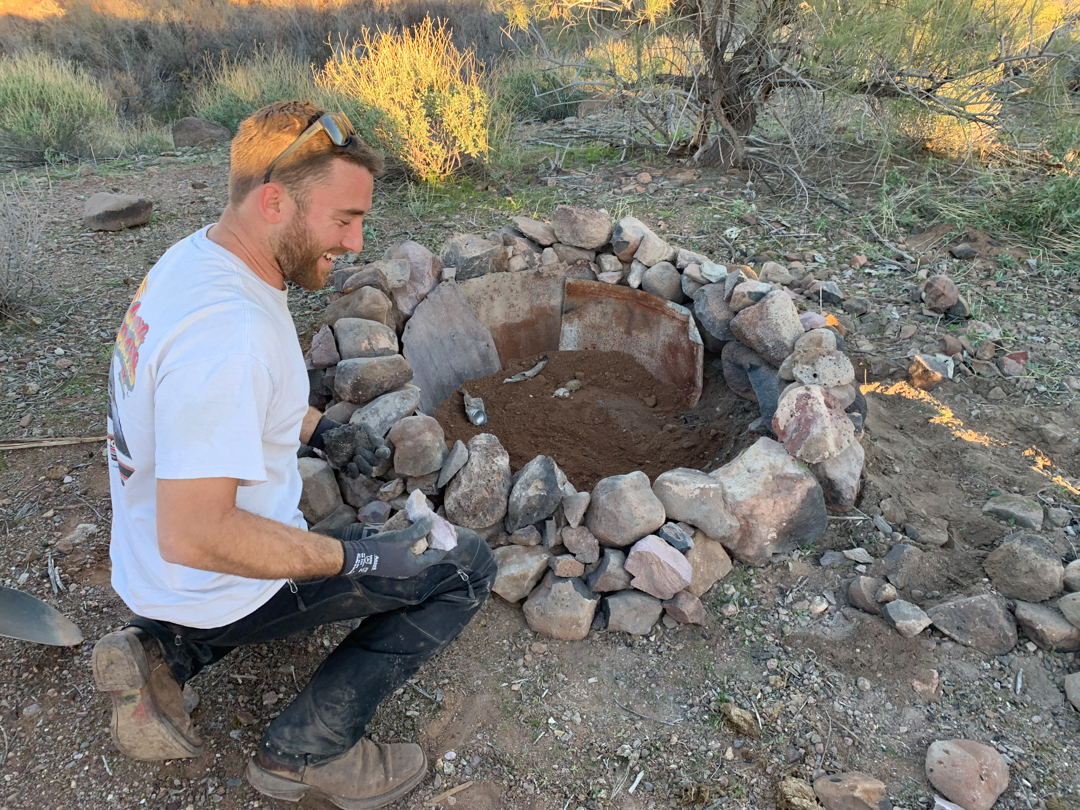
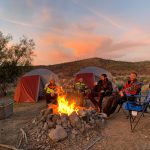
This was also our last camping night of the trip, so Casey #2 did it up right by making the best fire pit of the trip, and we enjoyed some great food to go along with the rad sunset. Our camp spot was nestled into the mountain with an awesome lake view. For the most part, there weren’t any bugs on the trip, either. It doesn’t get any better than that…
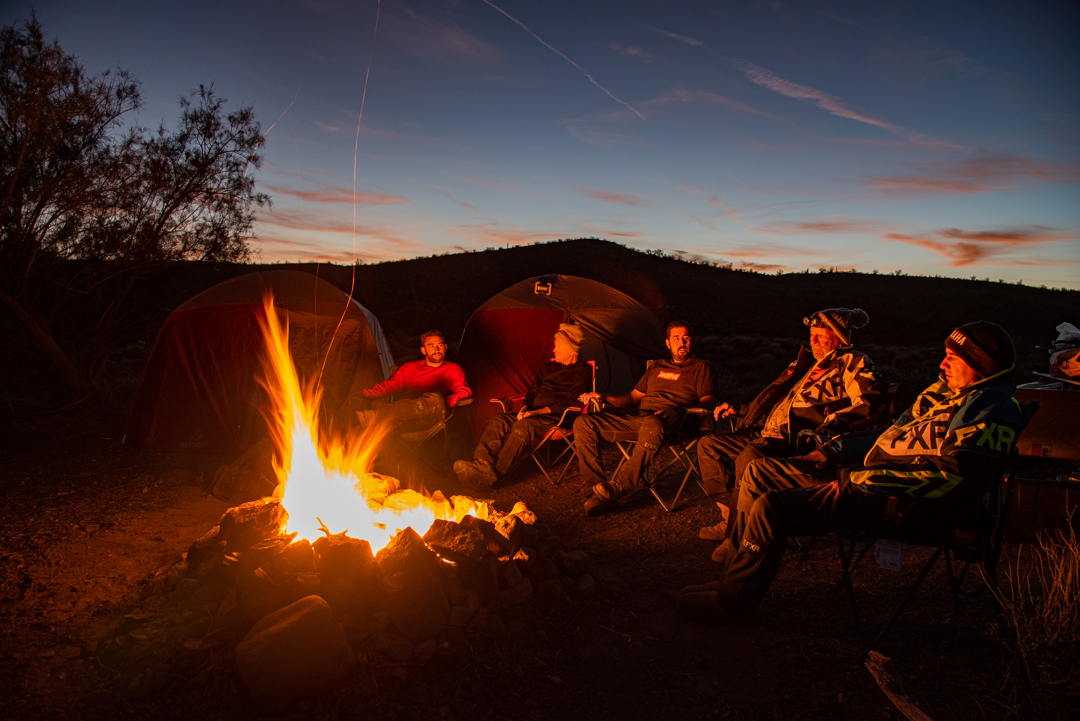
The nightly ritual…
Day 6
- Start: Alamo Lake
- End: Hualapai Mountain Resort
- Total mileage: 96
- Gas stops along the way: Wikieup
- Points of interest: town of Wikieup, river crossings, wide open and fast trails
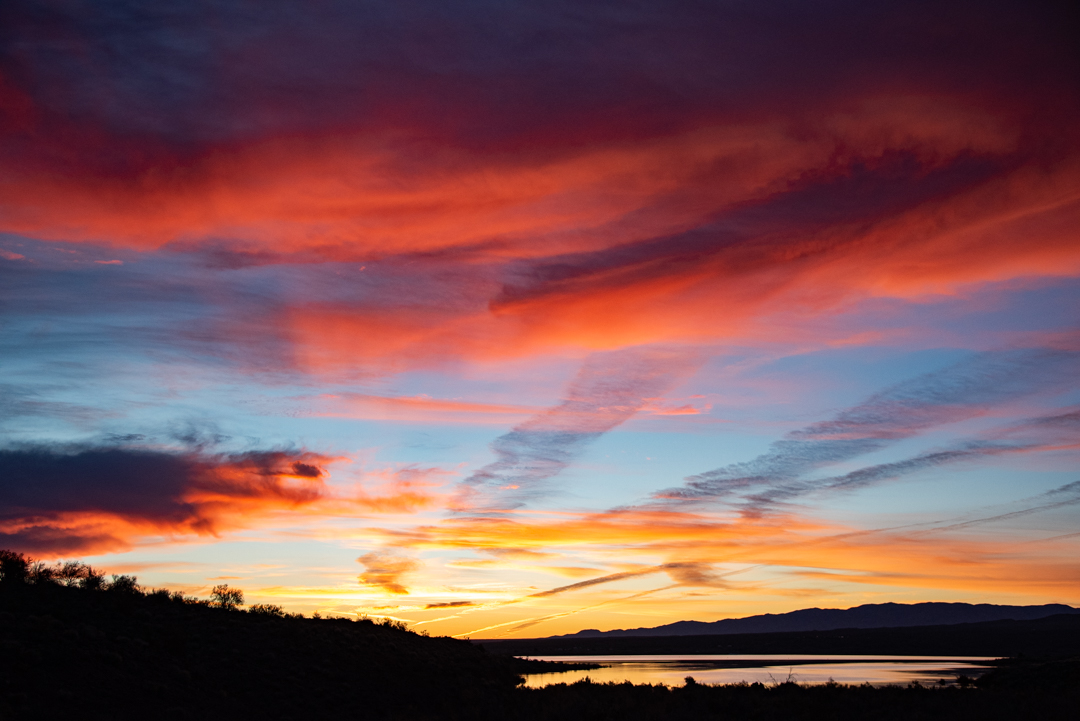
The desert sunrises never disappoint, but this morning was incredible! Glenn broke out the drone to film the sunrise over Alamo Lake, and the footage is just awesome. We thoroughly enjoyed the views, and it made us ready to tackle today’s trail.
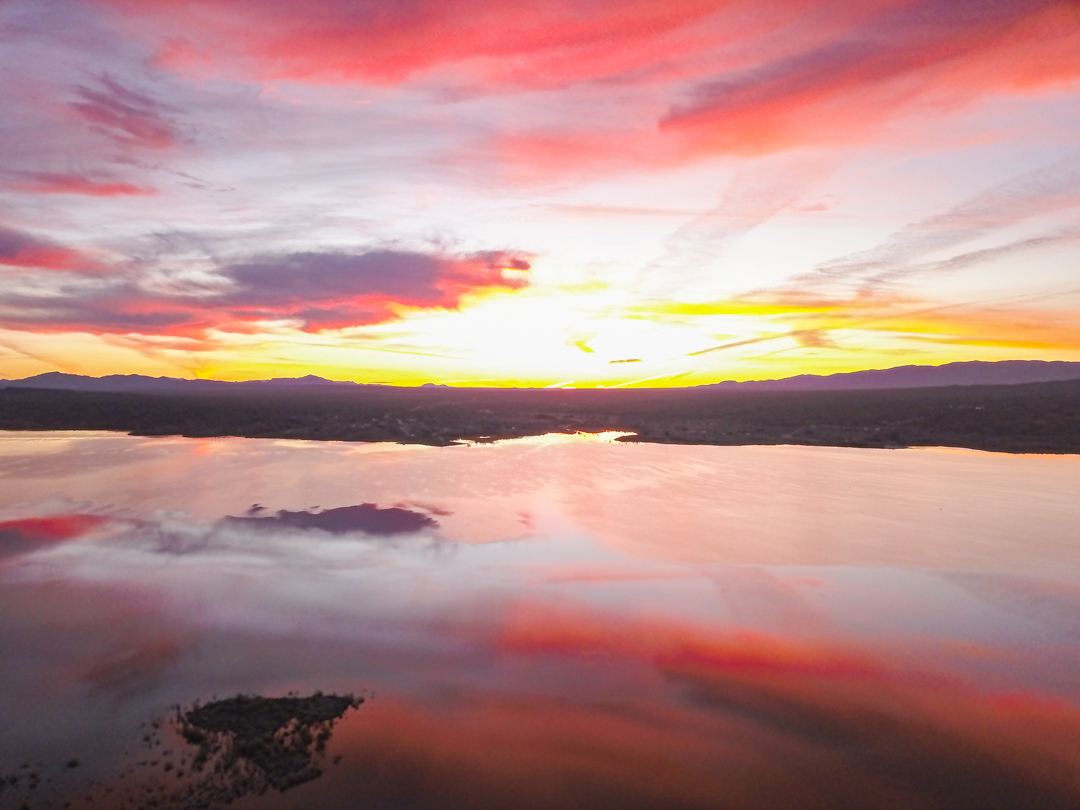
That sunrise over Alamo Lake…
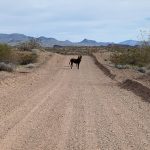
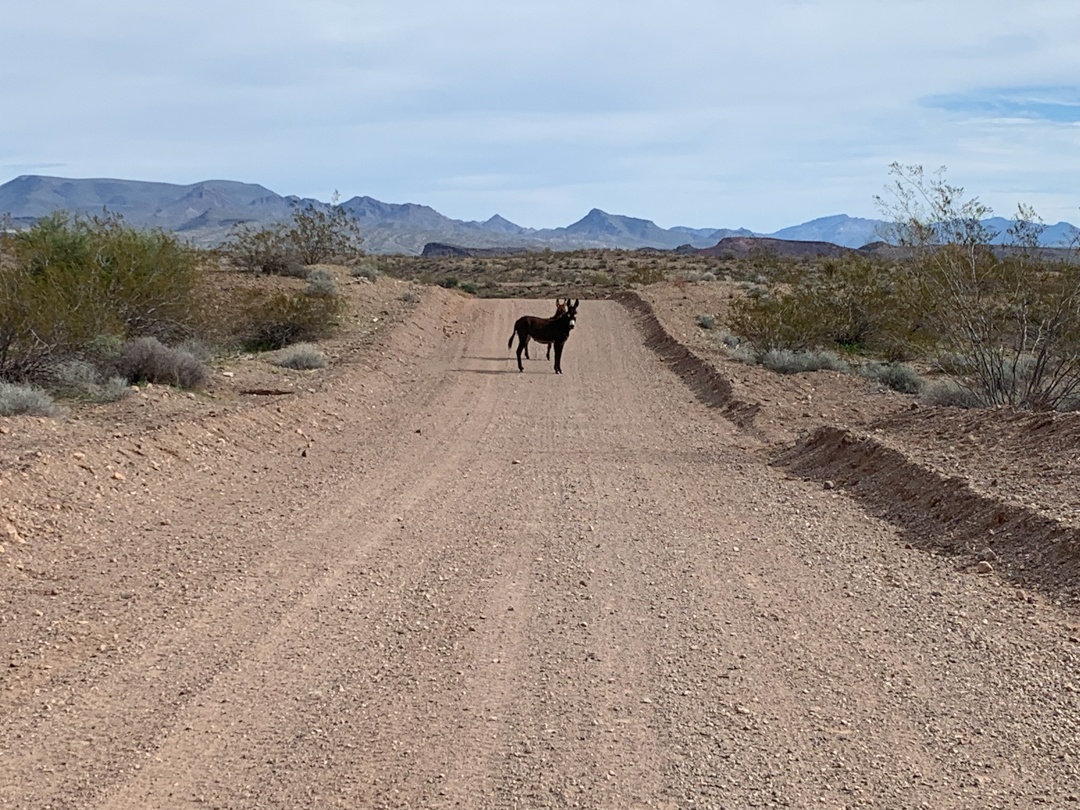
The road headed north out of Alamo is a pretty wide and mostly graded road, save for the occasional wash out. Be careful of donkeys and other wildlife in this area. We made our way northeast to Wikieup to fuel up. Tourists loved our vehicles and Nala with pictures and pets galore.

Breakfast was always a priority. You always want to start the day off right!
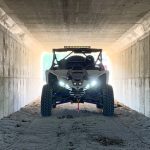
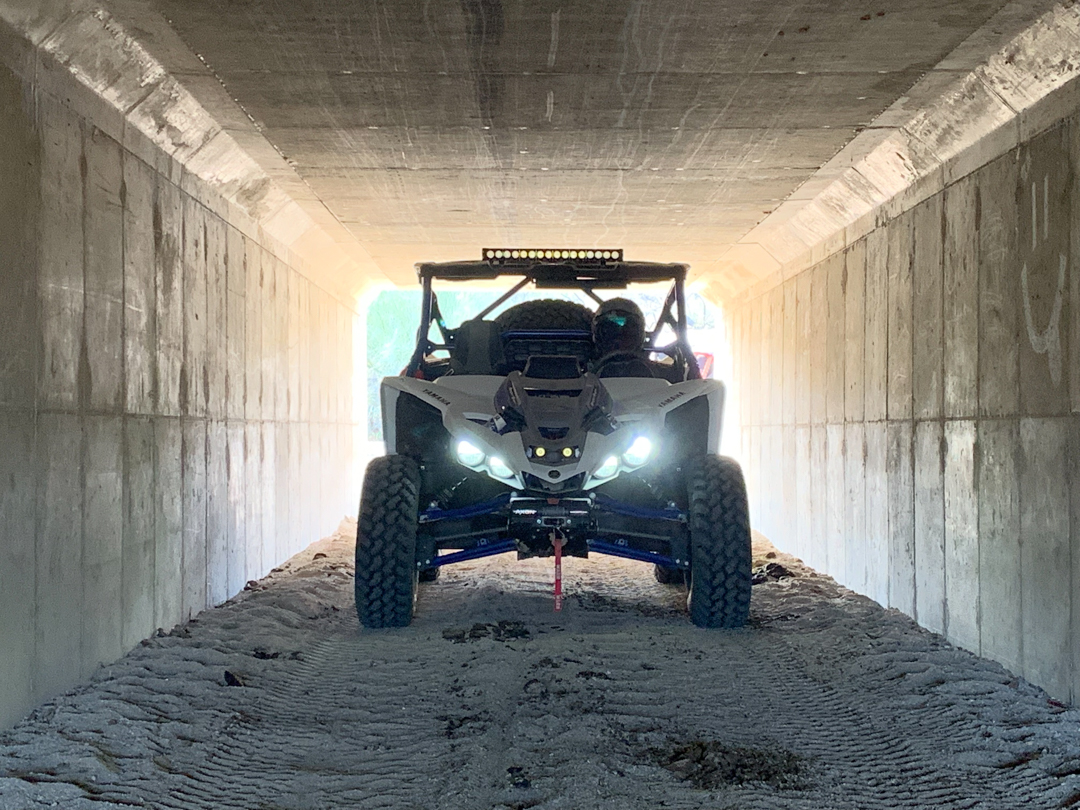
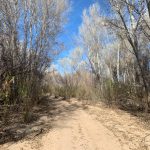
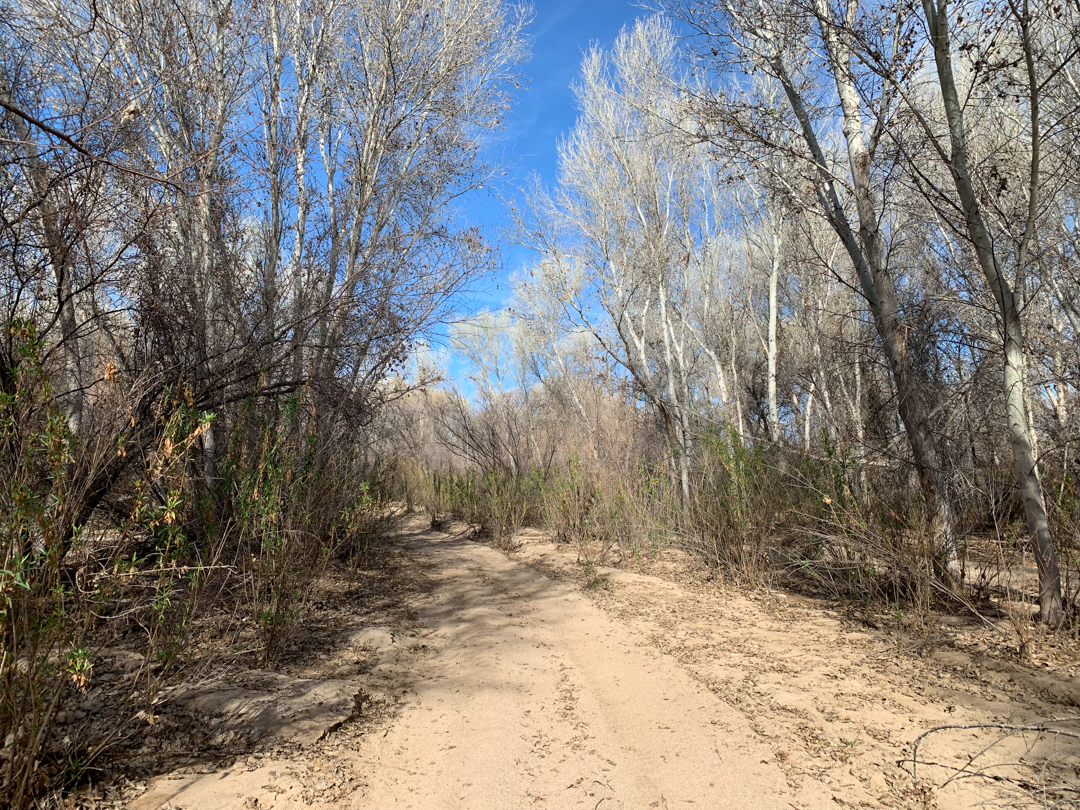
We took the optional APT route on the east side of the 93. To get there, you either have to cross the main road, which we weren’t about to do, or go under the bridge. Take note, the bridge is short and barely fit our non roof rack-equipped UTVs. If you have a taller ride (taller than a stock Talon 1000X-4), then you’ll probably need to cross the main road and head out to the trails. Either way, the trails through here are very narrow with sharp bushes on each side. Be ready for some scratches as you make your way through this section. However, the challenge is worth it because you get to enjoy fast graded roads for seemingly forever after that. The graded roads wind their way around the mountains in this area, just watch out for blind corners. There are some corners that aren’t blind, in which case the throttle went down and the sideways action ensued!
With fast and fun roads in our path, the throttles were much further towards the floor!
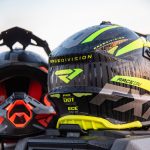
Beyond the fun roads was another road crossing where we had to cross directly over the 93. This was easy, and gave us a straight shot up to the Hualapai mountains. As you make your way up to over 6000 feet in elevation, get ready to feel a drop in temperature. Our warm and comfortable FXR gear was so nice the whole trip, but especially in the mountains. These Fuel jackets are perfect for unpredictable weather on a trip like this, and the same goes for the Altitude pants that are way more comfortable than jeans for 7 days straight and still protect you through the thorns and desert bushes.
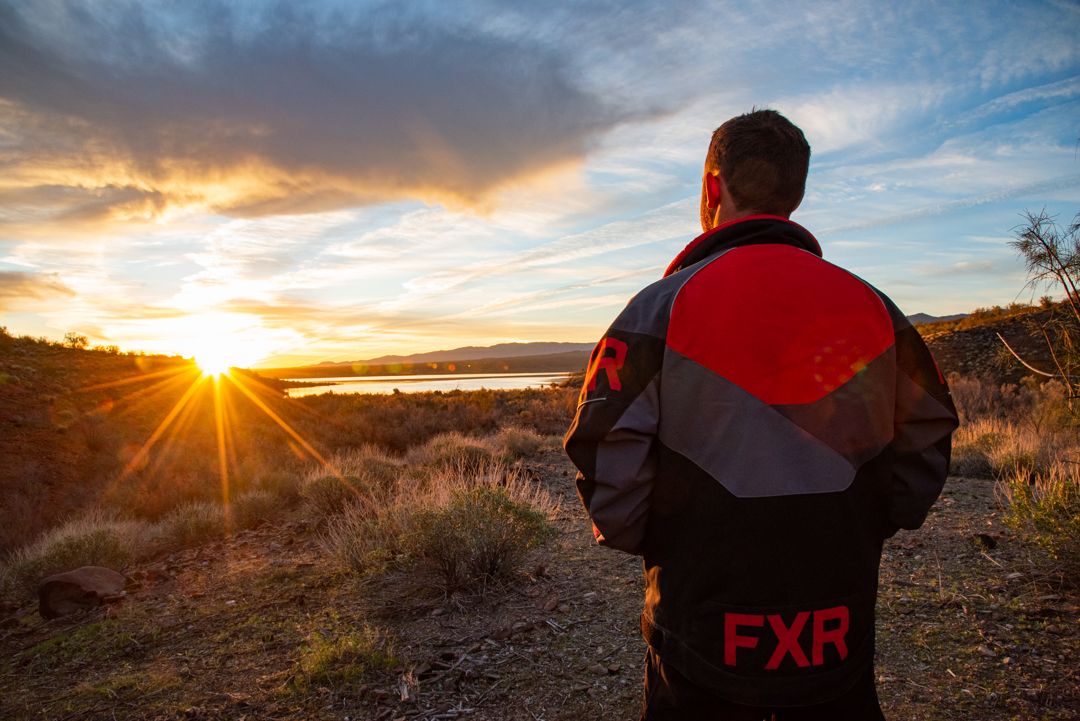
The right gear is imperative on the trail. We stayed warm and cozy the entire ride thanks to our FXR Fuel jackets and Altitude pants. And, yes, the desert does get cold in the winter…
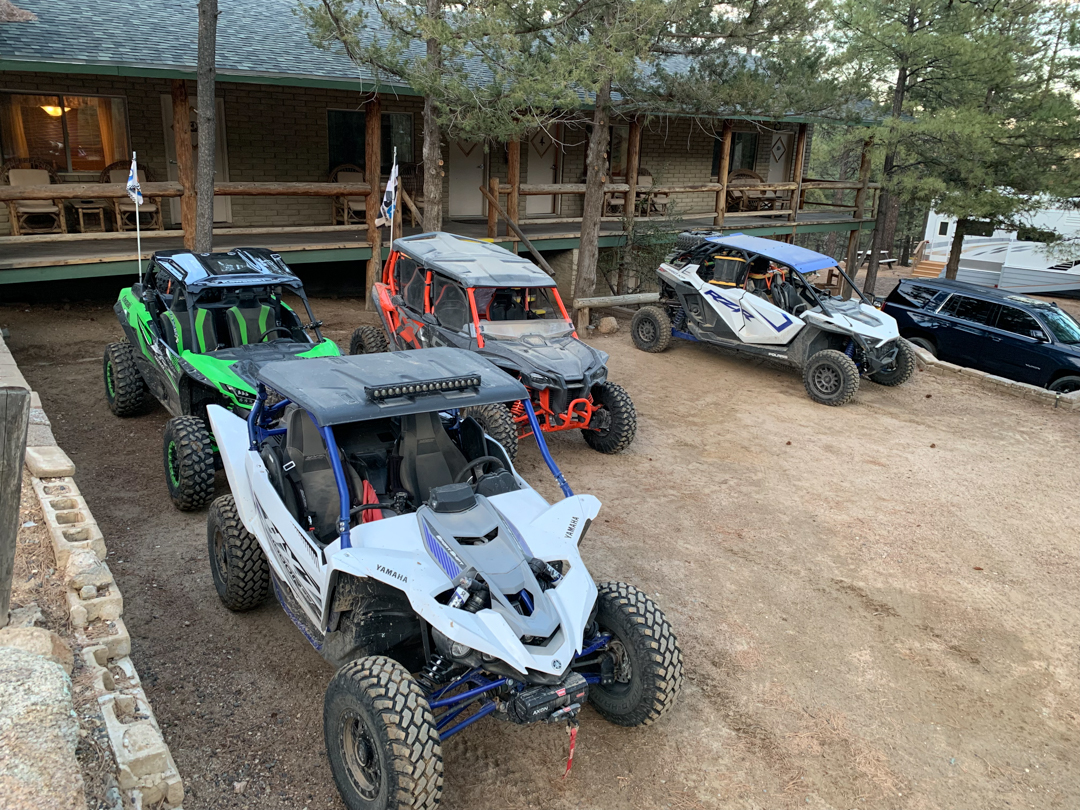
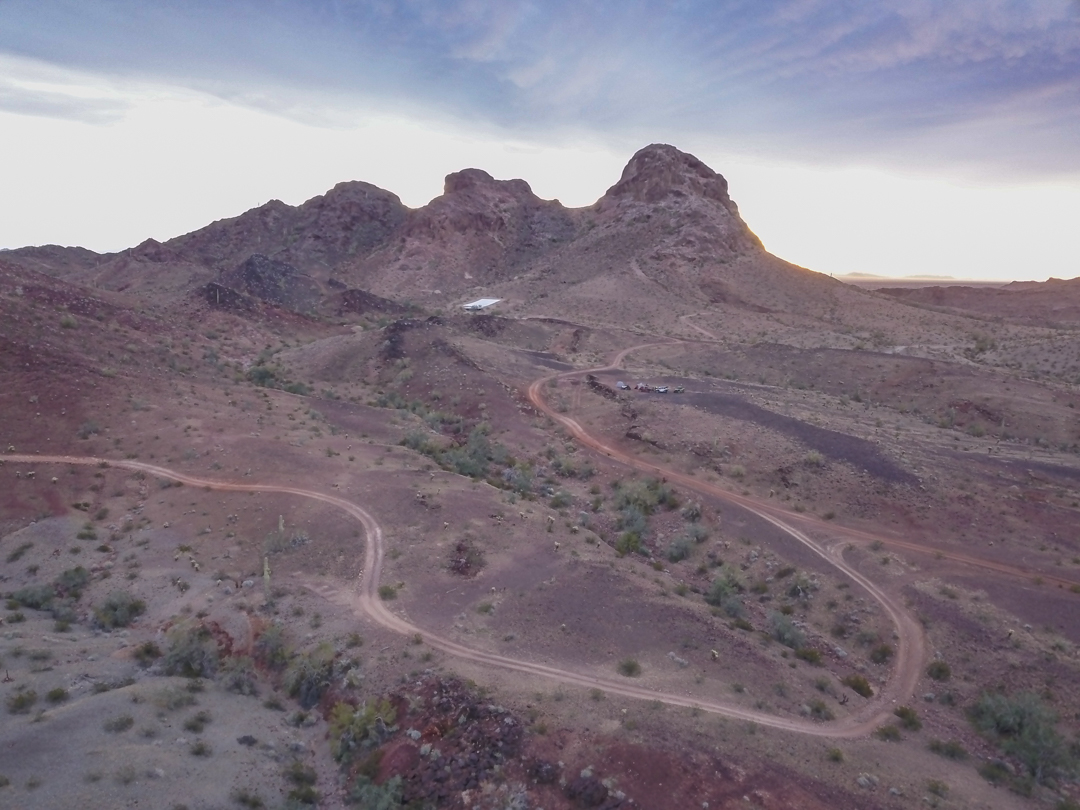
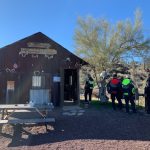
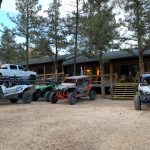
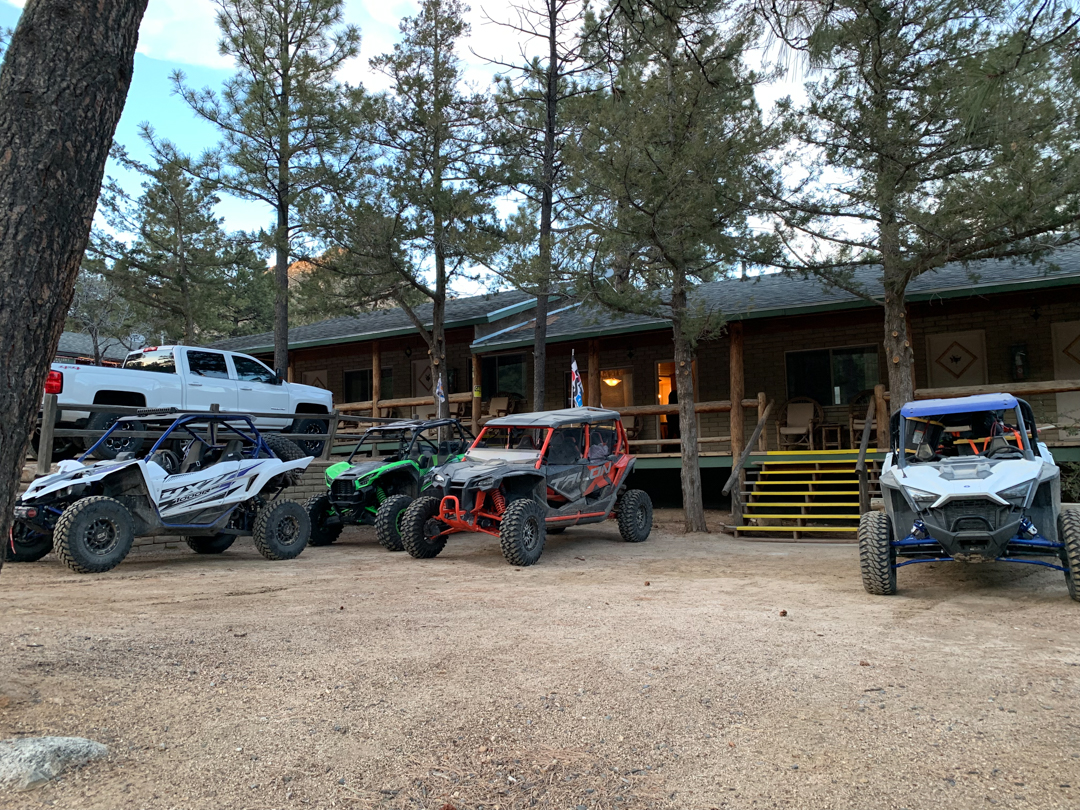
Also, conserve fuel where you can because there are no fueling stations in the Hualapai. We took a couple side trails to get into the lower side of the town and over to the Hualapai Mountain Resort. It’s all dirt roads to get here, and we were greeted by elk in the town. The kind crew at the lodge allowed us to safely park our rigs outside our front doors. Call ahead if you plan to stay here as they only have 8 rooms available. The Resort has a great restaurant, too. We went a little overboard with our celebration dinner that night, and then had a big breakfast the following morning. We figured it was all downhill from the lodge back to Havasu, what could go wrong?!
Leaving the desert behind and headed into the mountains
Oh, and the showers that night were very nice, too.
Day 7
- Start: Hualapai Mountain Lodge
- End: Lake Havasu City
- Total mileage: 91
- Gas stops along the way: Love’s travel center at I-40/95 junction
- Points of interest: Boriana mine, Hole in the rock mountain
- Again, start with breakfast at the lodge and roll your way out to your UTV’s for the remainder of the ride back to Havasu
The Hualapai Mountain Resort is an awesome destination to ride to, and they have plenty of parking for your UTVs. They also have a fantastic restaurant that tastes great after 6 days on the trail, along with a hot shower!
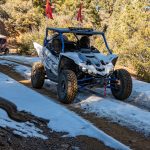
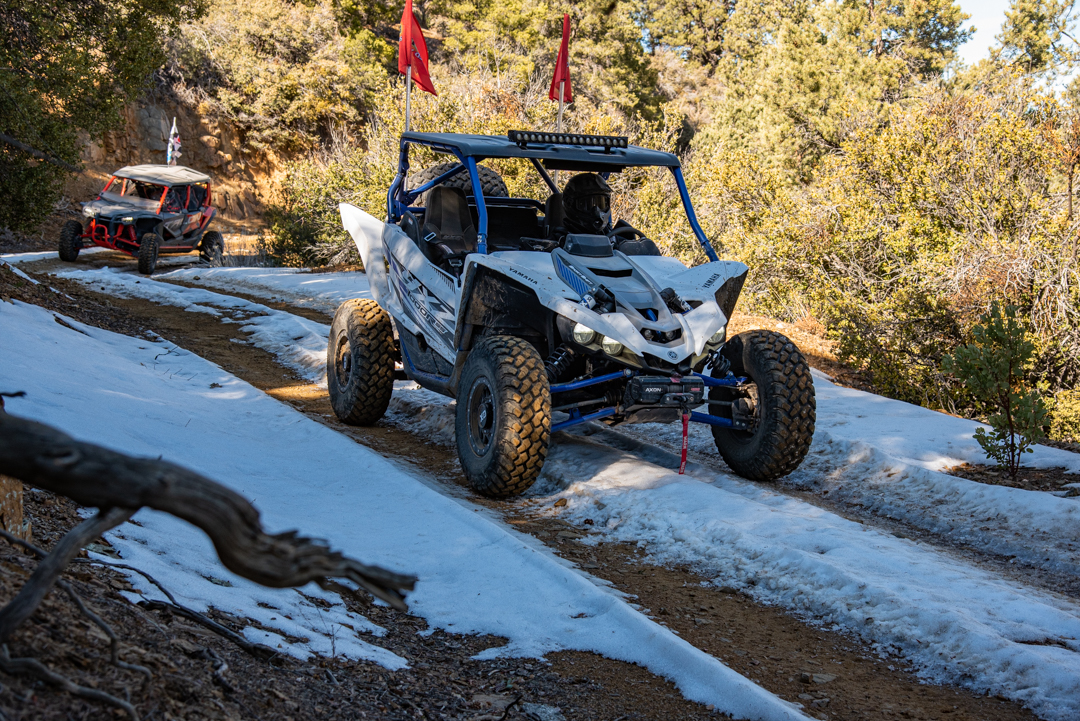
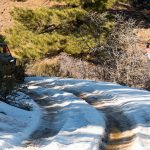
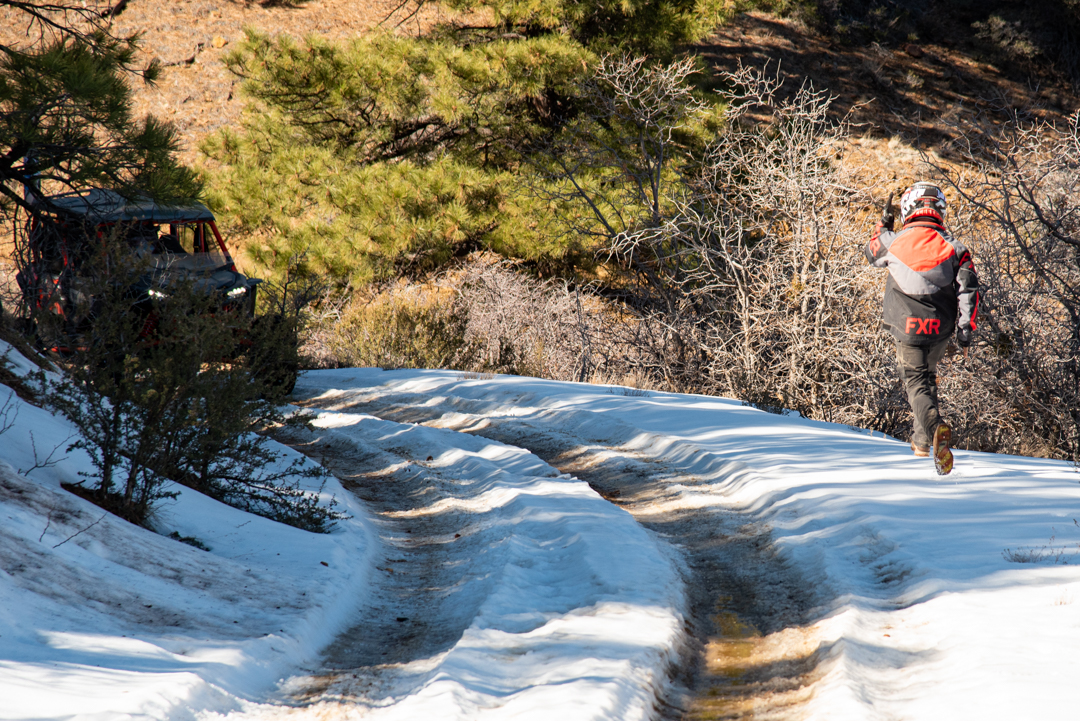
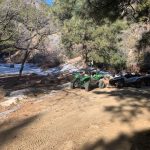
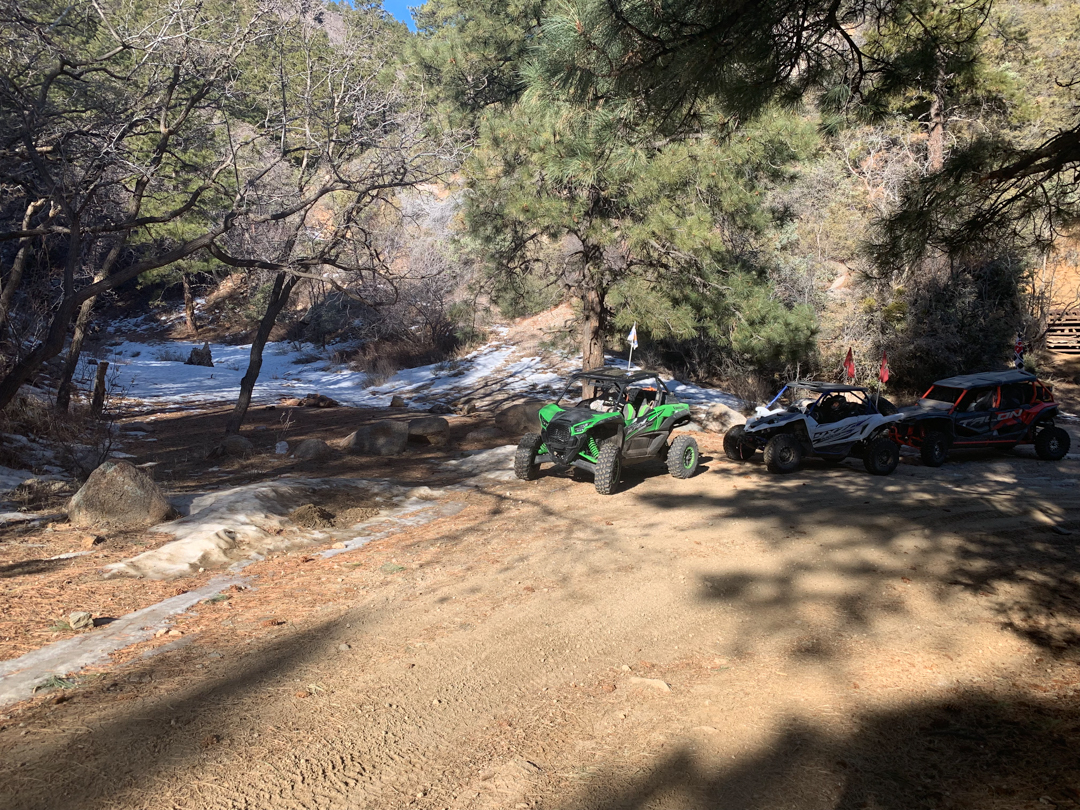
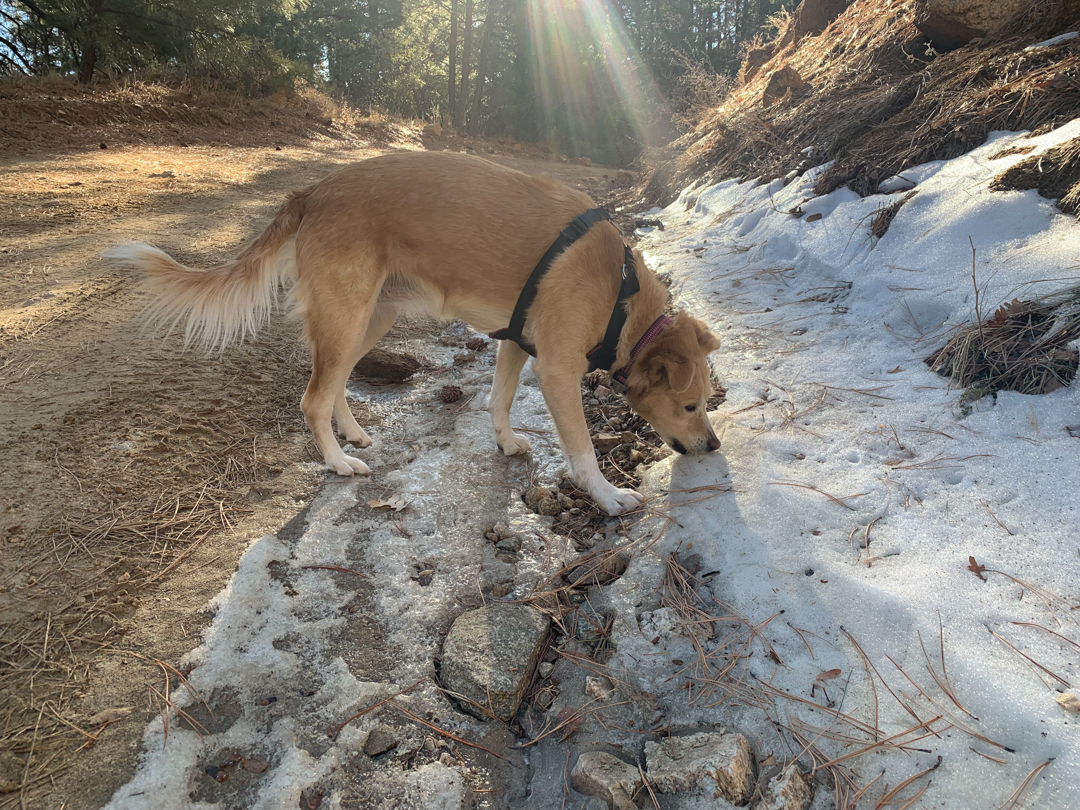
After getting ourselves into the vehicles, we made our way up to the top of the mountains out of town. These dirt trails have epic views, and you can see all the way to the Flagstaff mountains from here. Stop and enjoy the views. You can also see almost all the way to Las Vegas from part of the trail. The trail winds its way along the mountain tops for longer than you think – I was surprised at how expansive these mountains are. We encountered snow along the trail, but not enough to worry about. If you go on the APT right after a big storm, know that you might encounter snow in this area. You’re on the side of the mountain for much of the time, so be careful and take your time evaluating the situation before you gun it through the snow.
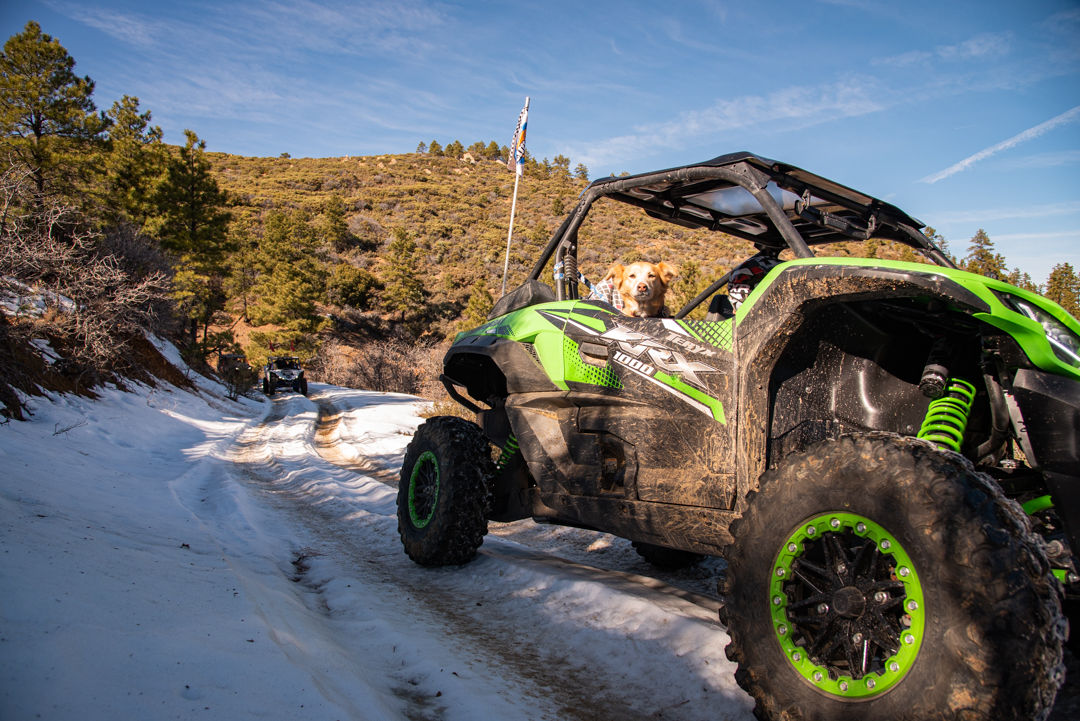
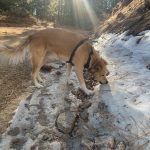
Nala really couldn’t stand to be strapped in when we passed snow. She loves it!
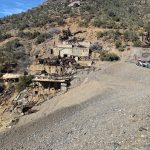
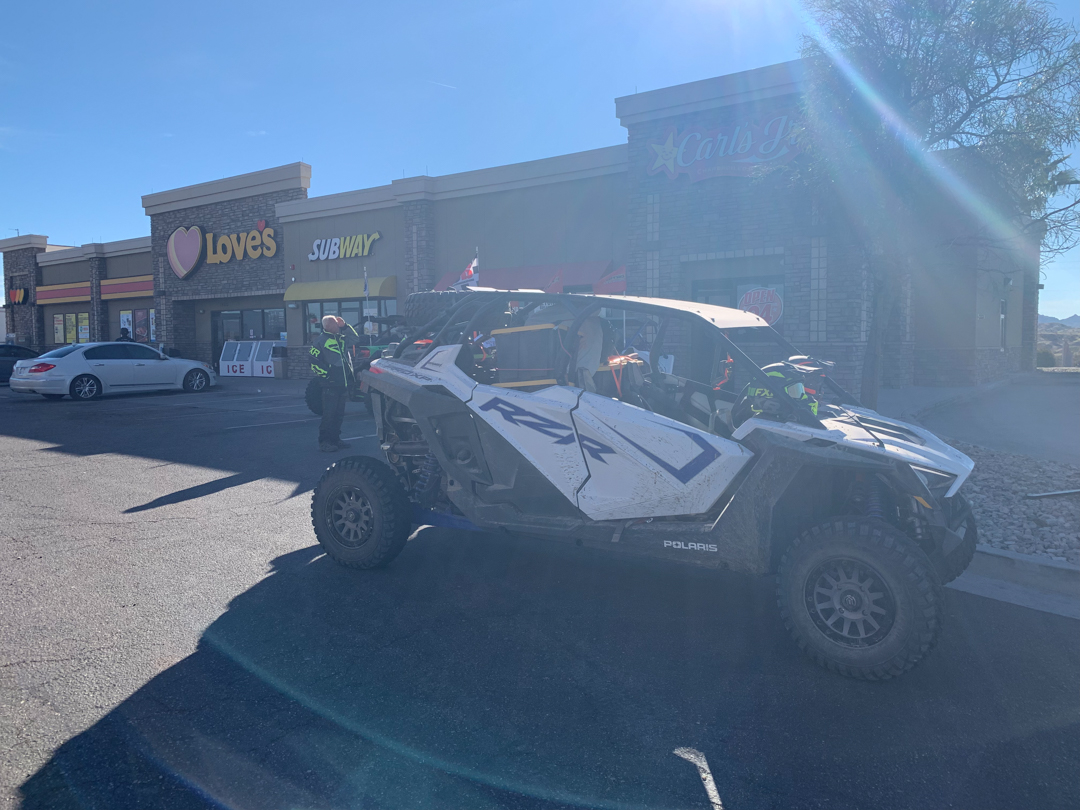
As we made our way down the mountain, there is a steep trail that leads you into the Boriana Mine, which is a must-stop photo opp. From there, it’s basically all flat roads down to the I-40, which you’re going to parallel back to Havasu. If you have extra fuel, you could probably make it all the way back to Havasu, but we wanted to really enjoy the entire trail. So, we stopped at the Love’s at the I-40/95 exit and fueled up for our last 30 or so miles home. It’s kind of funny because we got so used to beautiful dirt roads on this trip that we almost forgot about how beat up the trails near Havasu are. It was a bit of a “welcome home” gift and last minute torture test for our unshakeable ride so far. We took the west side trails home and managed to take a picture at our start spot right as the sun was going down. You can call it perfect timing if you’d like, but I’d just say it was all meant to be…

Just like that, we were right back to where we started 7 days prior. With Lake Havasu in the background and family waiting for us, we headed for home…
At the end of the trip…
Well, we made it!! I think we can all attest to the fact that this is easier said than done! This is a crazy long journey filled with unpredictable roads, some of which are the best off-road trails you are likely to find in your life. For example, that epic power line road down in Yuma is one of the most fun winding dirt roads that I have ever driven on. It’s fast, extremely fun, and twisty through the trails with nary a soul in sight. Then you have some of the best technical terrain in the state mixed in as well. The cool thing about Arizona is that the terrain is always changing because of the hard hitting storms that we can get in this area. We’ve already said that we want to do it backwards if we do it again. This would give us an opportunity to do it all again and see the entire route in a different way.
We can attest to the fact that the serious preparation we put into this trip paid off in BIG ways! We didn’t have one problem with the UTVs on our trips, and we all kept smart when out on the trail. Sure, we had a blast railing corners and challenging ourselves on rock climbs, but we were always smart about it, too. So, come prepared and stay alert when you’re on these trails and you’ll be just fine.
Some of the maps recommend you start in Wikieup. Personally, I would not adhere to this. Pick a place like Lake Havasu or Quartzsite for your starting point. Either town offers plenty of spaces to leave a trailer if you don’t live in the area or have friends here, and the trail goes right through the towns. Staying in one of these two towns will allow you to not worry about the beginning or end of your trip and just focus on the off-road journey.
If you don’t like the idea of camping, then there are hotels along the route. Be sure you have an Arizona-plated street legal vehicle as there is no easy way to get to a hotel from the trail besides on paved roads. There is so much to see on this trail though, and camping is really the best way to do it…
Last but not least, you’re going to want 7 days to really see this trail. Sure, we could have done it faster, but we wouldn’t have seen nearly as much as we did see. And, we wanted more time to explore when we were out there, but just didn’t take the time. So, we’re going to do it again, but backwards this time.
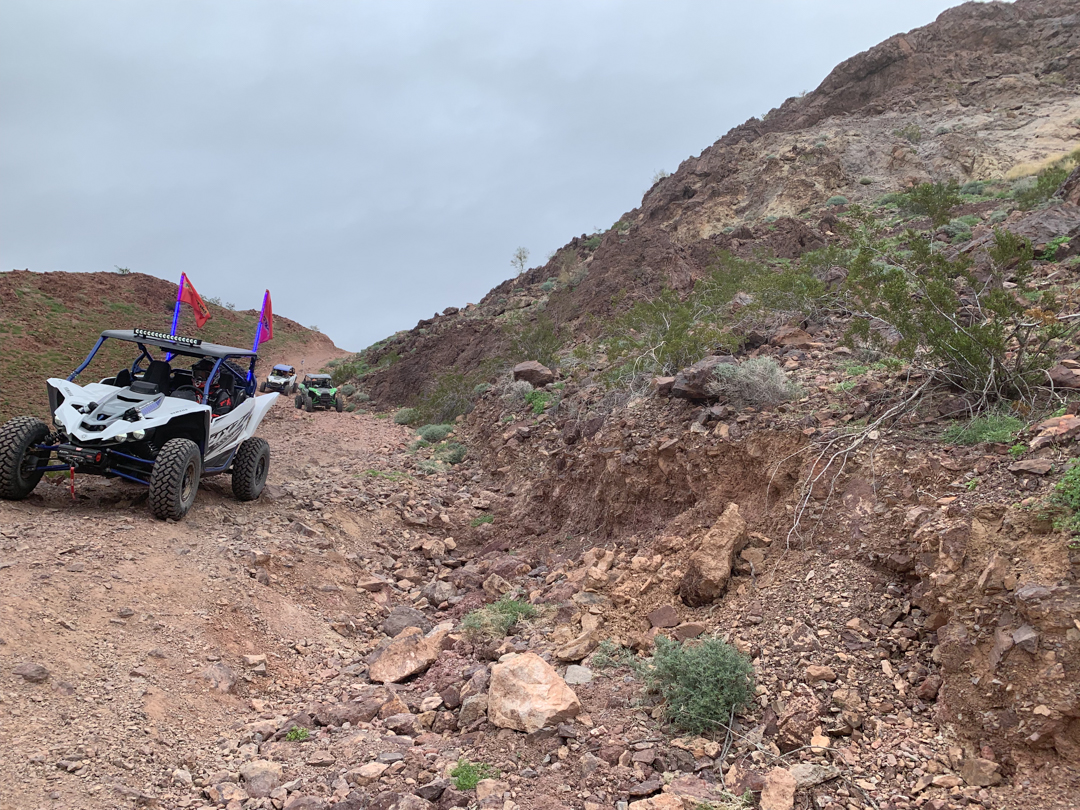
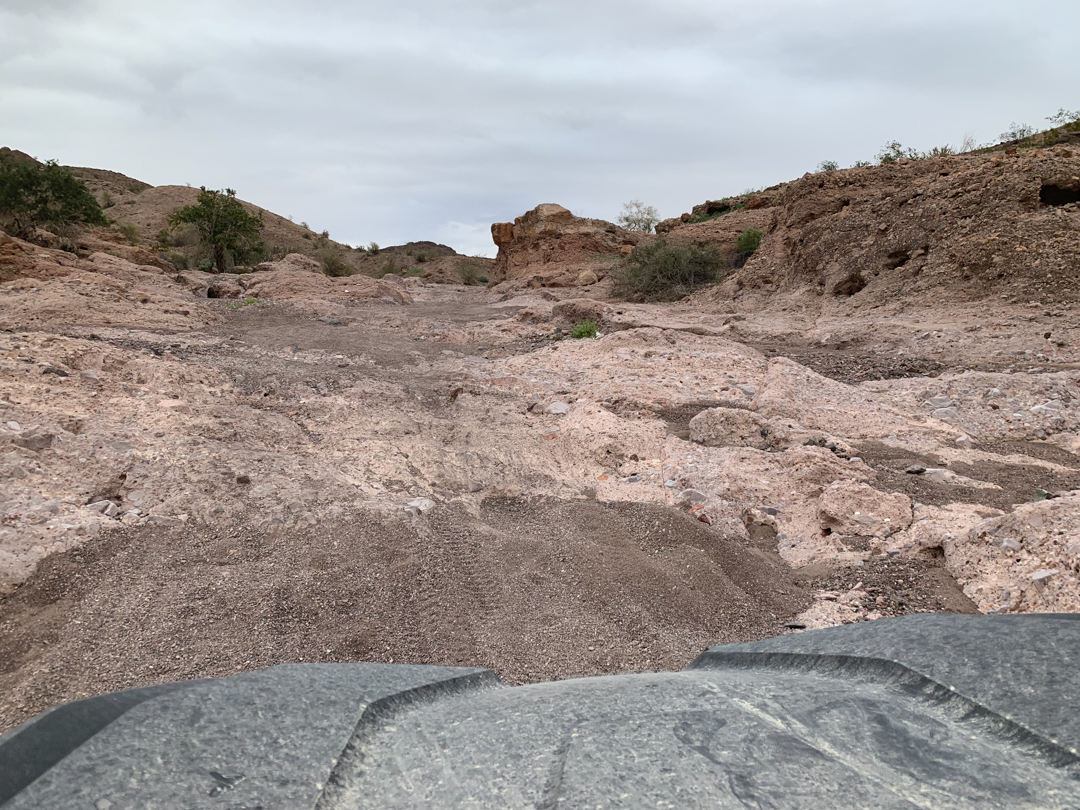
Some of the trails get a little hairy with the washouts. It doesn’t look bad, but these washouts are difficult to get yourself out of if you slide in.
Should you ride the AZ Peace Trail?!
That’s a silly question really, and one that should’t even be a question in your mind. YES, you should absolutely ride the Peace Trail! To get you started, we have included some helpful resources for your trip planning, below…
Stay safe on the trail, and we hope to see you on a grand adventure like this soon!
Arizona Peace Trail Resources
- Arizona Peace Trail website: https://arizonapeacetrail.org/
- GPX file download link (NOT the exact trail I describe in this article, but this is the trail I based our route off of): https://arizonapeacetrail.org/resources/gpx-kml_files/
- Arizona Peace Trail atlas (Version 2): https://connectedhorizons.com/shop?olsPage=products%2Farizona-peace-trail-atlas
- Hualapai Mountain Resort: https://hmresort.org/
- Download LeadNav here: https://apps.apple.com/us/app/leadnav-off-road/id708869281
Our Trusted Trip Partners
- Pelican coolers: https://www.pelican.com/us/en/products/coolers
- FXR personal jackets, helmets, and gear: https://fxrracing.com/
- Camp Chef portable stoves and cookware: https://www.campchef.com/
- Klymit tents, pads, sleeping bags, and pillows: https://klymit.com/pages/2020collection
- Keep Smiling Powersports storage bags: https://keepsmilingpowersports.com/
- WARN Axon winches: https://www.warn.com/axon-winch
- EFX Tires: https://efxtires.com
- MSA wheels: https://www.msawheels.com
- Garmin Overlander GPS system: https://buy.garmin.com/en-US/US/p/685257#overview
- Icon Alloys Compression UTV wheels: https://iconvehicledynamics.com/wheels/
- GBC Motorsports tires: https://www.greenballtires.com/brands/gbc-motorsports
- Pyramid LED whips: https://pyramidledwhips.com
Additional Photos From The Trip…
-
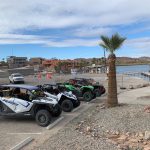
- At the start
-
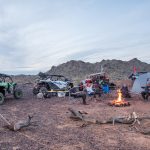
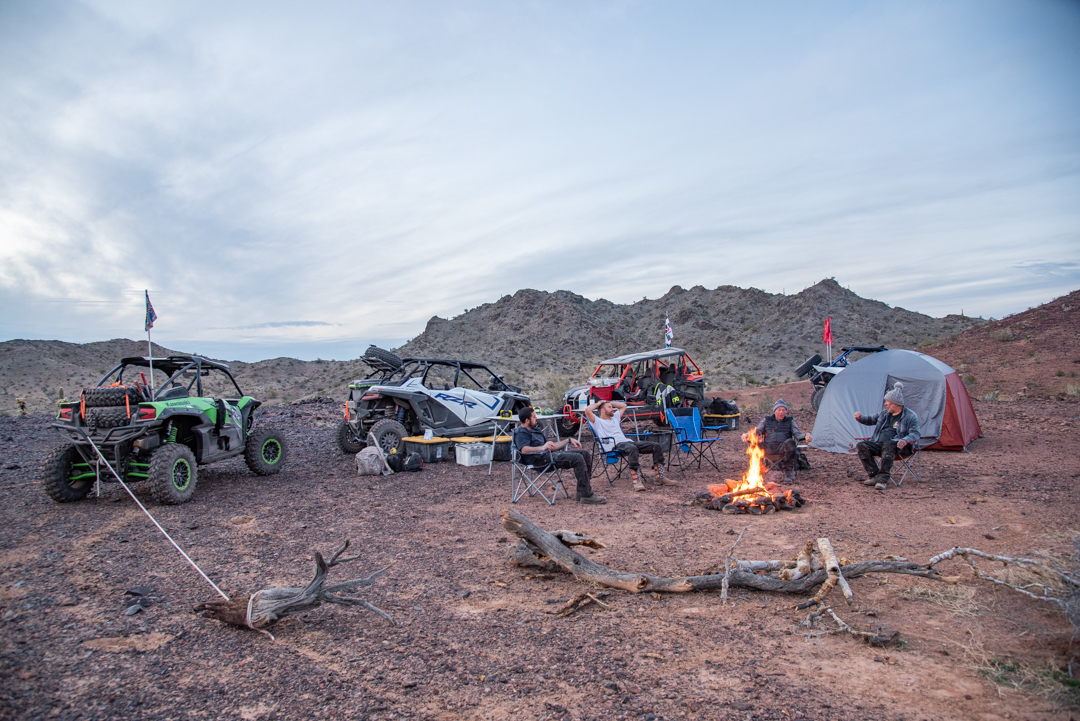
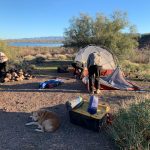
- First night of camping
-

- Dog bowl is a necessity
-
- Making sure the fire is lit
-
- The standard way to drag wood to camp
-
- Waking up to great views
-
- Day 2 sunrise
-
- Getting the coffee ready to rock
-
- Help a man out, will ya?!
-
- Awesome views
-

- Describing how that last turn went down.
-
- Packed to the brim
-
- Getting into the rock trails
-
- What are you going to find on the trail?!
-
- Back to the banks of the Colorado River
-
- Nala just wishes she was swimming…
-
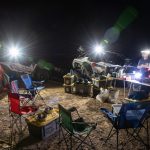
- Night time setup. Don’t forget your portable lights!
-
- Breakfast and coffee
-
- The essentials – cold cooler and awesome, height-adjustable camp tables
-
- Make sure you’re comfortable all day! FXR helmets have plenty of padding and sizes for all noggin shapes
-
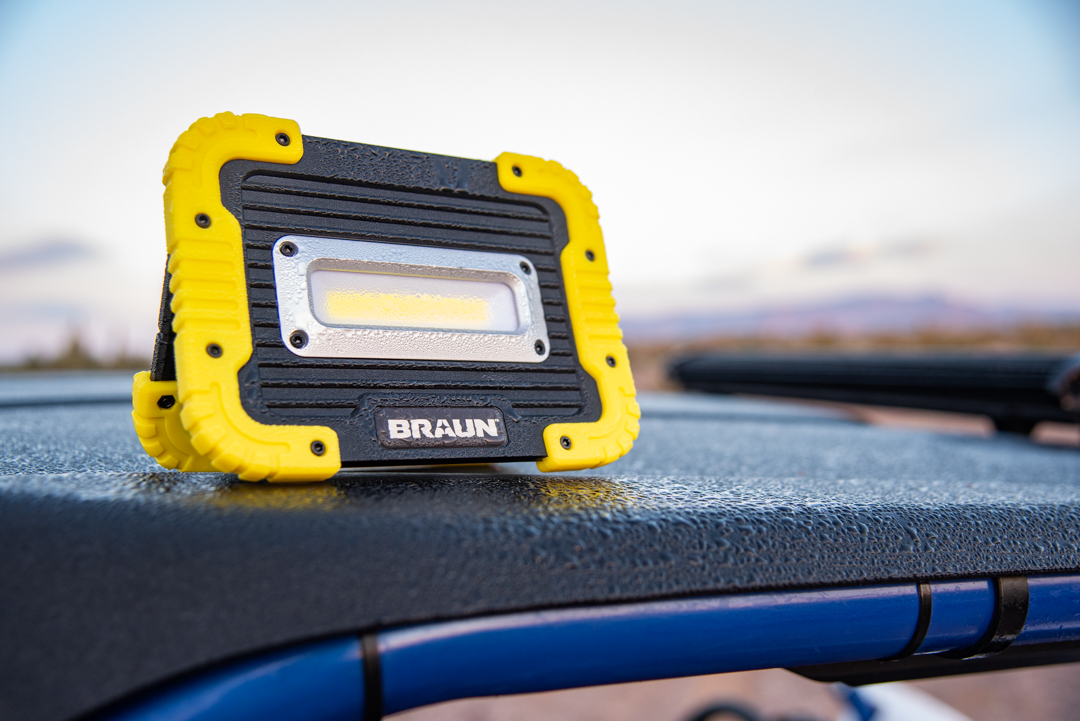
- These Harbor Freight portable and rechargeable lights worked awesome for us on this trip
-

- Just a little taste of the stacking and water storage systems
-
- The views don’t get much better than this!
-
- Trail essentials – a winch!

-
- Sometimes you feel like you’re in another world…

-
- Winding around the trails
-
- Where the heck did they come from?!
-
- Again, those views…
-
- Again, again, those views…
-
- Nala made sure she scoped out every camp spot
-
- Setup and tear down went by SO fast by the end of the trip
-
- Sunrises
-
- One of the coolest spots we’ve ever been… you can literally drive your UTV through this slot canyon!

-
- So epic!
-
- Extra points if you all can find this very secluded cabin on your Arizona Peace Trail adventure
-
- It’s a doozy to find…
-
- Pre-made dinner of champions
-
- Lake sunrises
-
- Again, lake sunrises
-
- I don’t think we said it enough – comfort is key when you are waking up early to look at sunrises like this!
-

- Couldn’t resist…
-
- The way the clouds painted the sky as the sun rose were simply amazing
-
- Breakfast is key!
-
- Breaking it loose on the faster trails
-
- So cool to see snow, too!
-
- Having some serious fun…
-
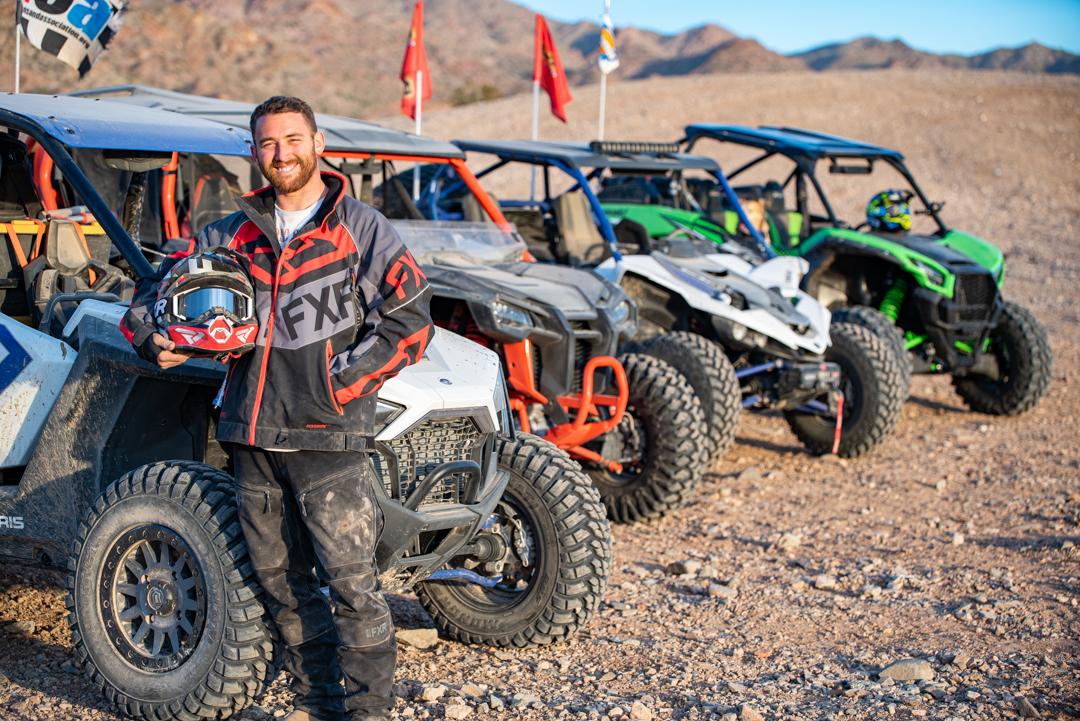
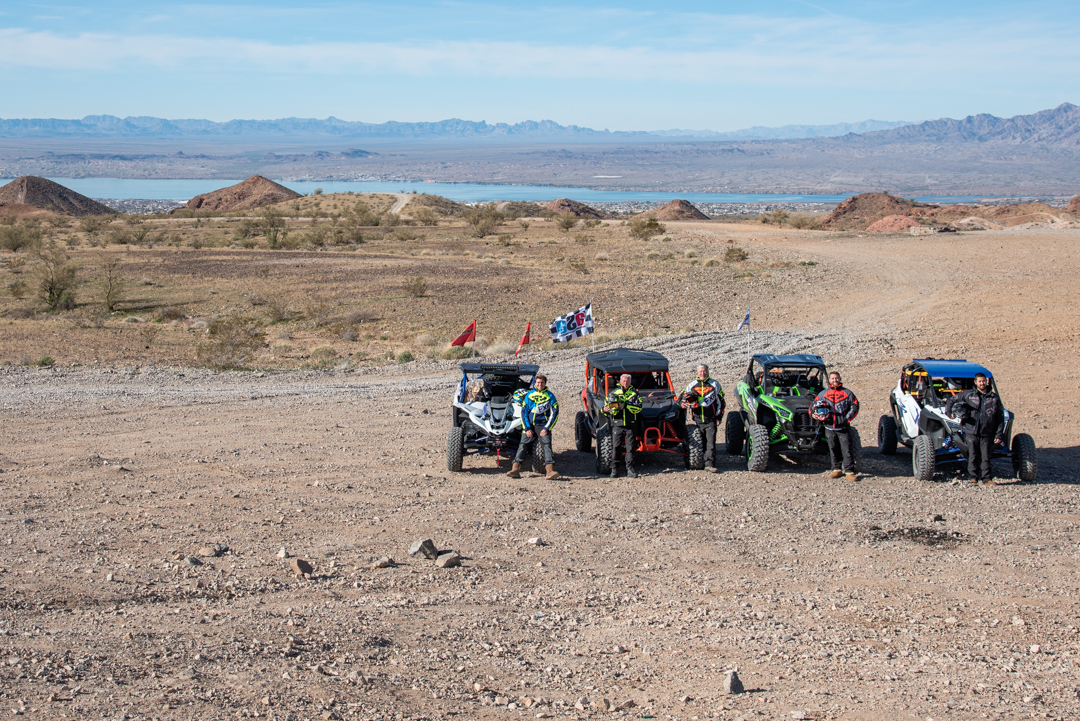
- The group pictures are here!

-
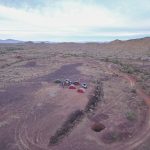
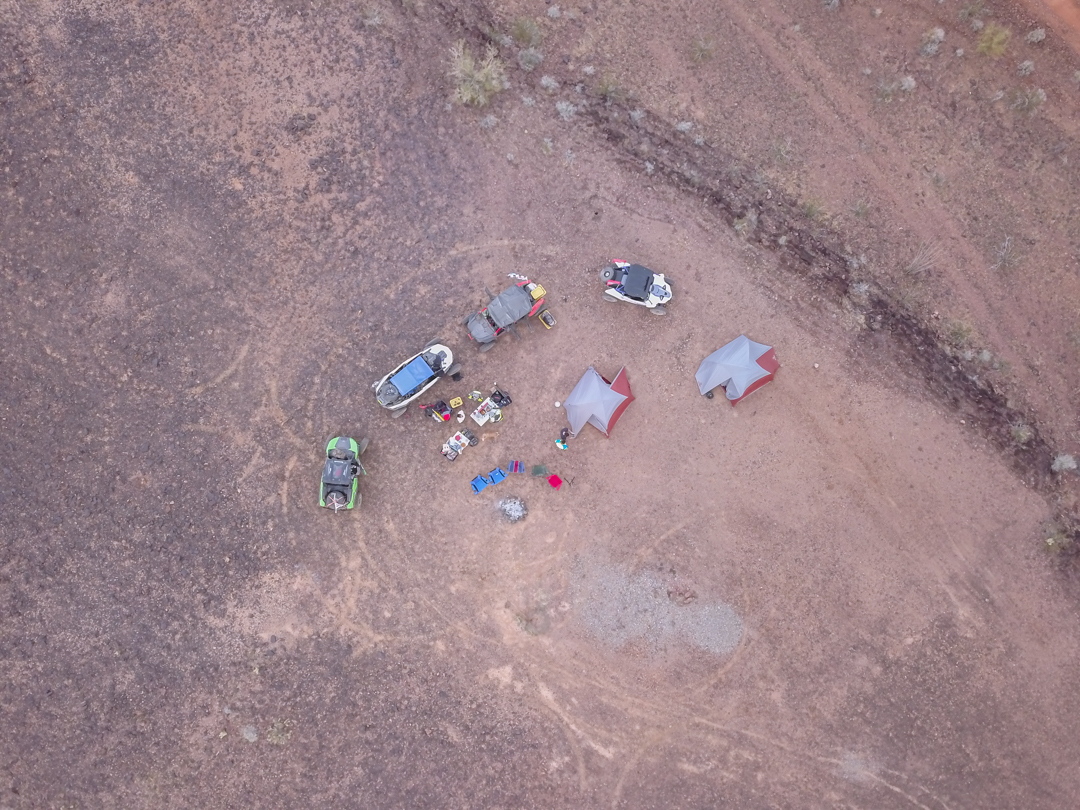
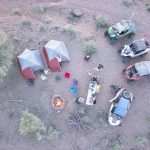
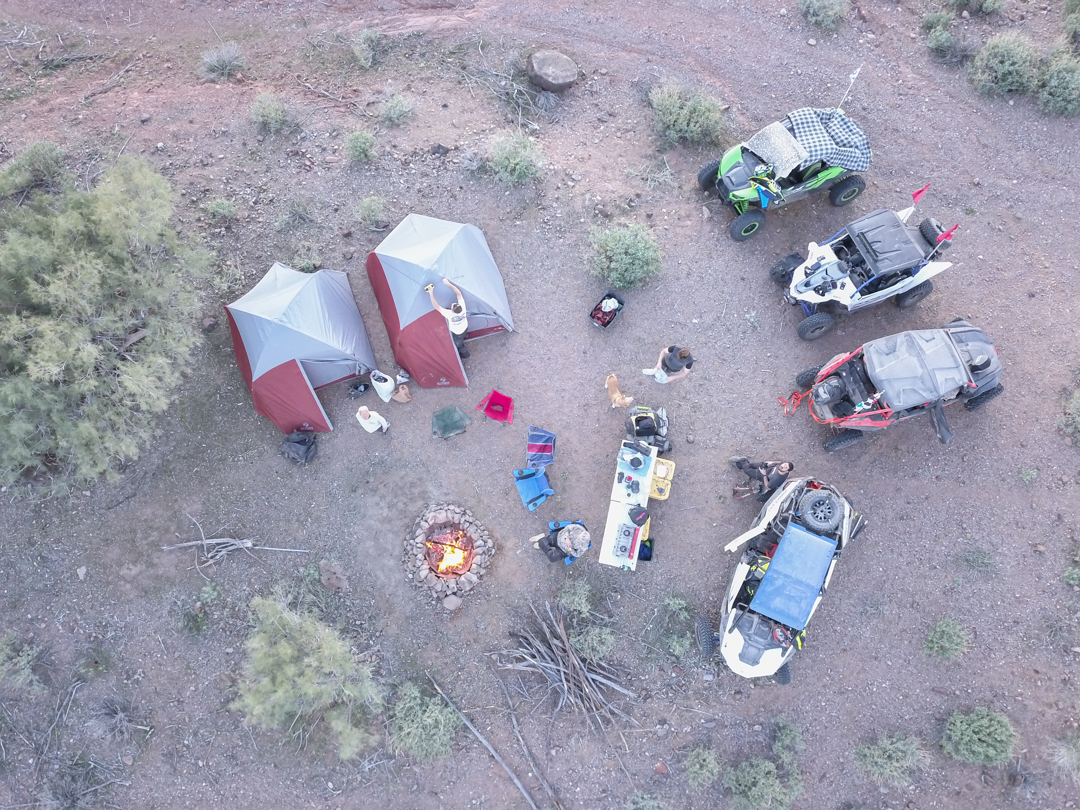
- Aerial of our campsite. See the mine shaft right there?! Be careful of those!
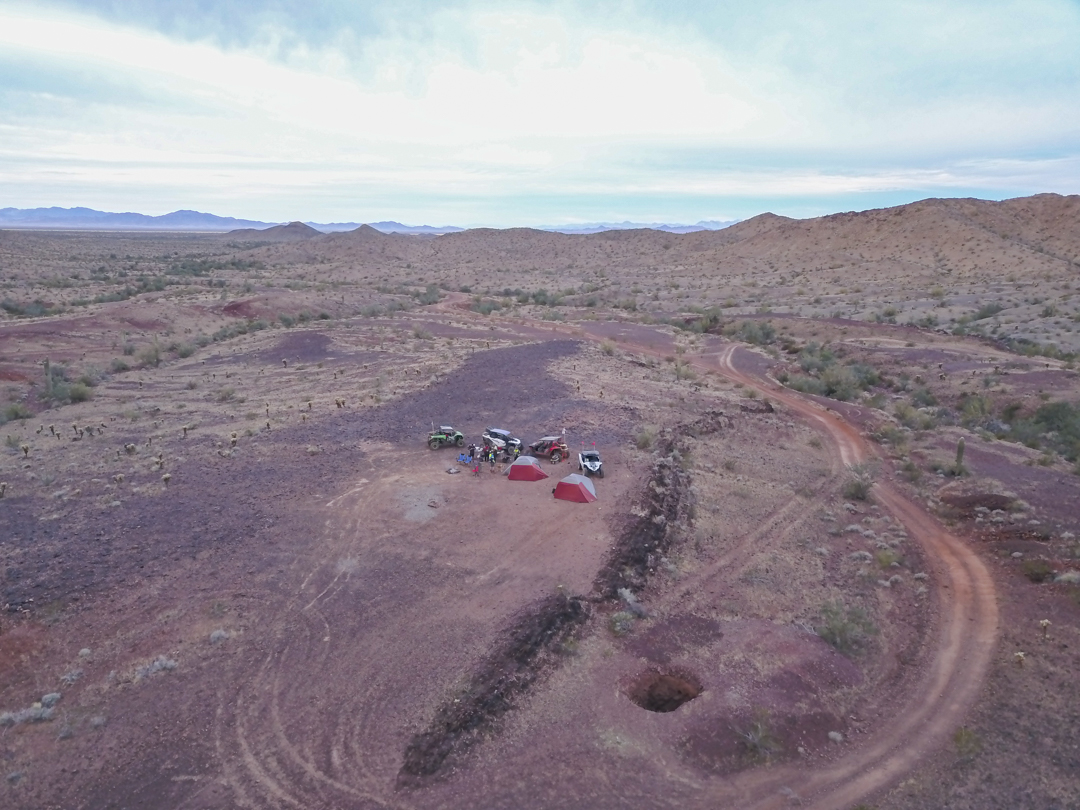
-

- Another aerial of our camp on the first night
-
- Last aerial of our camp the first night
-
- Alamo Lake views from above
-
- A tight but great camping spot and an epic firepit
-
- Just check out the sunrise…
-
- One of the many cabins along this ride

-
- Nala’s position the entire ride…

-
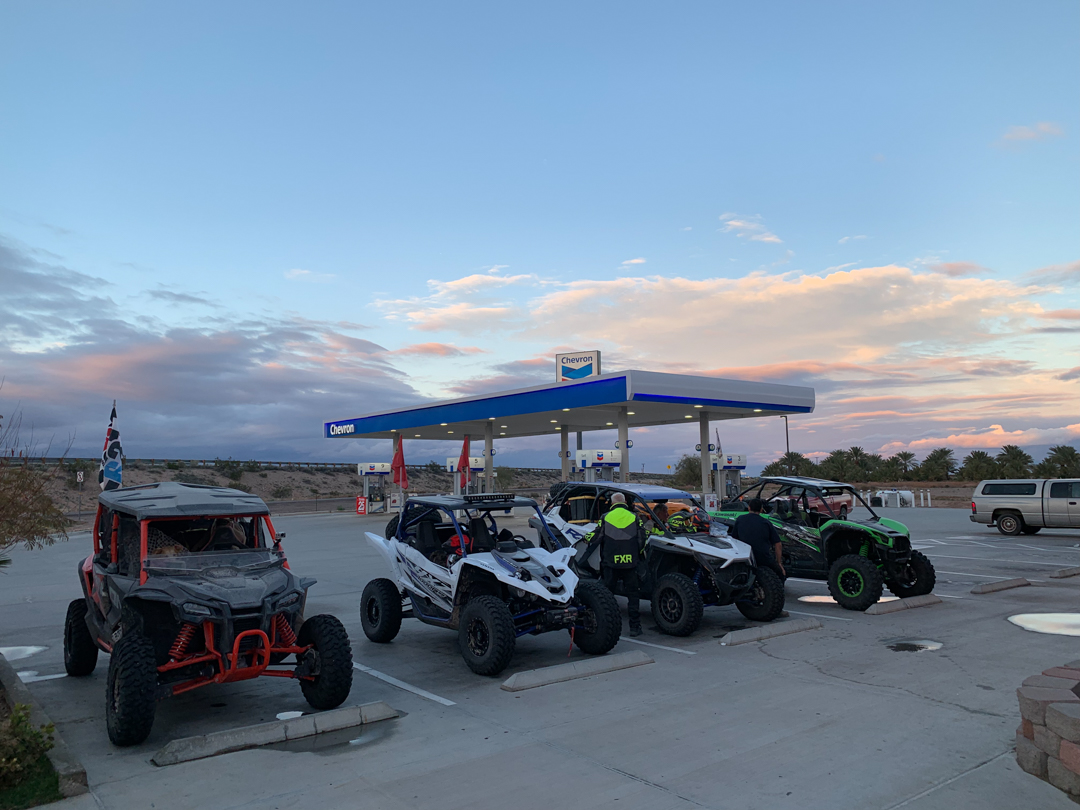
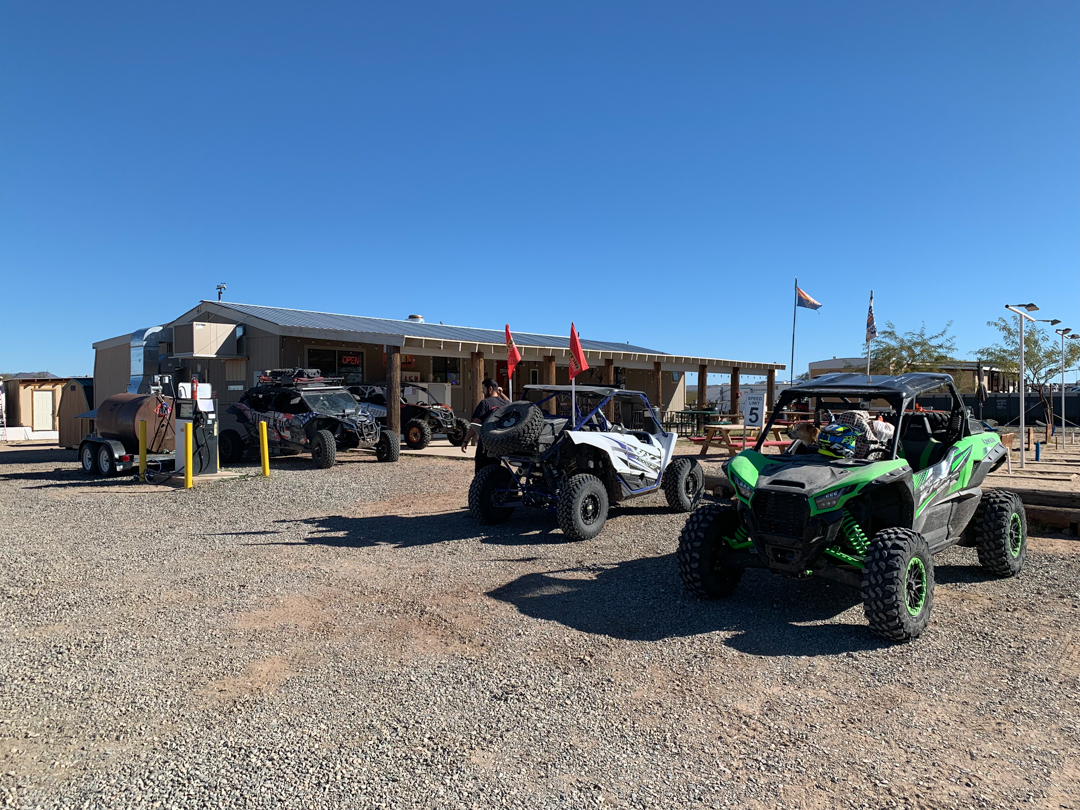
- The first gas stop
-
- The second gas stop
-
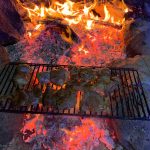
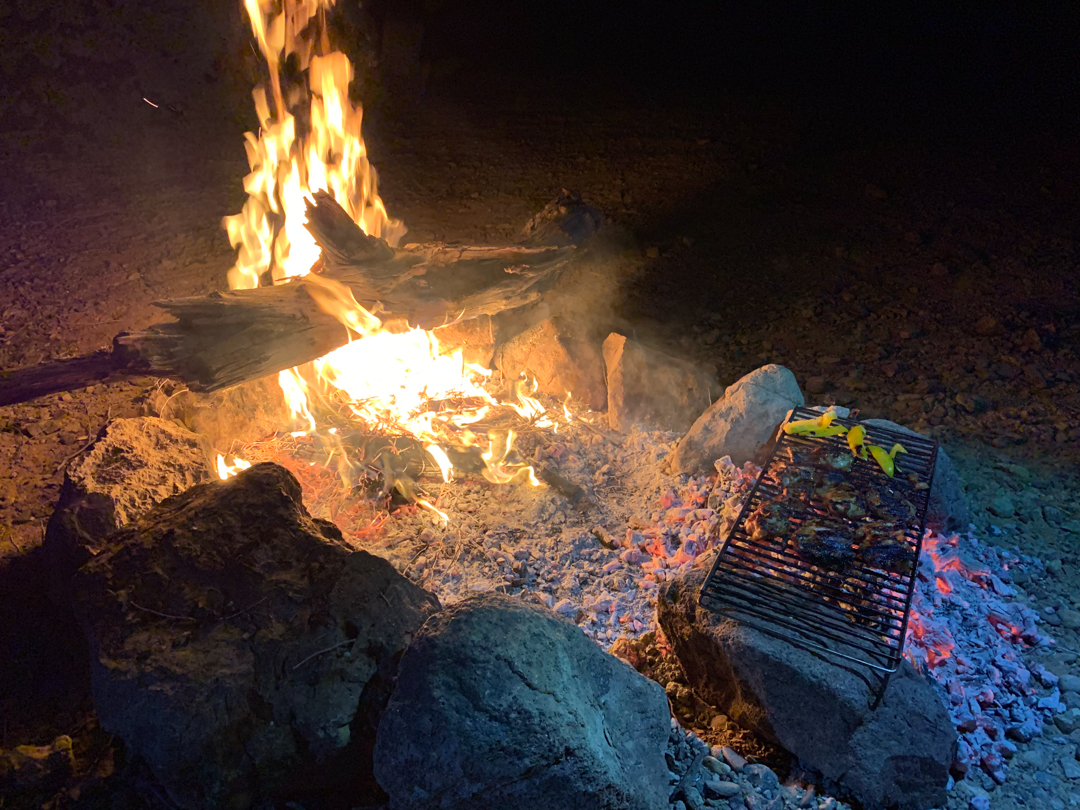
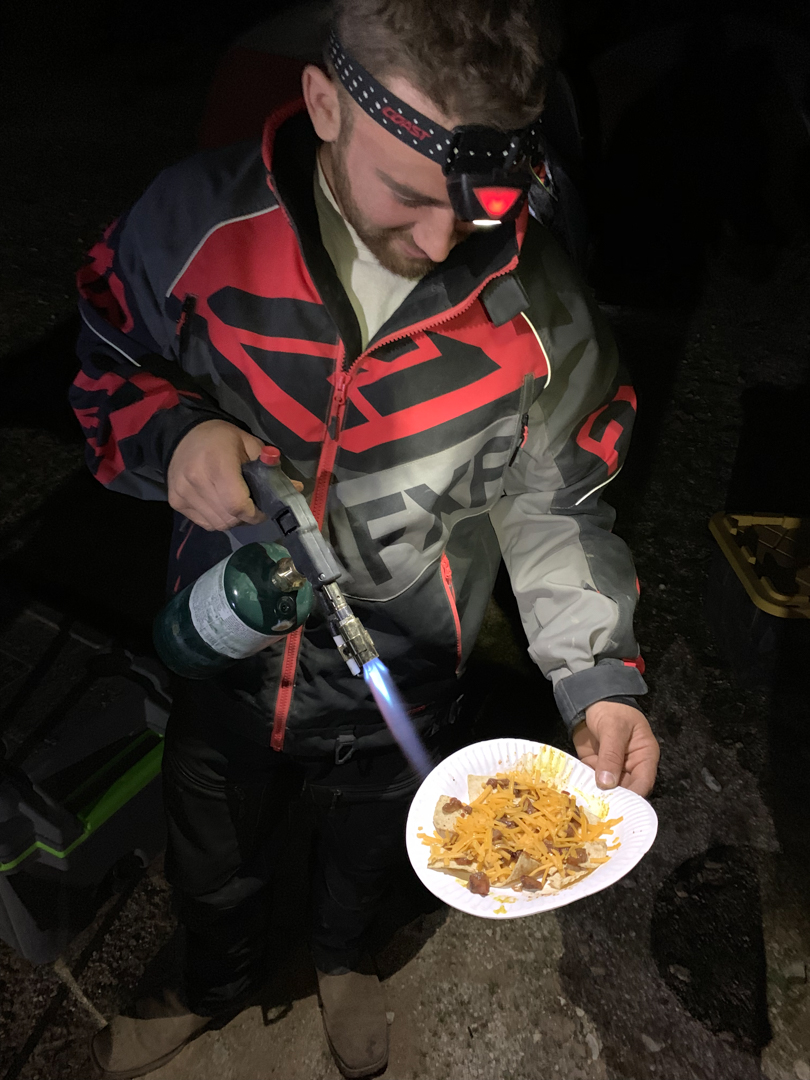
- Cooking pre-marinated meat over the fire! Just remember to bring a grate with you…
-

- The whole picture
-
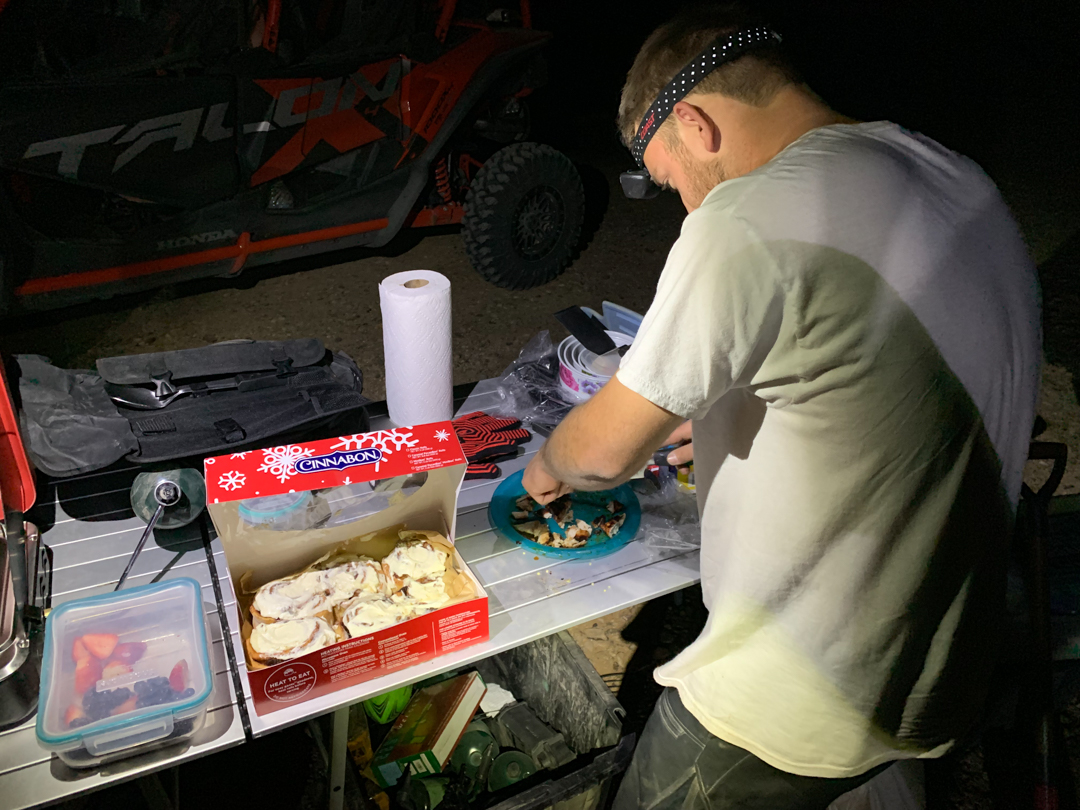
- Casey #2 made sure we had dessert on the trail
-
- Those Colorado River views!
-
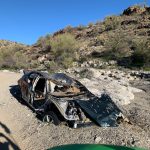
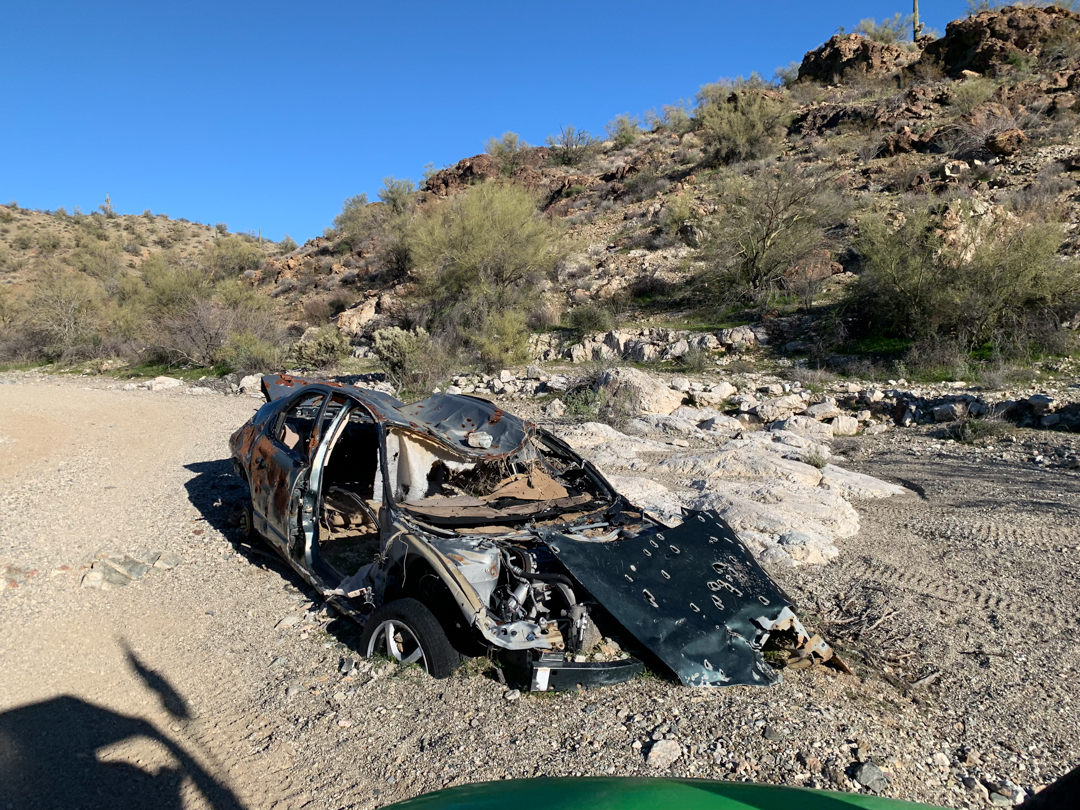
- You never know what you’re going to find on the trail…
-

- Light rock crawling in one of the many washes
-
- The desert was almost in bloom
-
- Enjoying the views
-
- Back near the Colorado at a lookout
-
- At Fisher’s Landing
-
- Inside the Rio Loco bar
-
- Filling up at Fisher’s Landing
-
- Had to take in the views, again!
-
- The trails leading down towards Yuma
-
- Always lots of cactus in the desert
-
- Tight trails
-
- Epic trails from mountain to mountain!
-
- Another gas stop…
-
- Camp setup #3
-
- Don’t forget your chairs!
-
- Bubba and Pop ready for another day on the trail
-
- So is Casey #2…
-
- How did this happen

-
- Hauling the spare tires
-
- More spare tires
-
- Stacking our stuff in the back

-
- Always more stuff to explore along the trail…
-
- Not quite a cabin, but still cool!
-
- One of the mining camps along the route
-
- You guessed it, another gas stop. This time in Salome.
-
- More epic trails
-
- Hmmm
-
- Custom trail snacks!
-
- Wayside Oasis is a great RV park, and they have gas and grub for you, too!
-
- And, they have really cool pets…
-
- Before we went through the water
-
- Can you imagine driving this thing into the middle of the desert?!
-
- The slot canyon!
-
- Yes, it’s rad!!!

-
- There were plenty of places on the trail where we had to break out the camera…
-
- That slot canyon again…
-
- An awesome hunting cabin that is hard to find!
-
- Which way do we go…
-
- Inside of one of the cabins along the trail
-
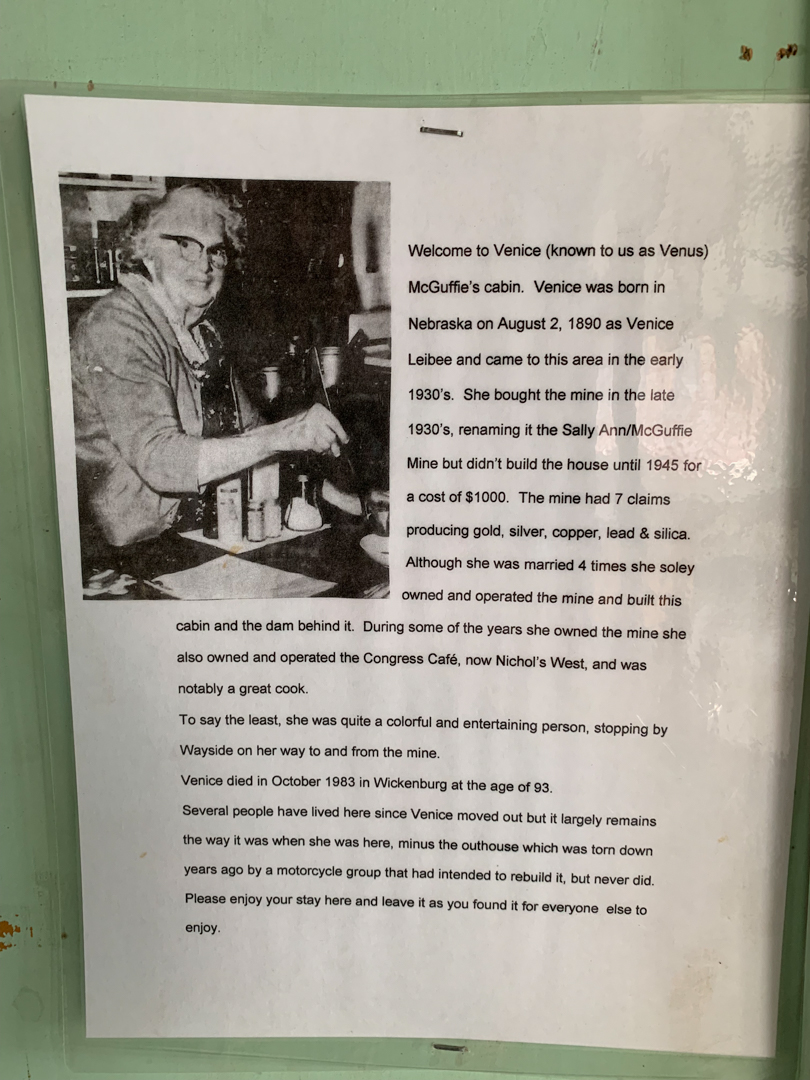
- The cabin story
-
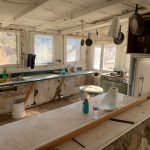
- Inside the same cabin
-
- UTVs are much better equipped to make it into these far-out places…
-
- The last morning of cleanup and Nala is clearly helping

-
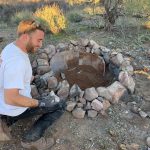
- The creation of the last night’s fire pit. It was epic!
-
- The setup
-
- Last night camping
-
- Copyright TGH Creative – All Rights Reserved
-
- She doesn’t want to leave camp…
-
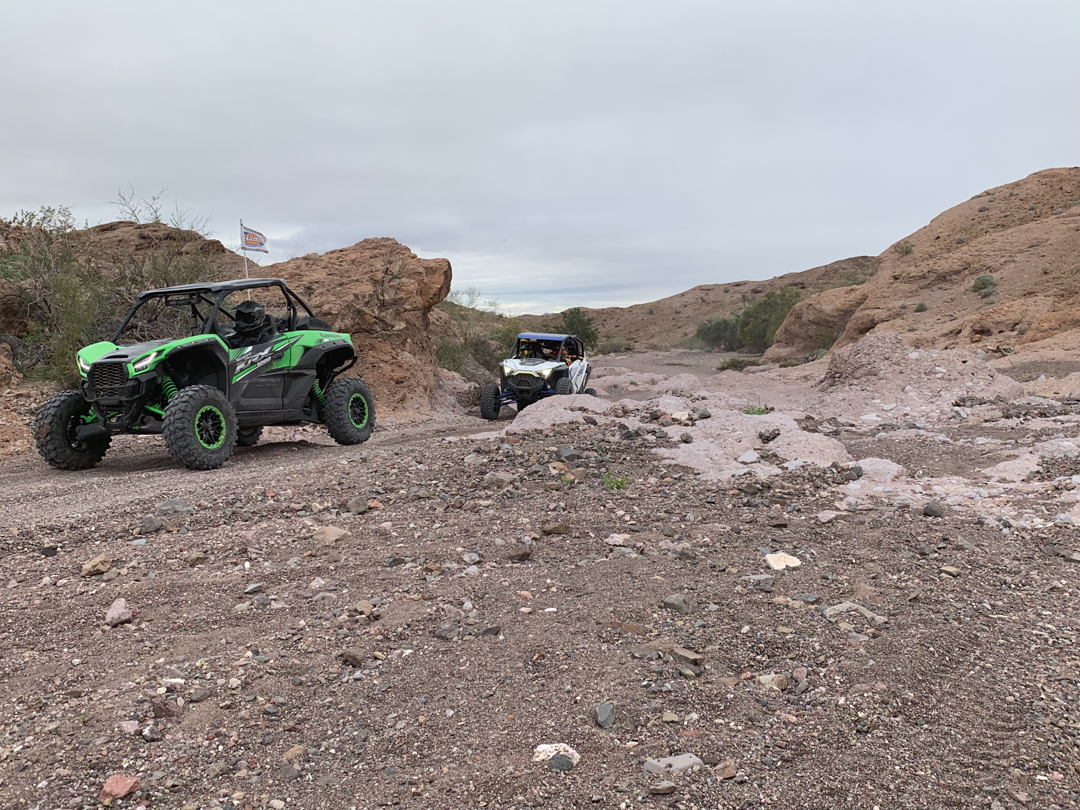
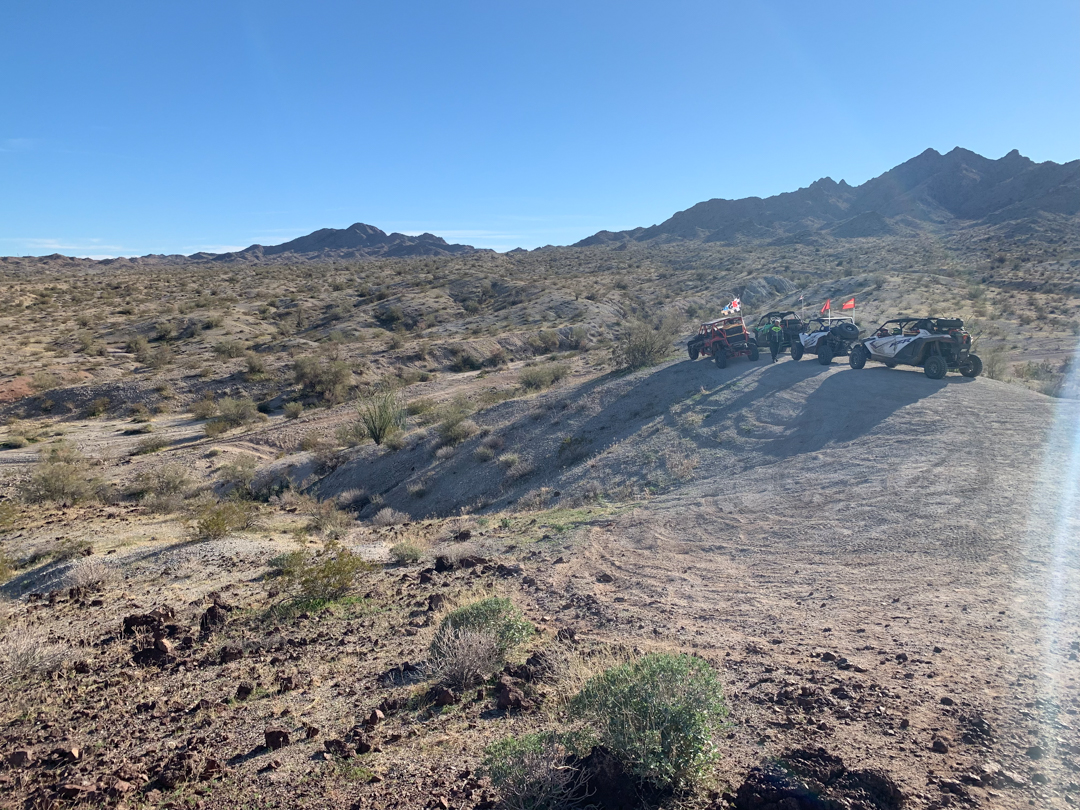
- Our trail friends
-
- Stopping to enjoy the view
-
- Plenty of room under the bridge
-
- Some tree-lined trails outside of Wikieup
-
- River crossings outside of Wikieup
-
- We got her a little scratched on this trail!
-
- Up into the mountains now…
-
- At the Hualapai Resort
-
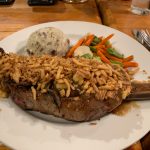
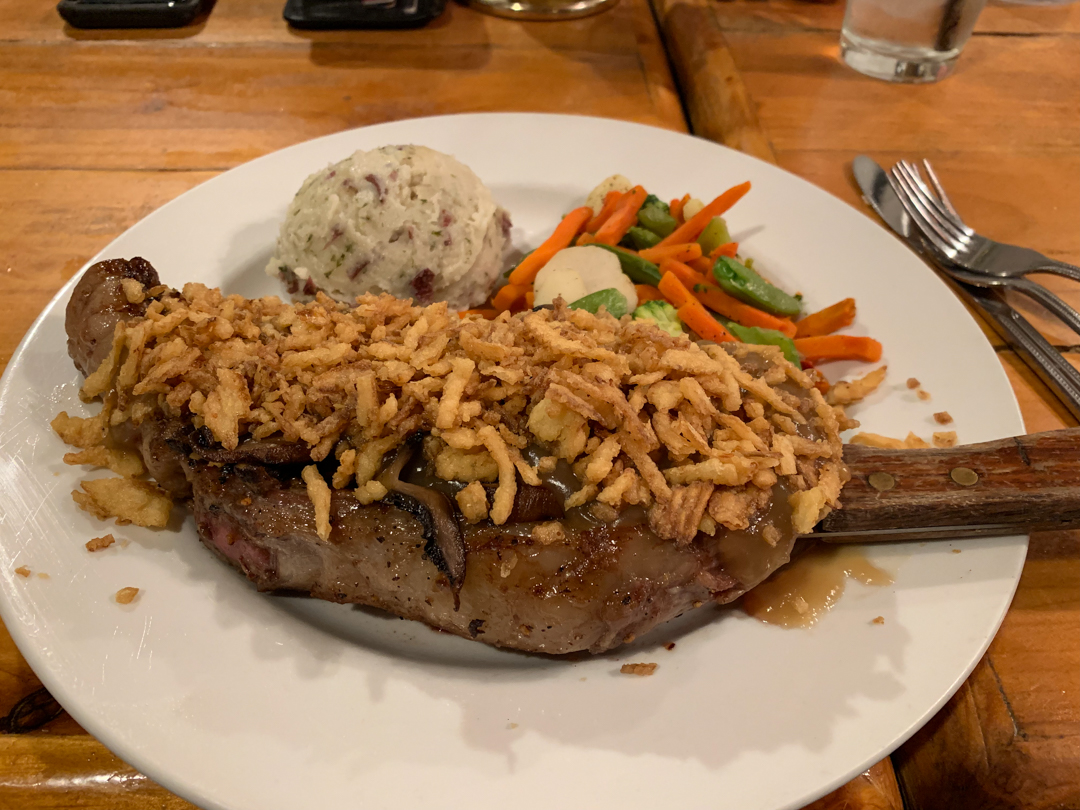
- Celebration dinner. Yes, it was a great steak at the Hualapai Resort!
-
- Finding some snow
-
- You can clearly see who loves the snow!
-

- More exploring….
-
- At the Boriana Mine
-
- More abandoned buildings on the trail
-
- Last gas stop!
-

- Last stop on our trip and a great opportunity to reflect on our adventures while celebrating this group of fellow riders
-
- Copyright TGH Creative – All Rights Reserved
-
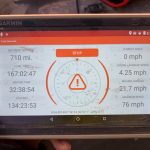
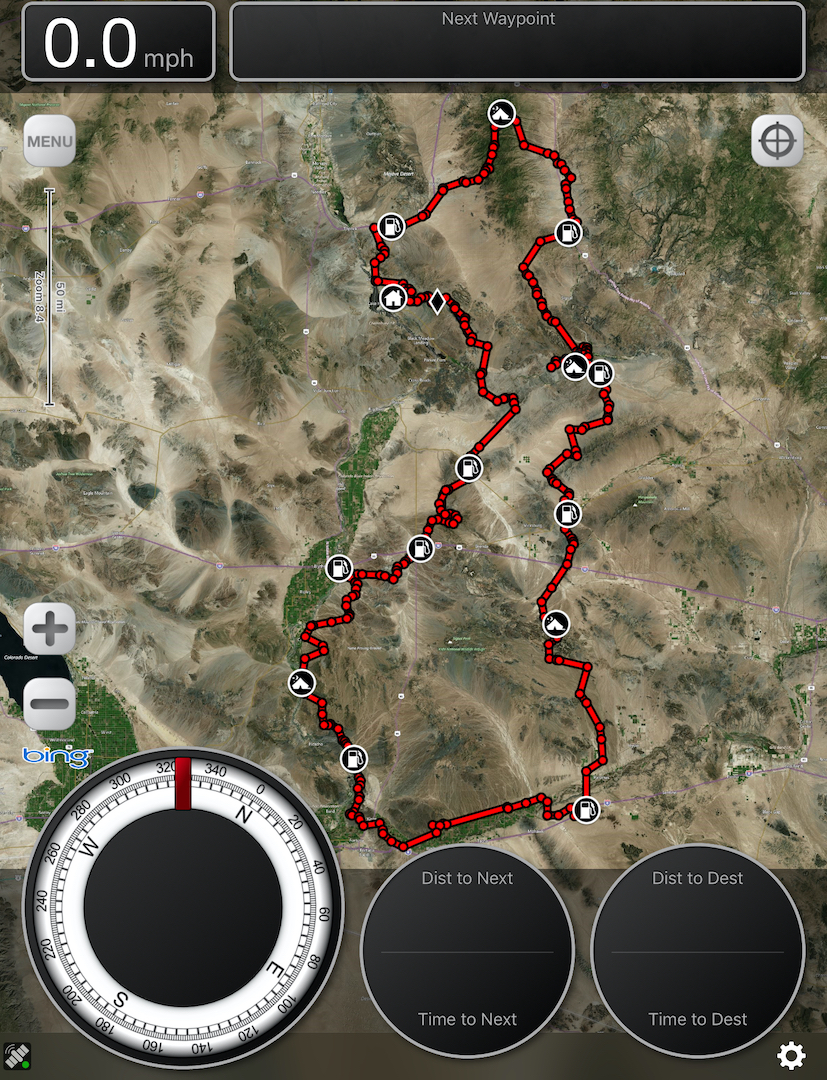
- The entire track on the Overlander. It was one heck of an awesome ride!